
 Photo from Unsplash
Originally Posted On: https://liquidsurfandsail.com/blog/right-on-trailers-sailboat-dolly-assembly-guide-the-easy-way-to-launch-and-retrieve-small-sail-boats/
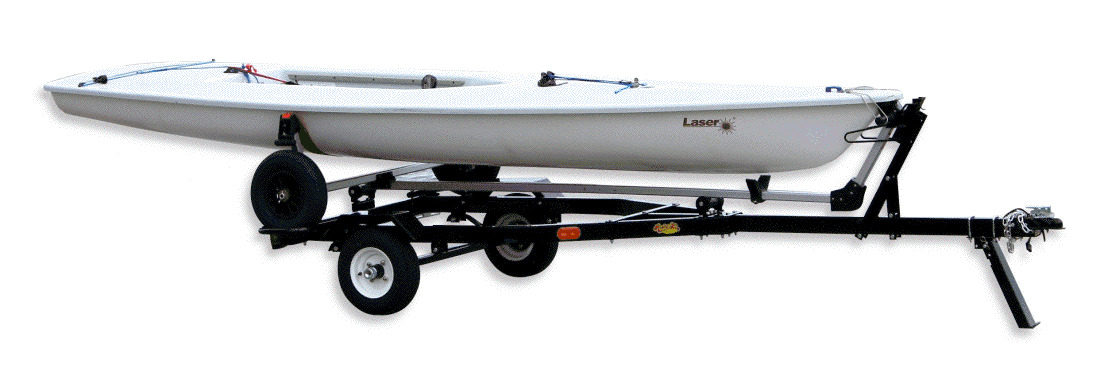
This unique trailer design makes hauling your sailboat a breeze! Designed to hold your small sailboat on its existing dolly, you simply roll on, secure, and go. It is easily managed by one person and can fit both Seitech and Dynamic dolly brands.
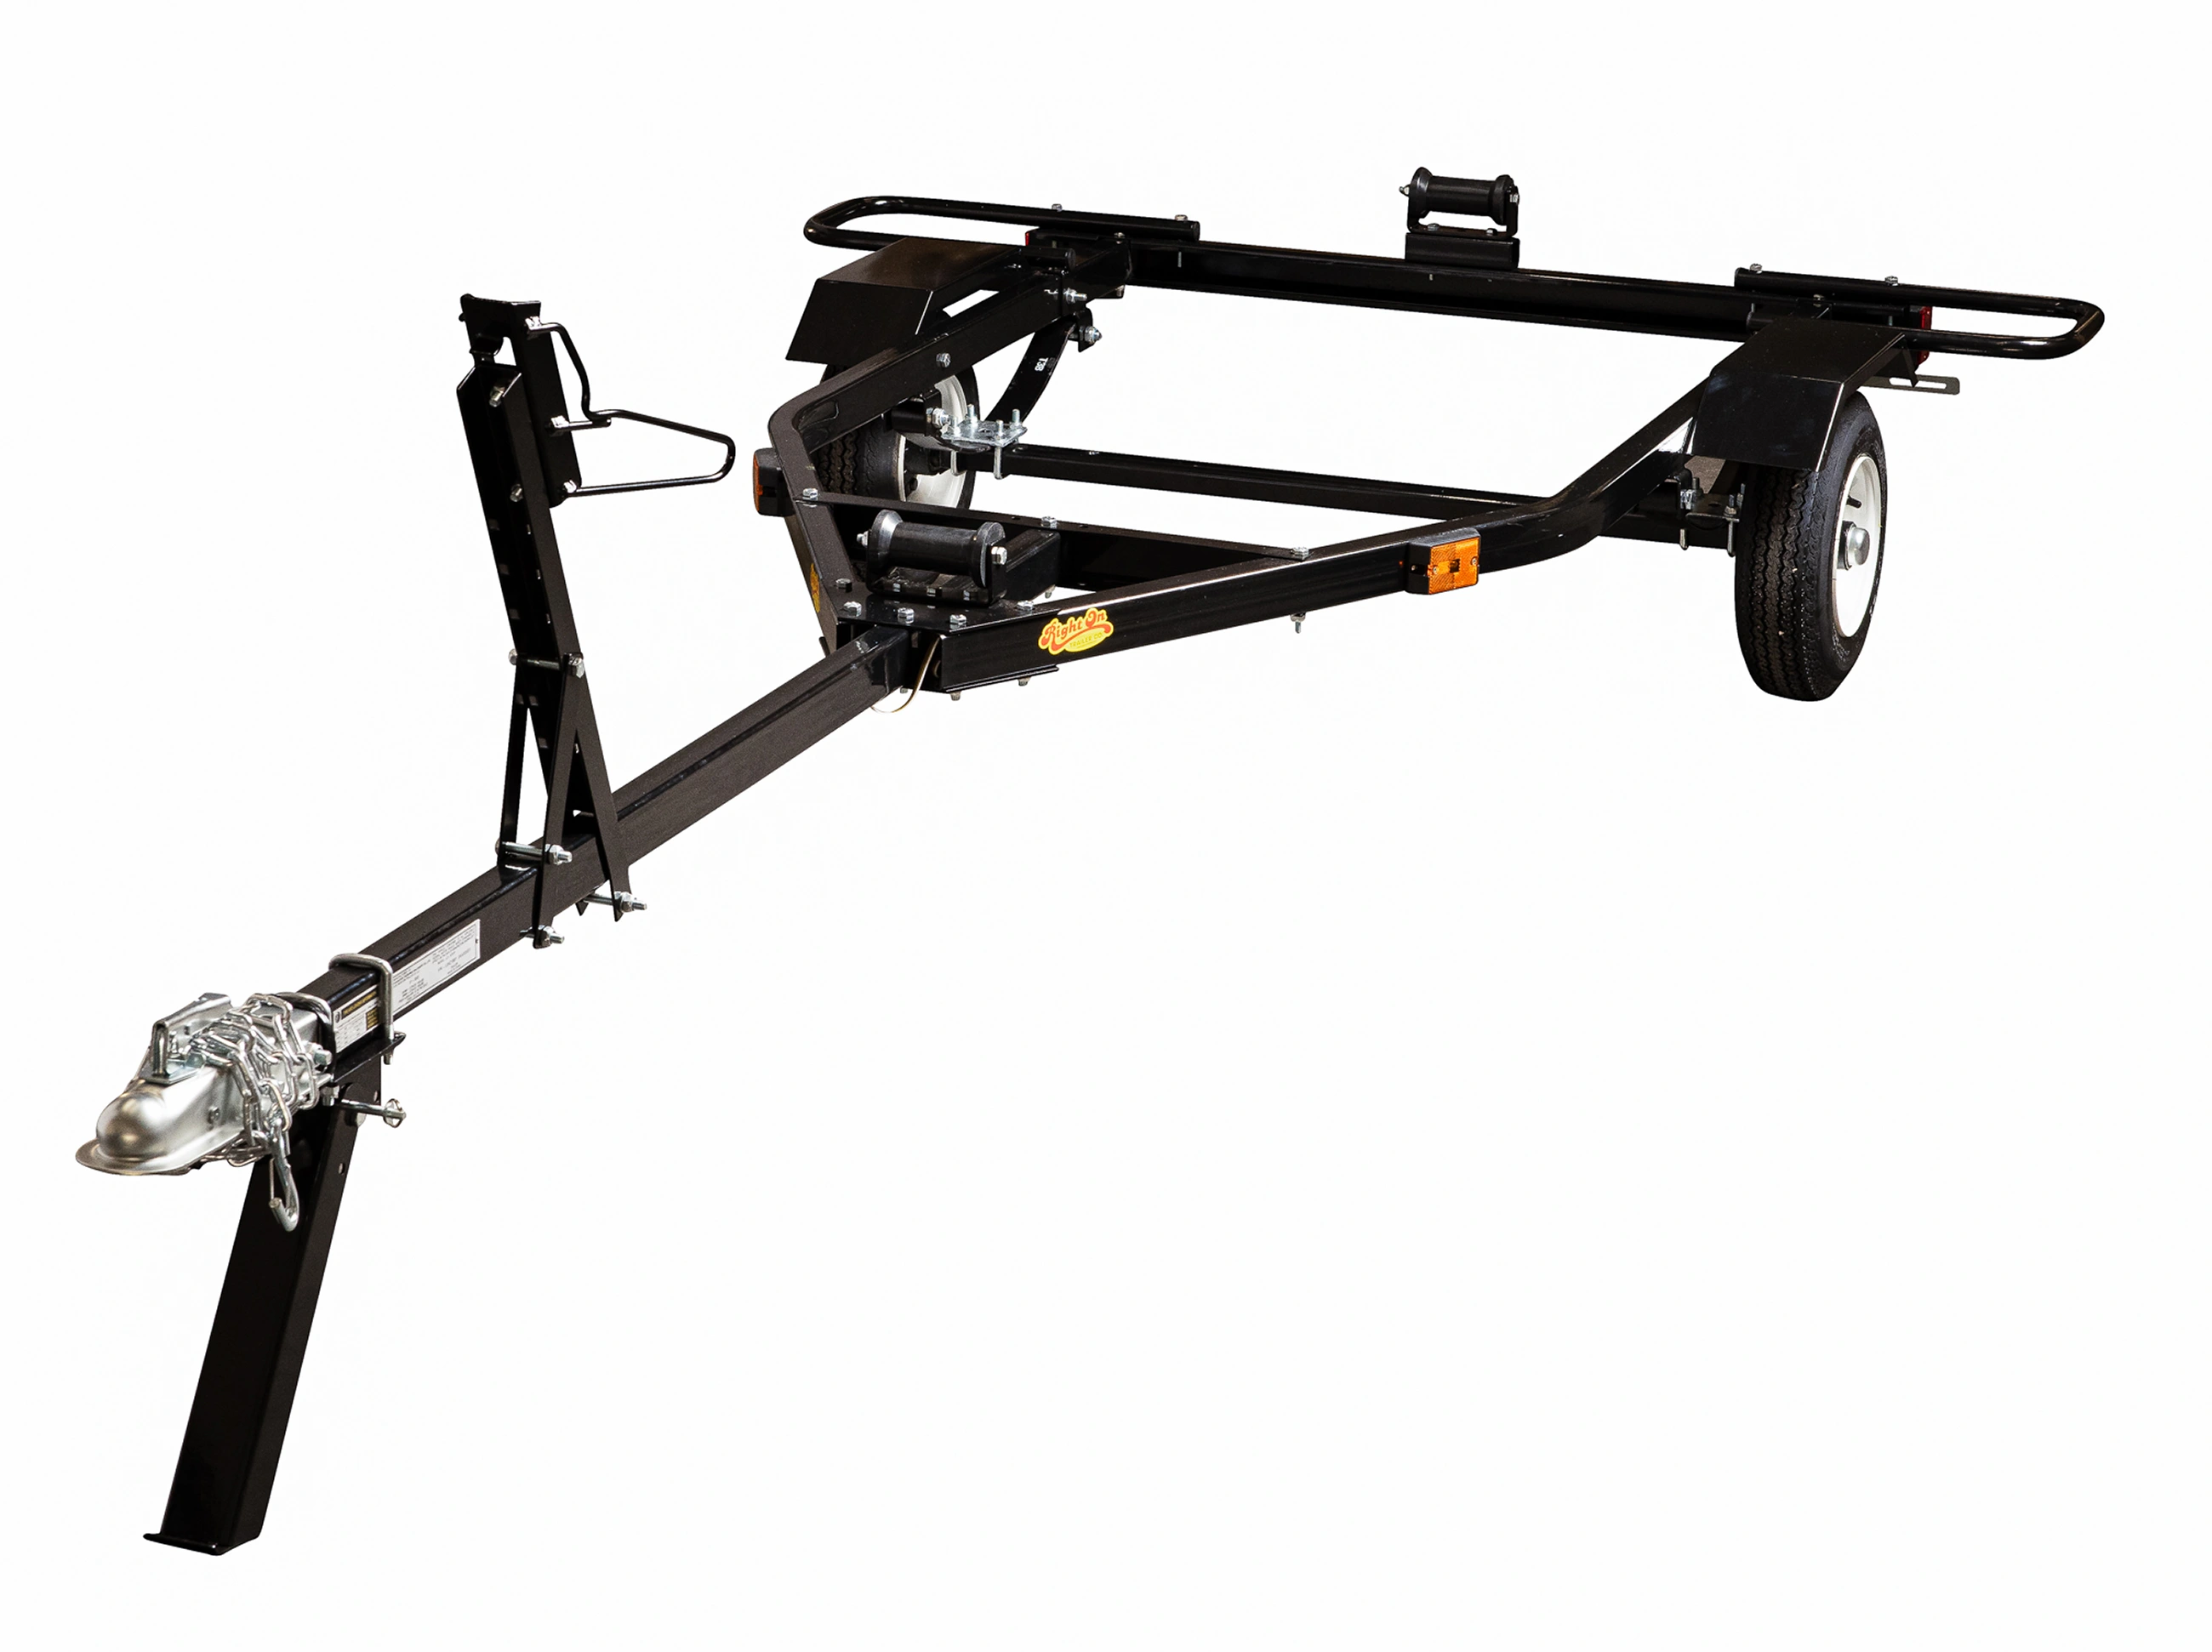
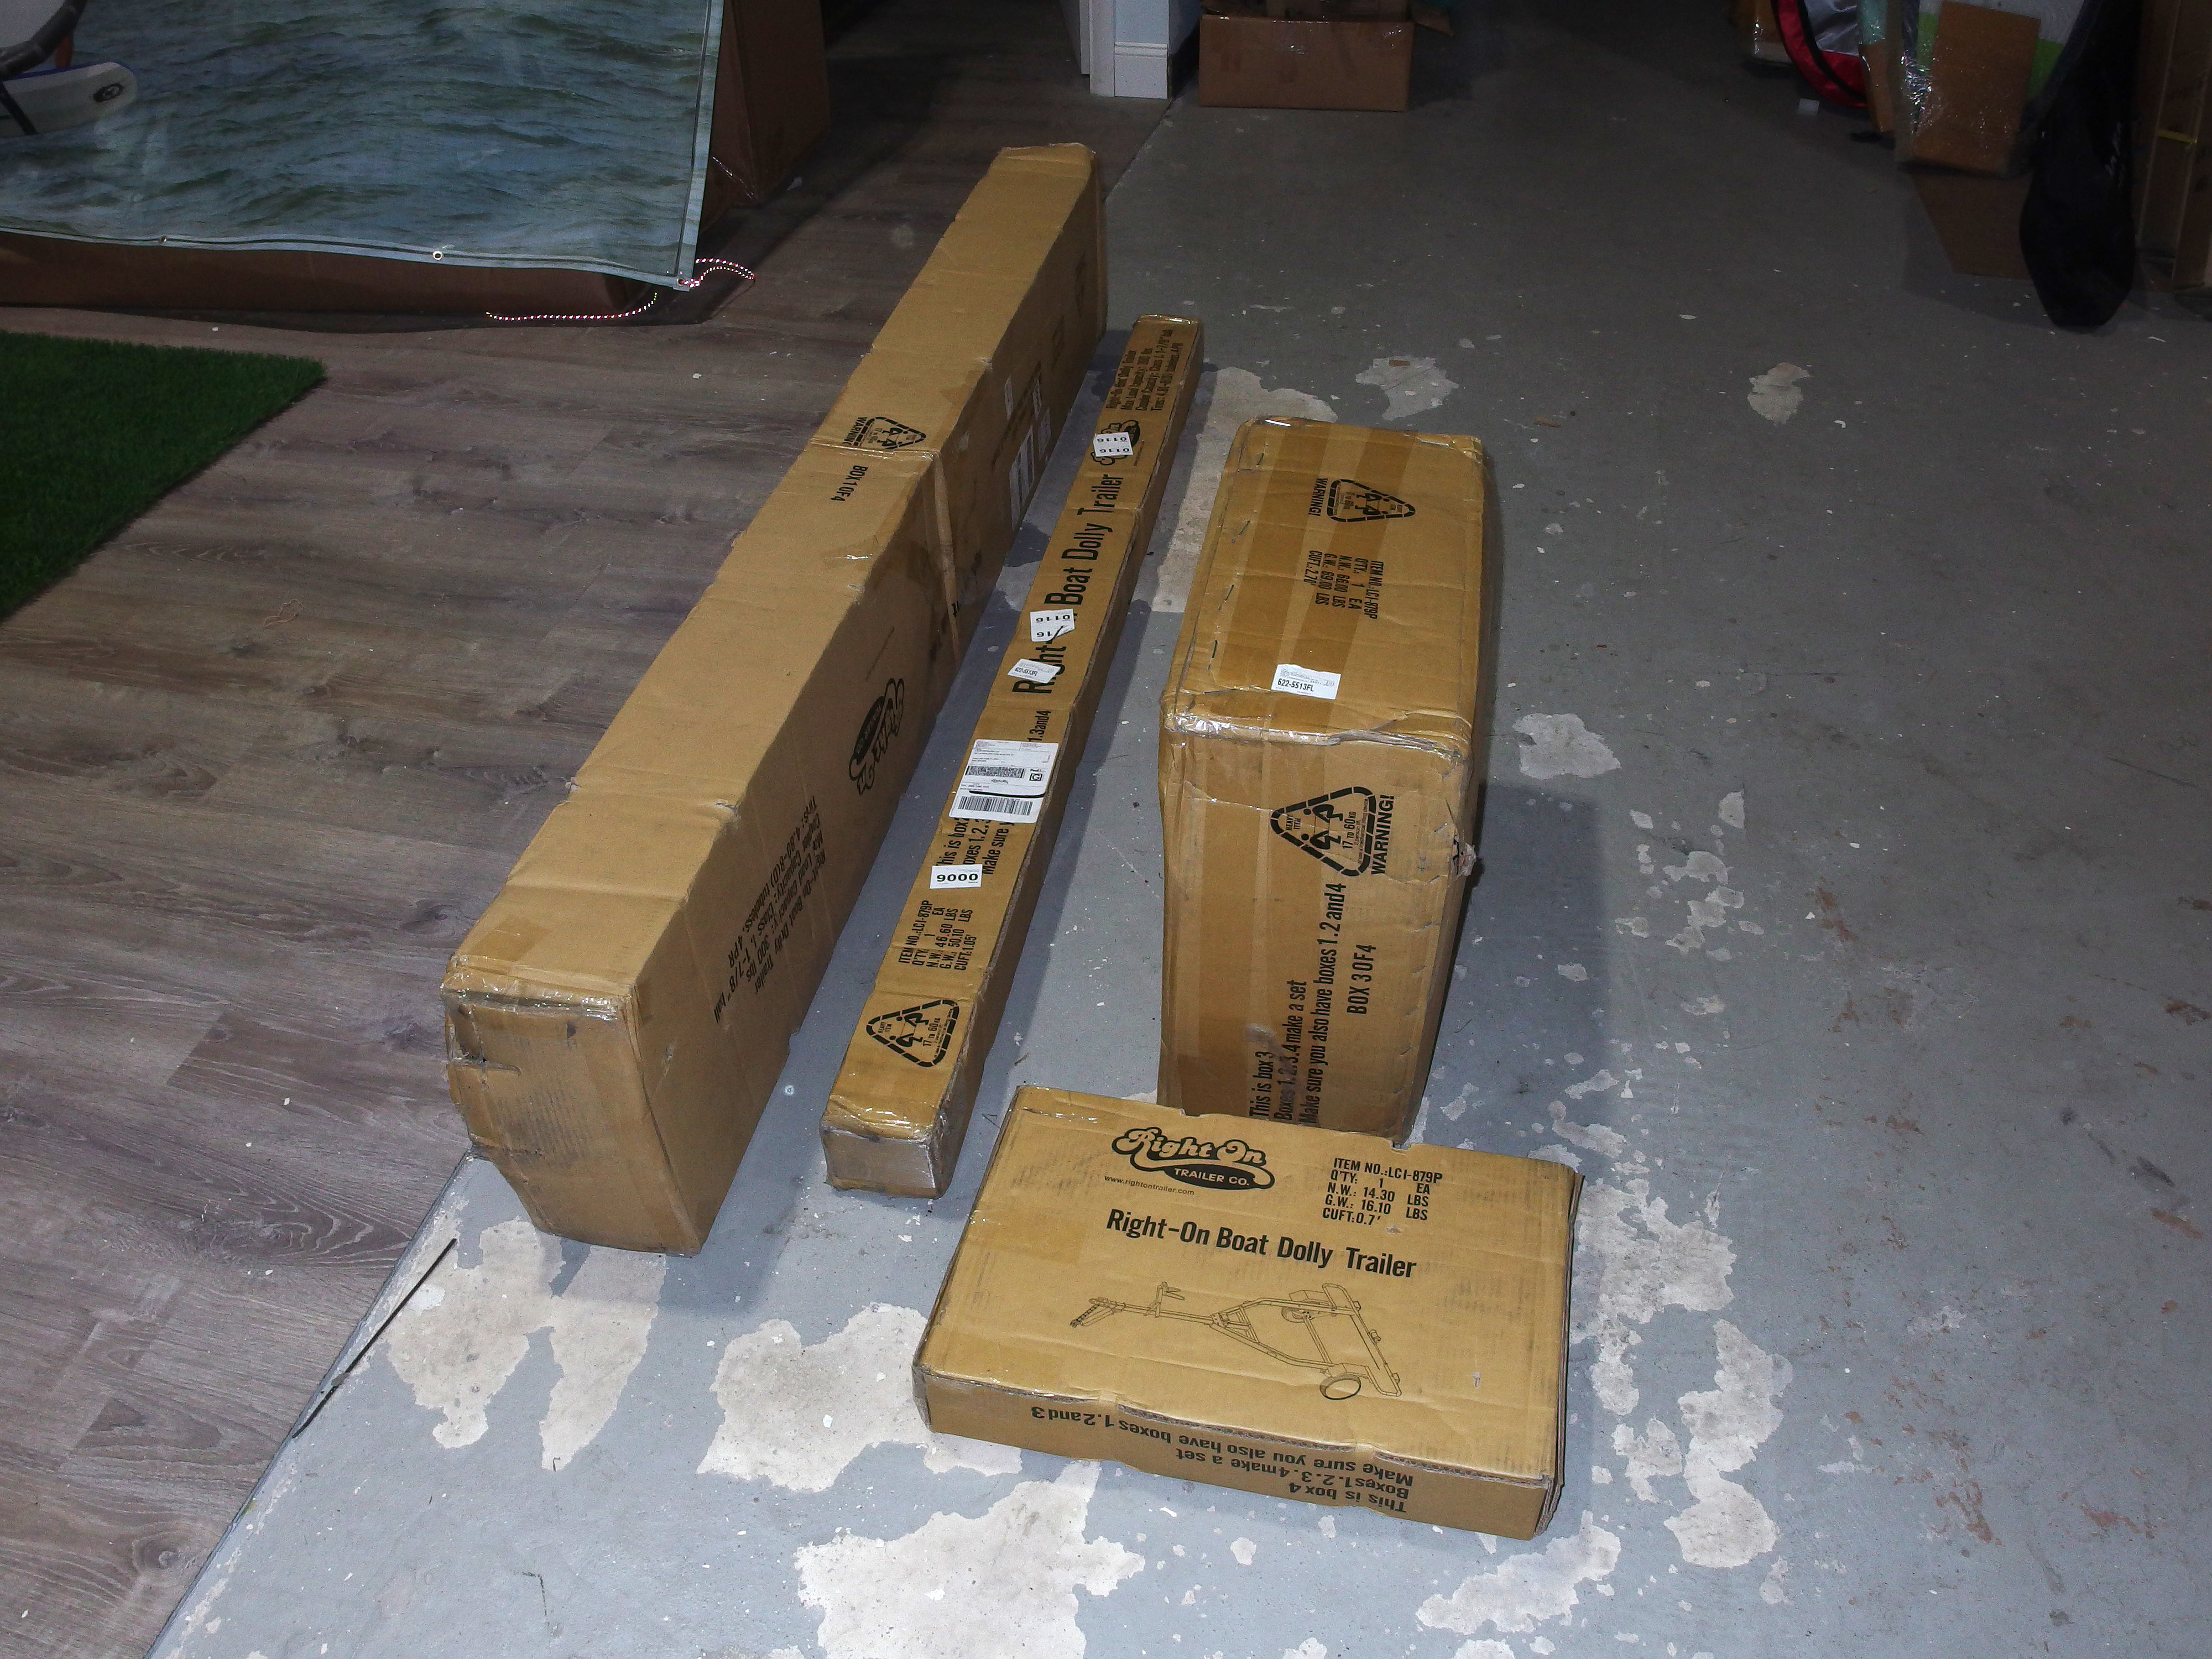
One nice thing about the Right On trailers is that they ship in four boxes via UPS, thus saving on truck freight shipping costs!
The actual Dolly for your specific sailer is a separate purchase which also ships UPS in one box.
This trailer is very easy to assemble with just a few common tools.
Click HERE for the Right On Trailers assembly instructions PDF.
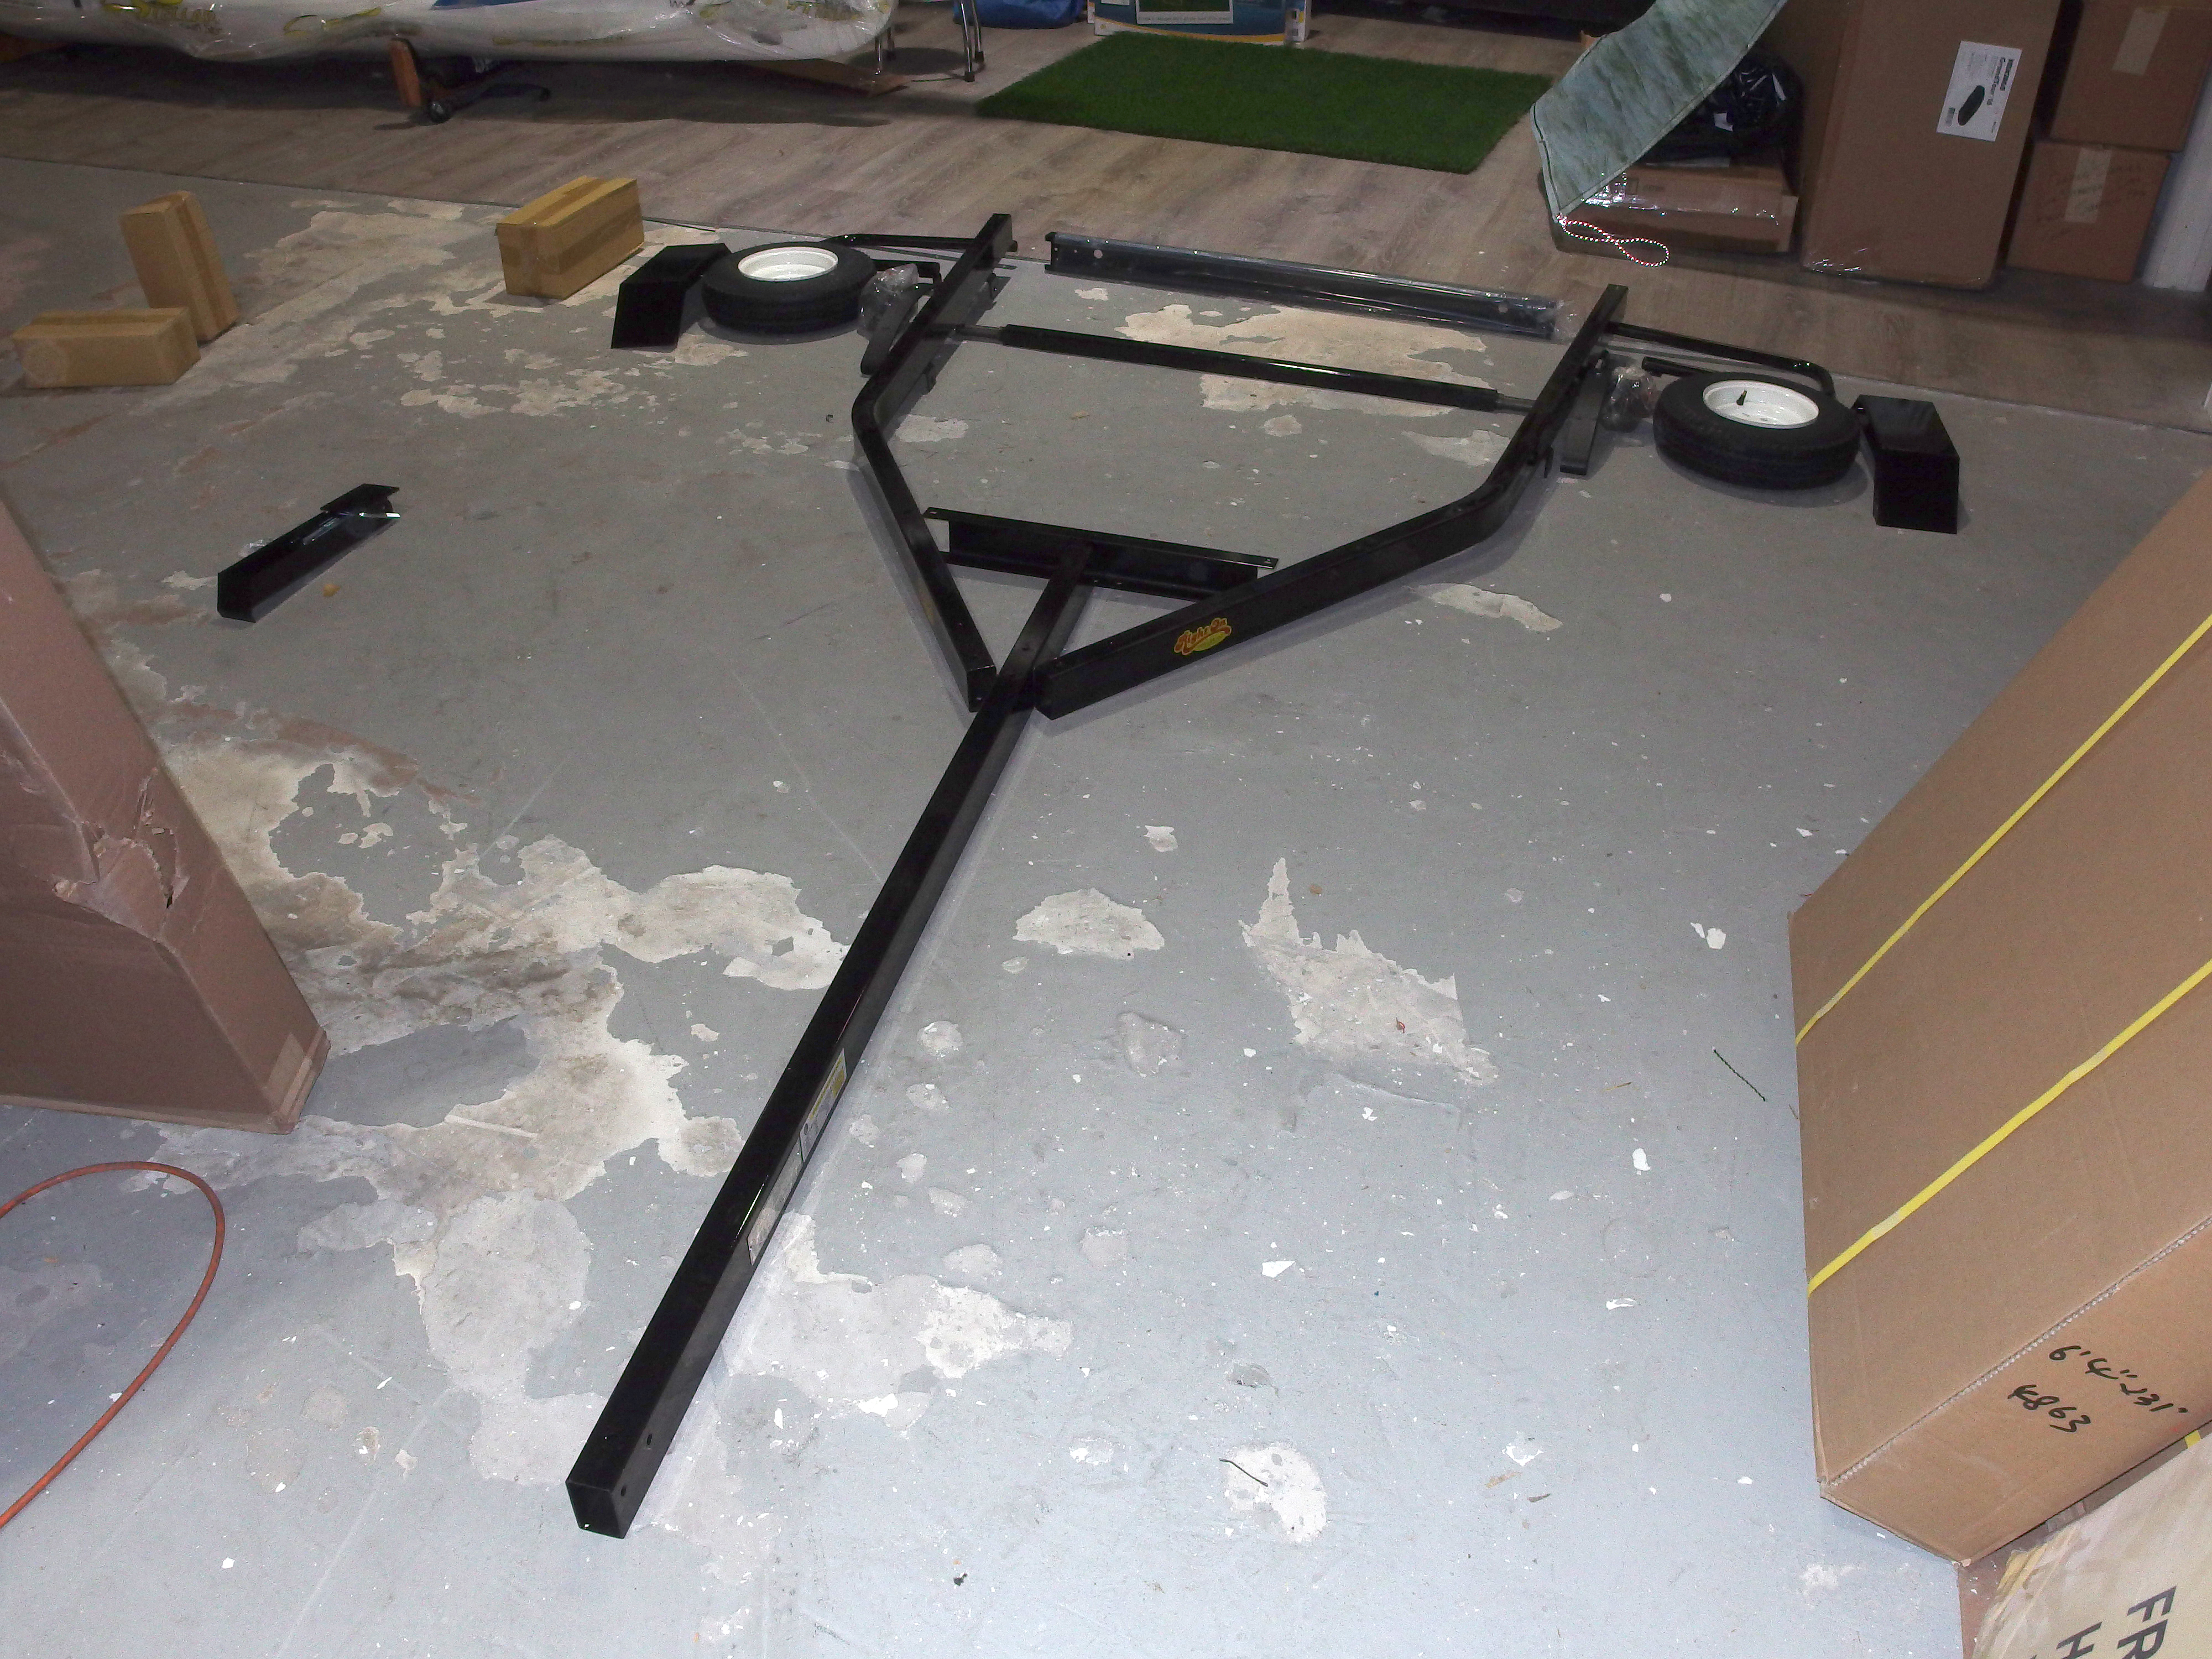
Assembly starts with laying out the main components.
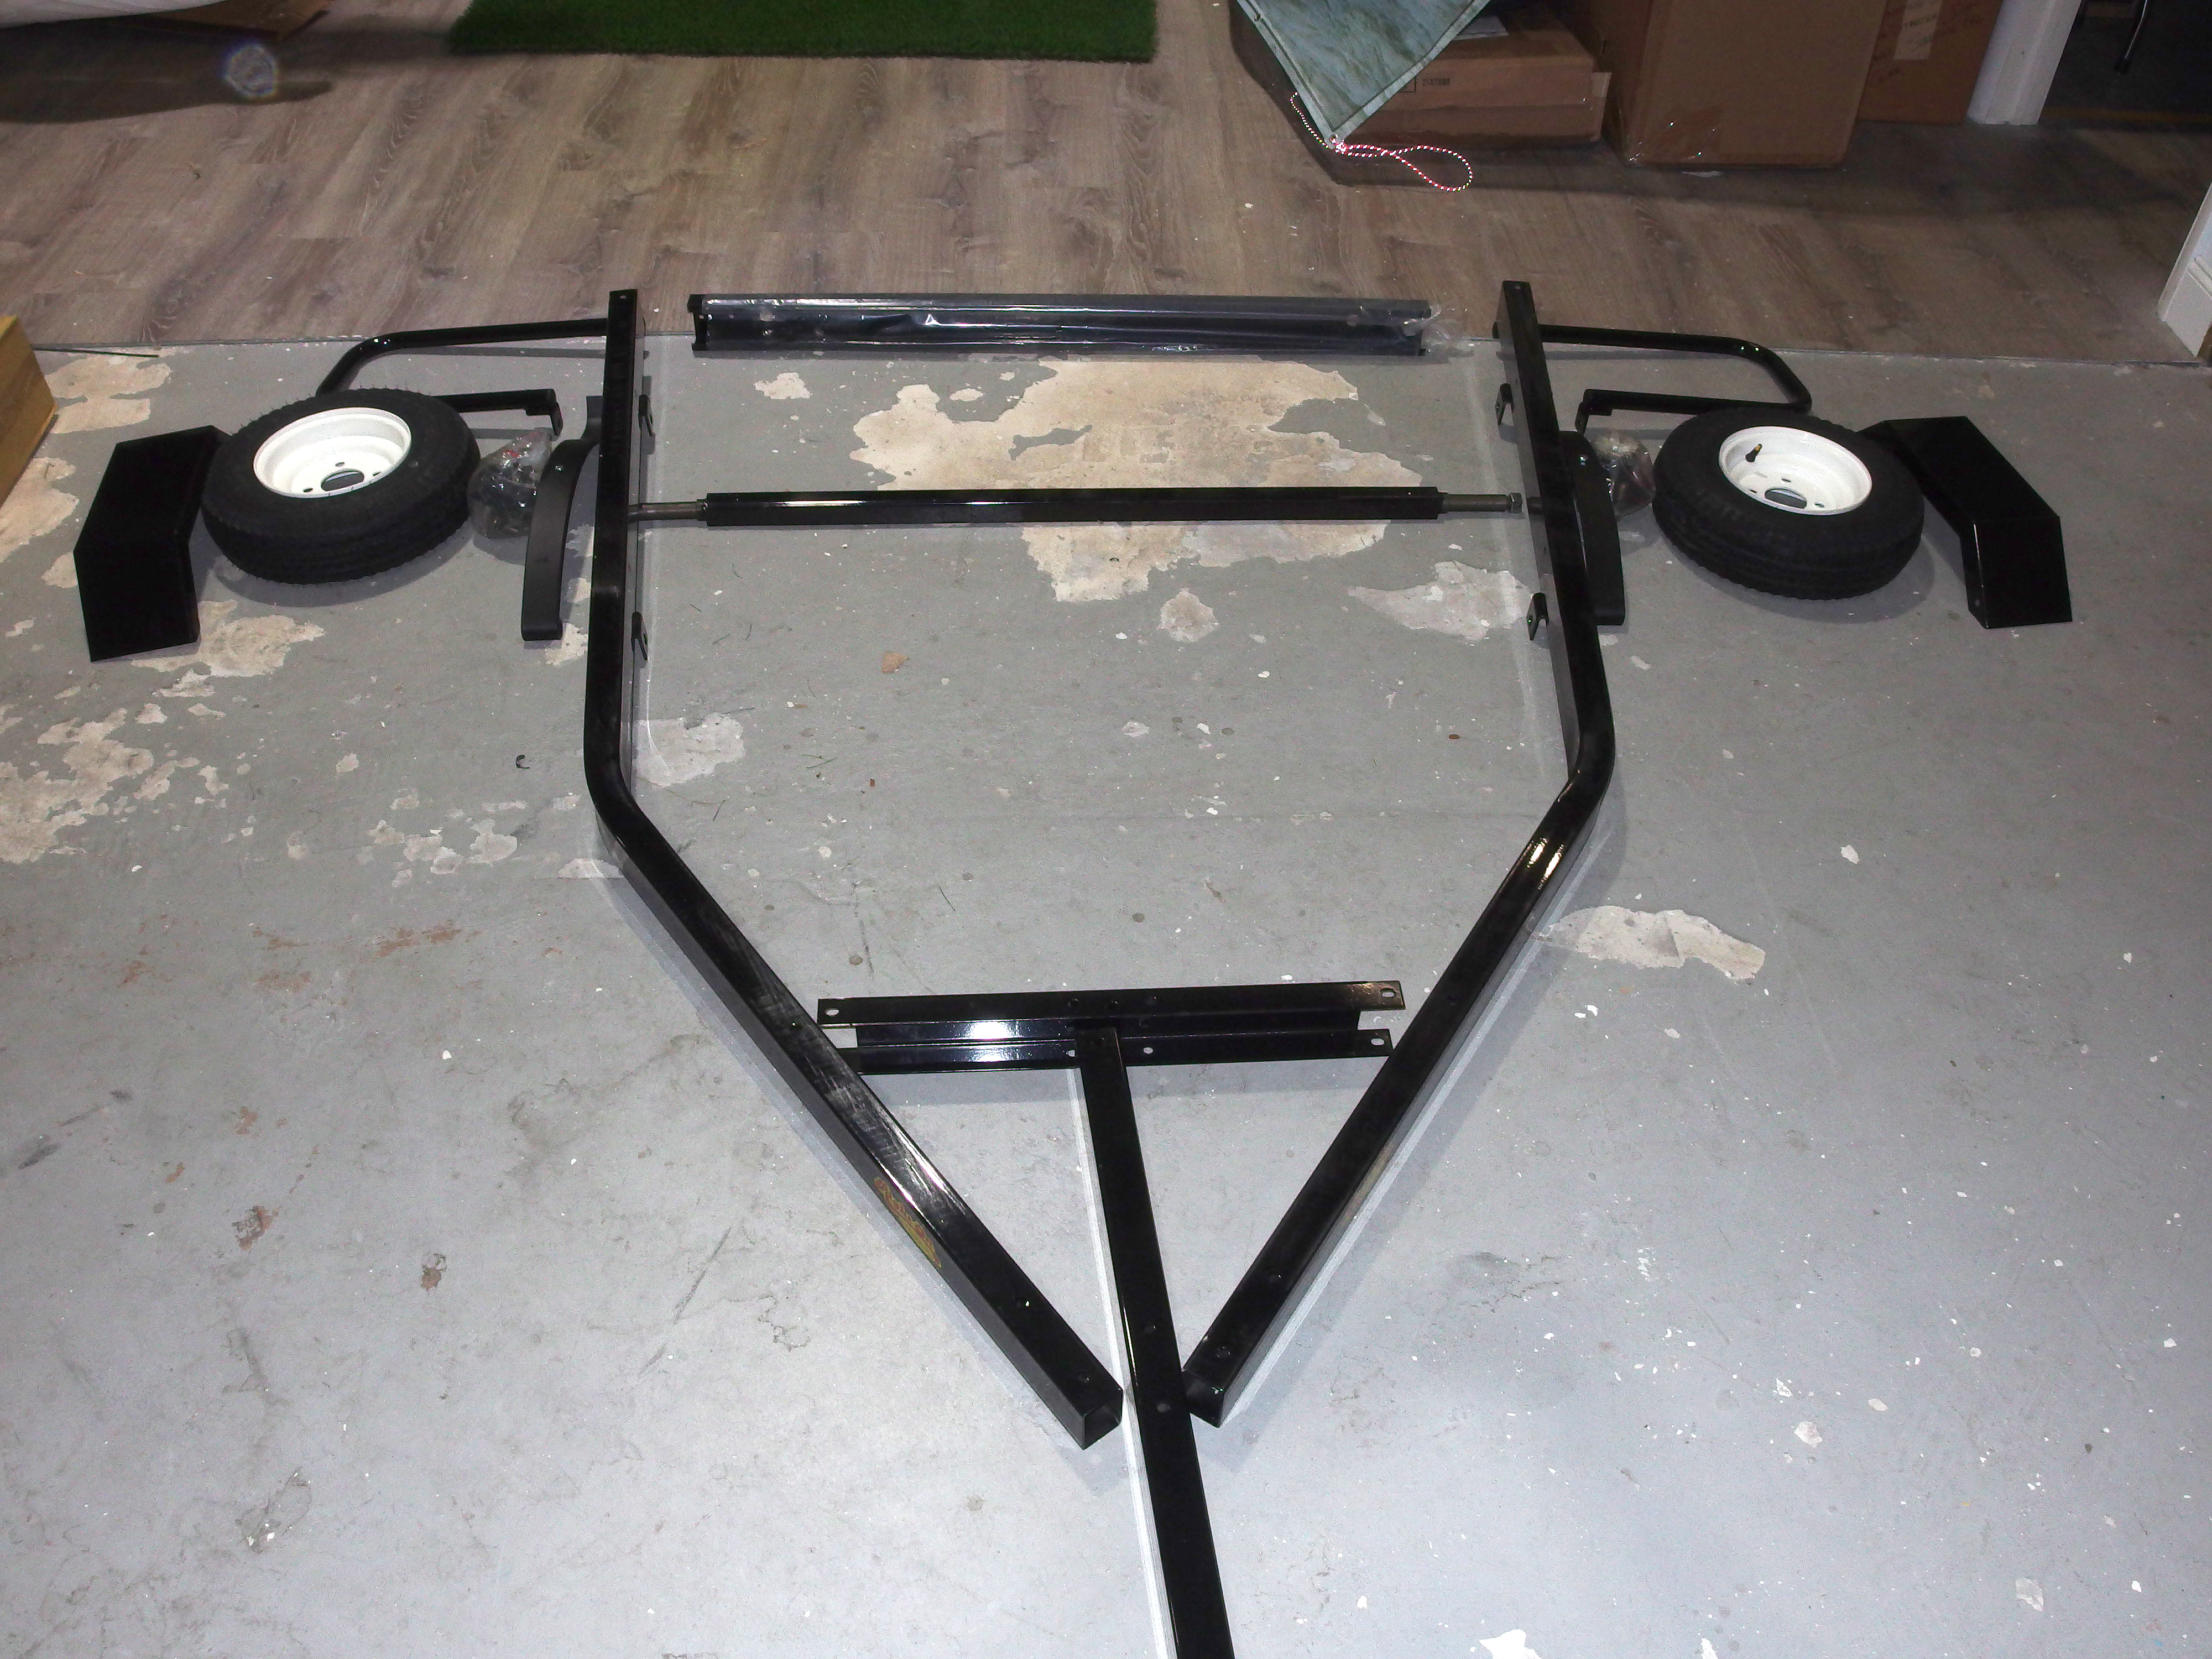
Please note that the initial assembly is done with the trailer upside down!
A few scraps of 2×4 wood makes the job much easier.
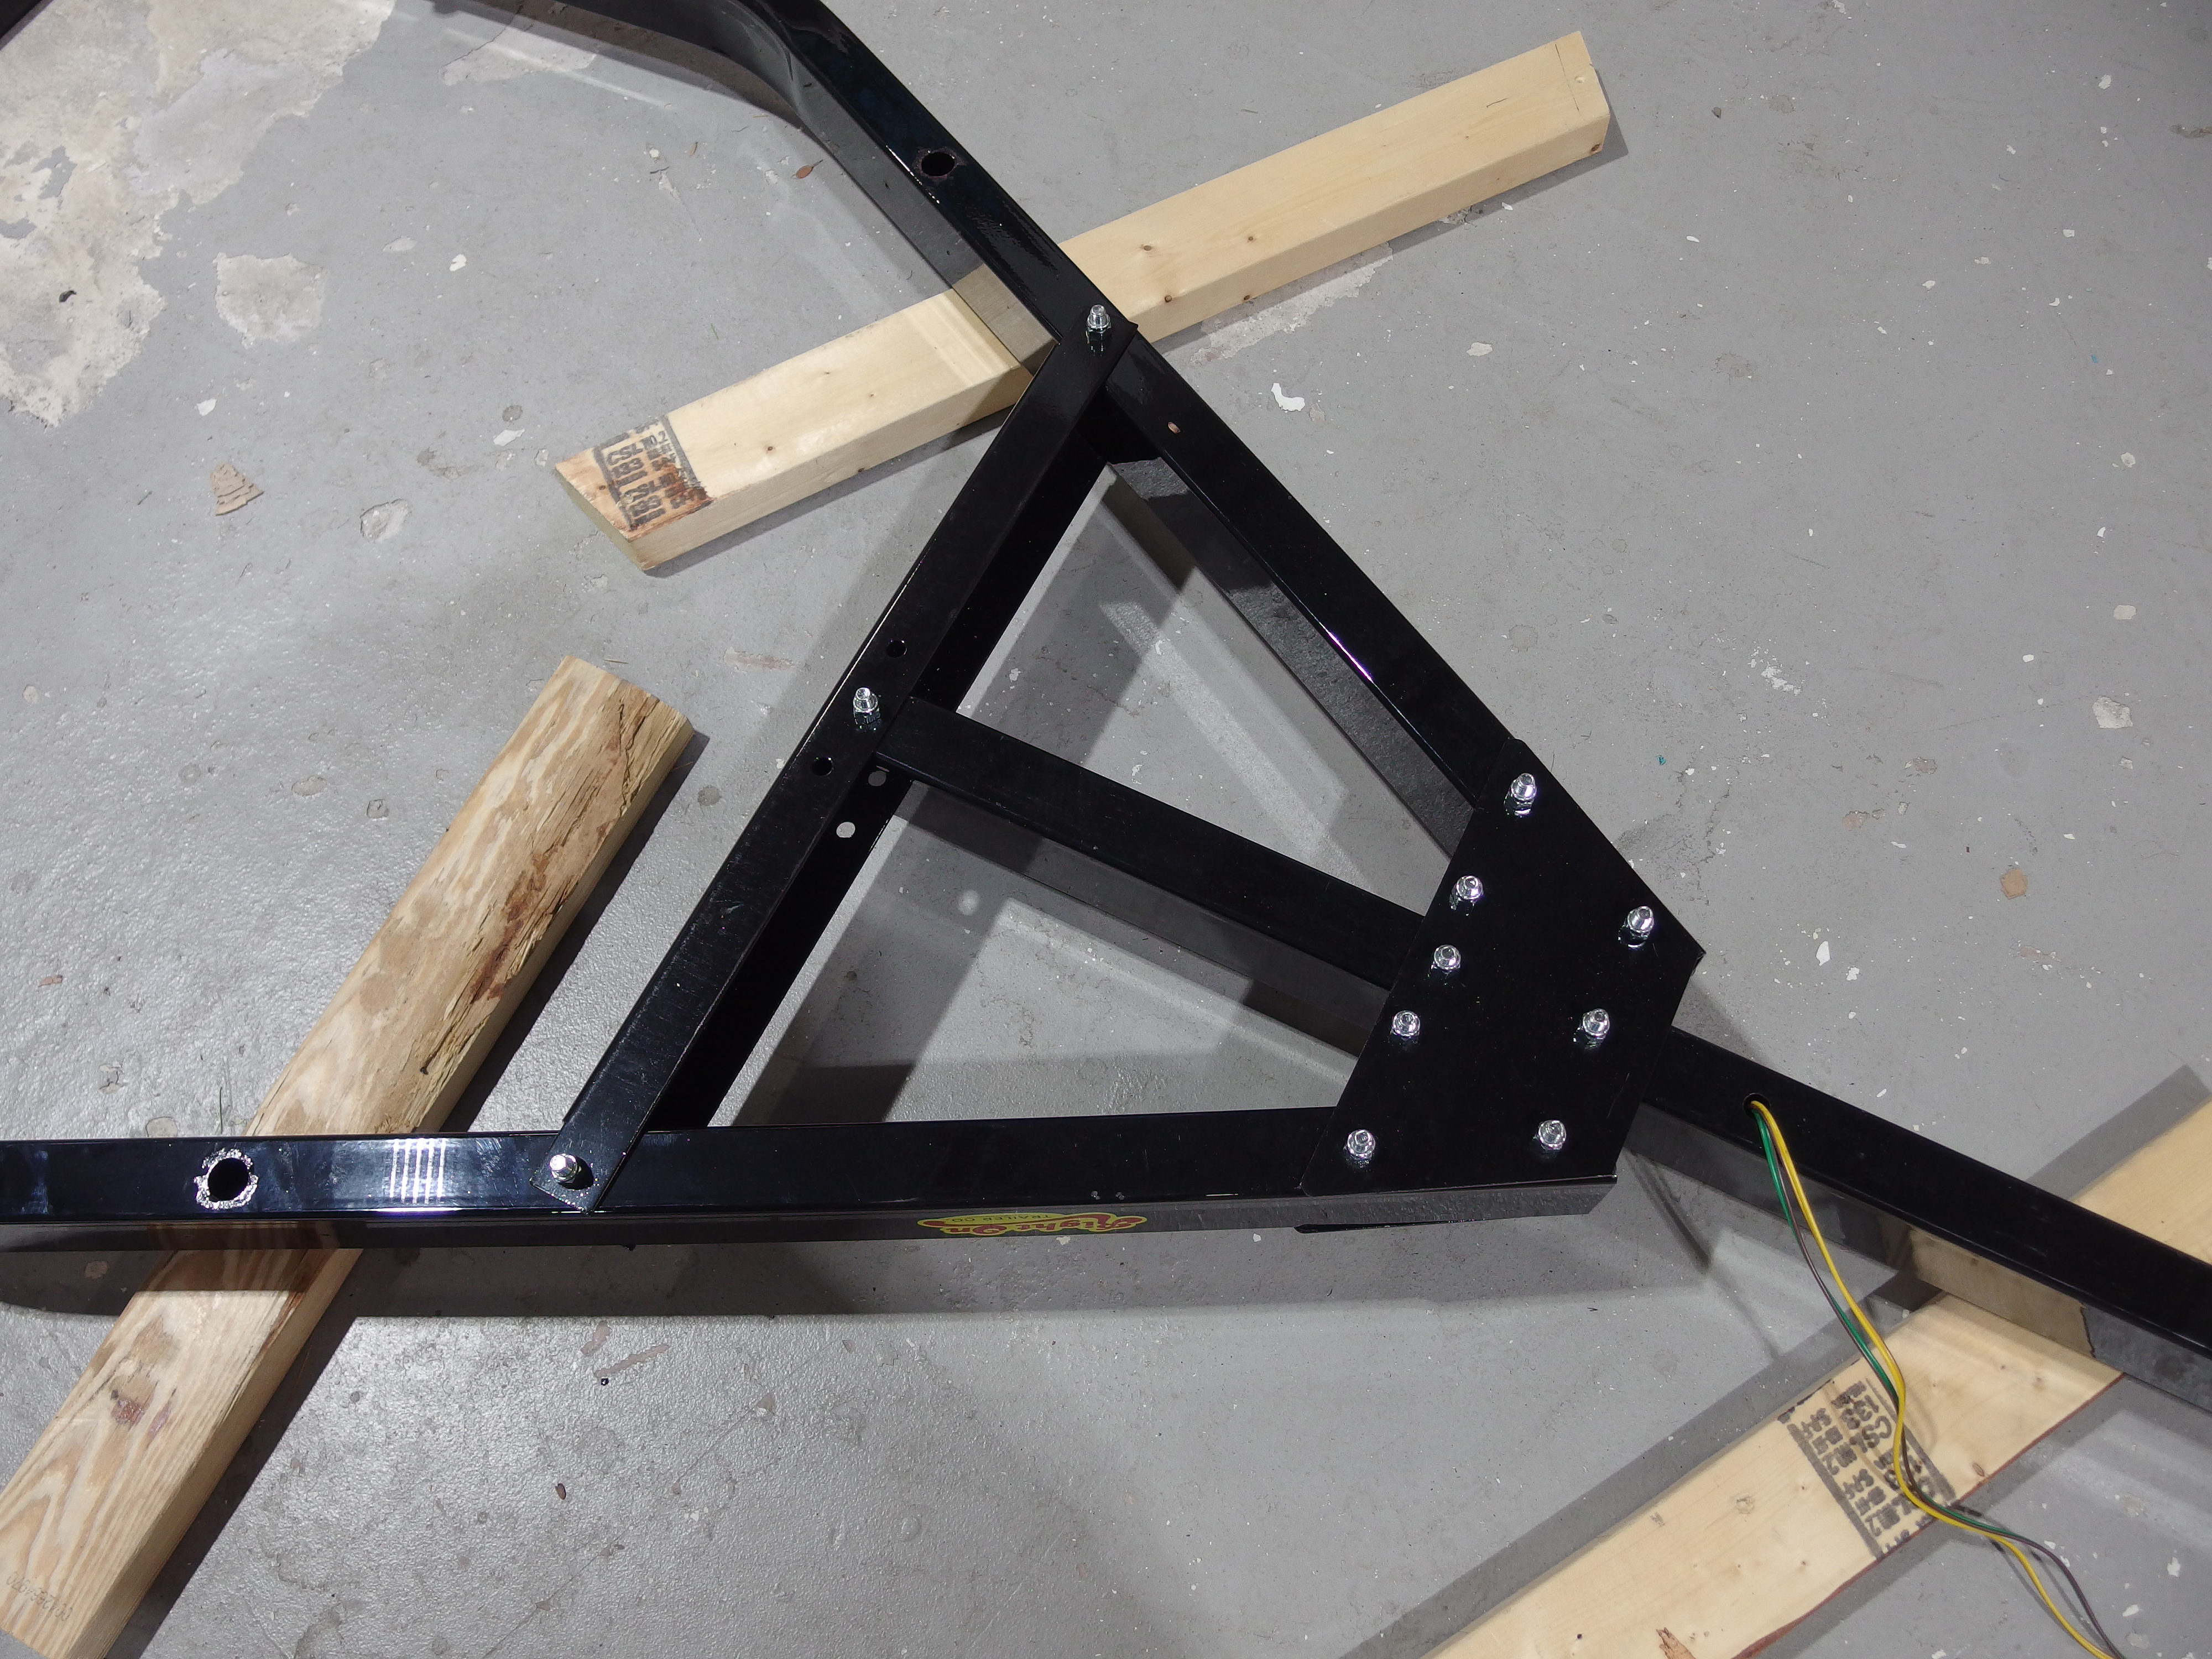
First, be sure to run the wiring through the main trailer tongue. Using a stiff wire of the right length makes pulling the wires out through the frame hole easy.
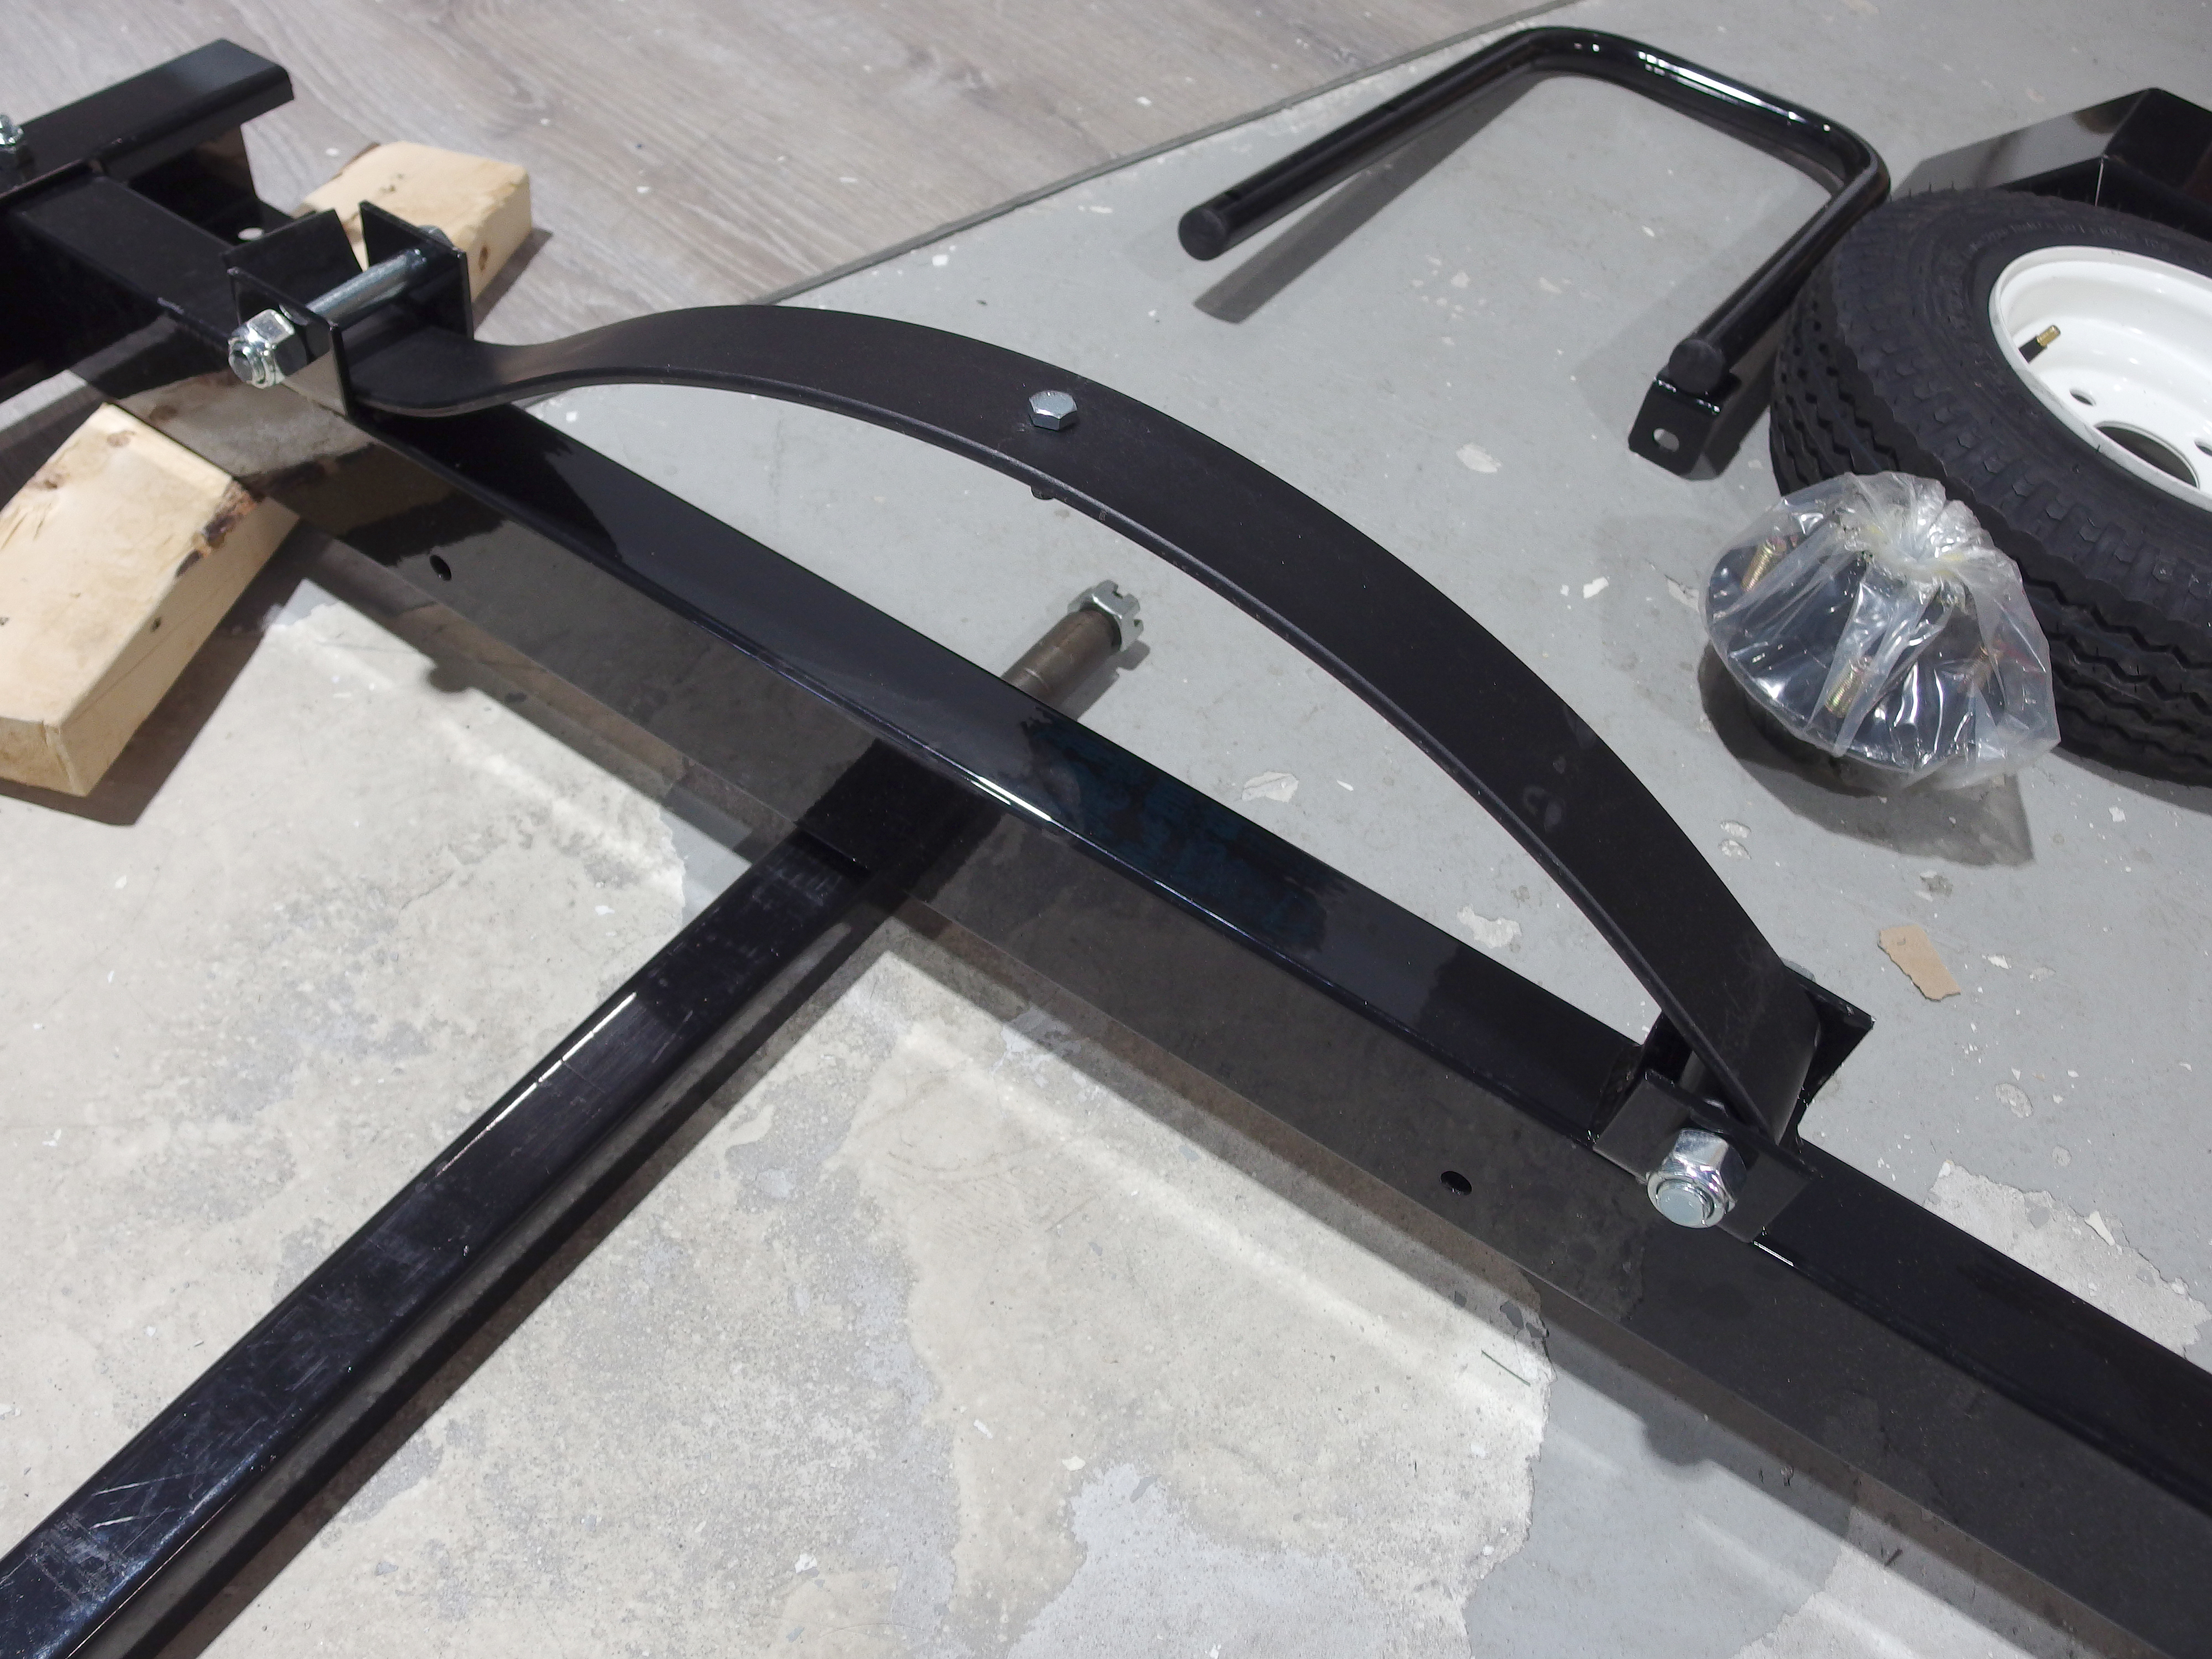
The special rated leaf springs are bolted on next.
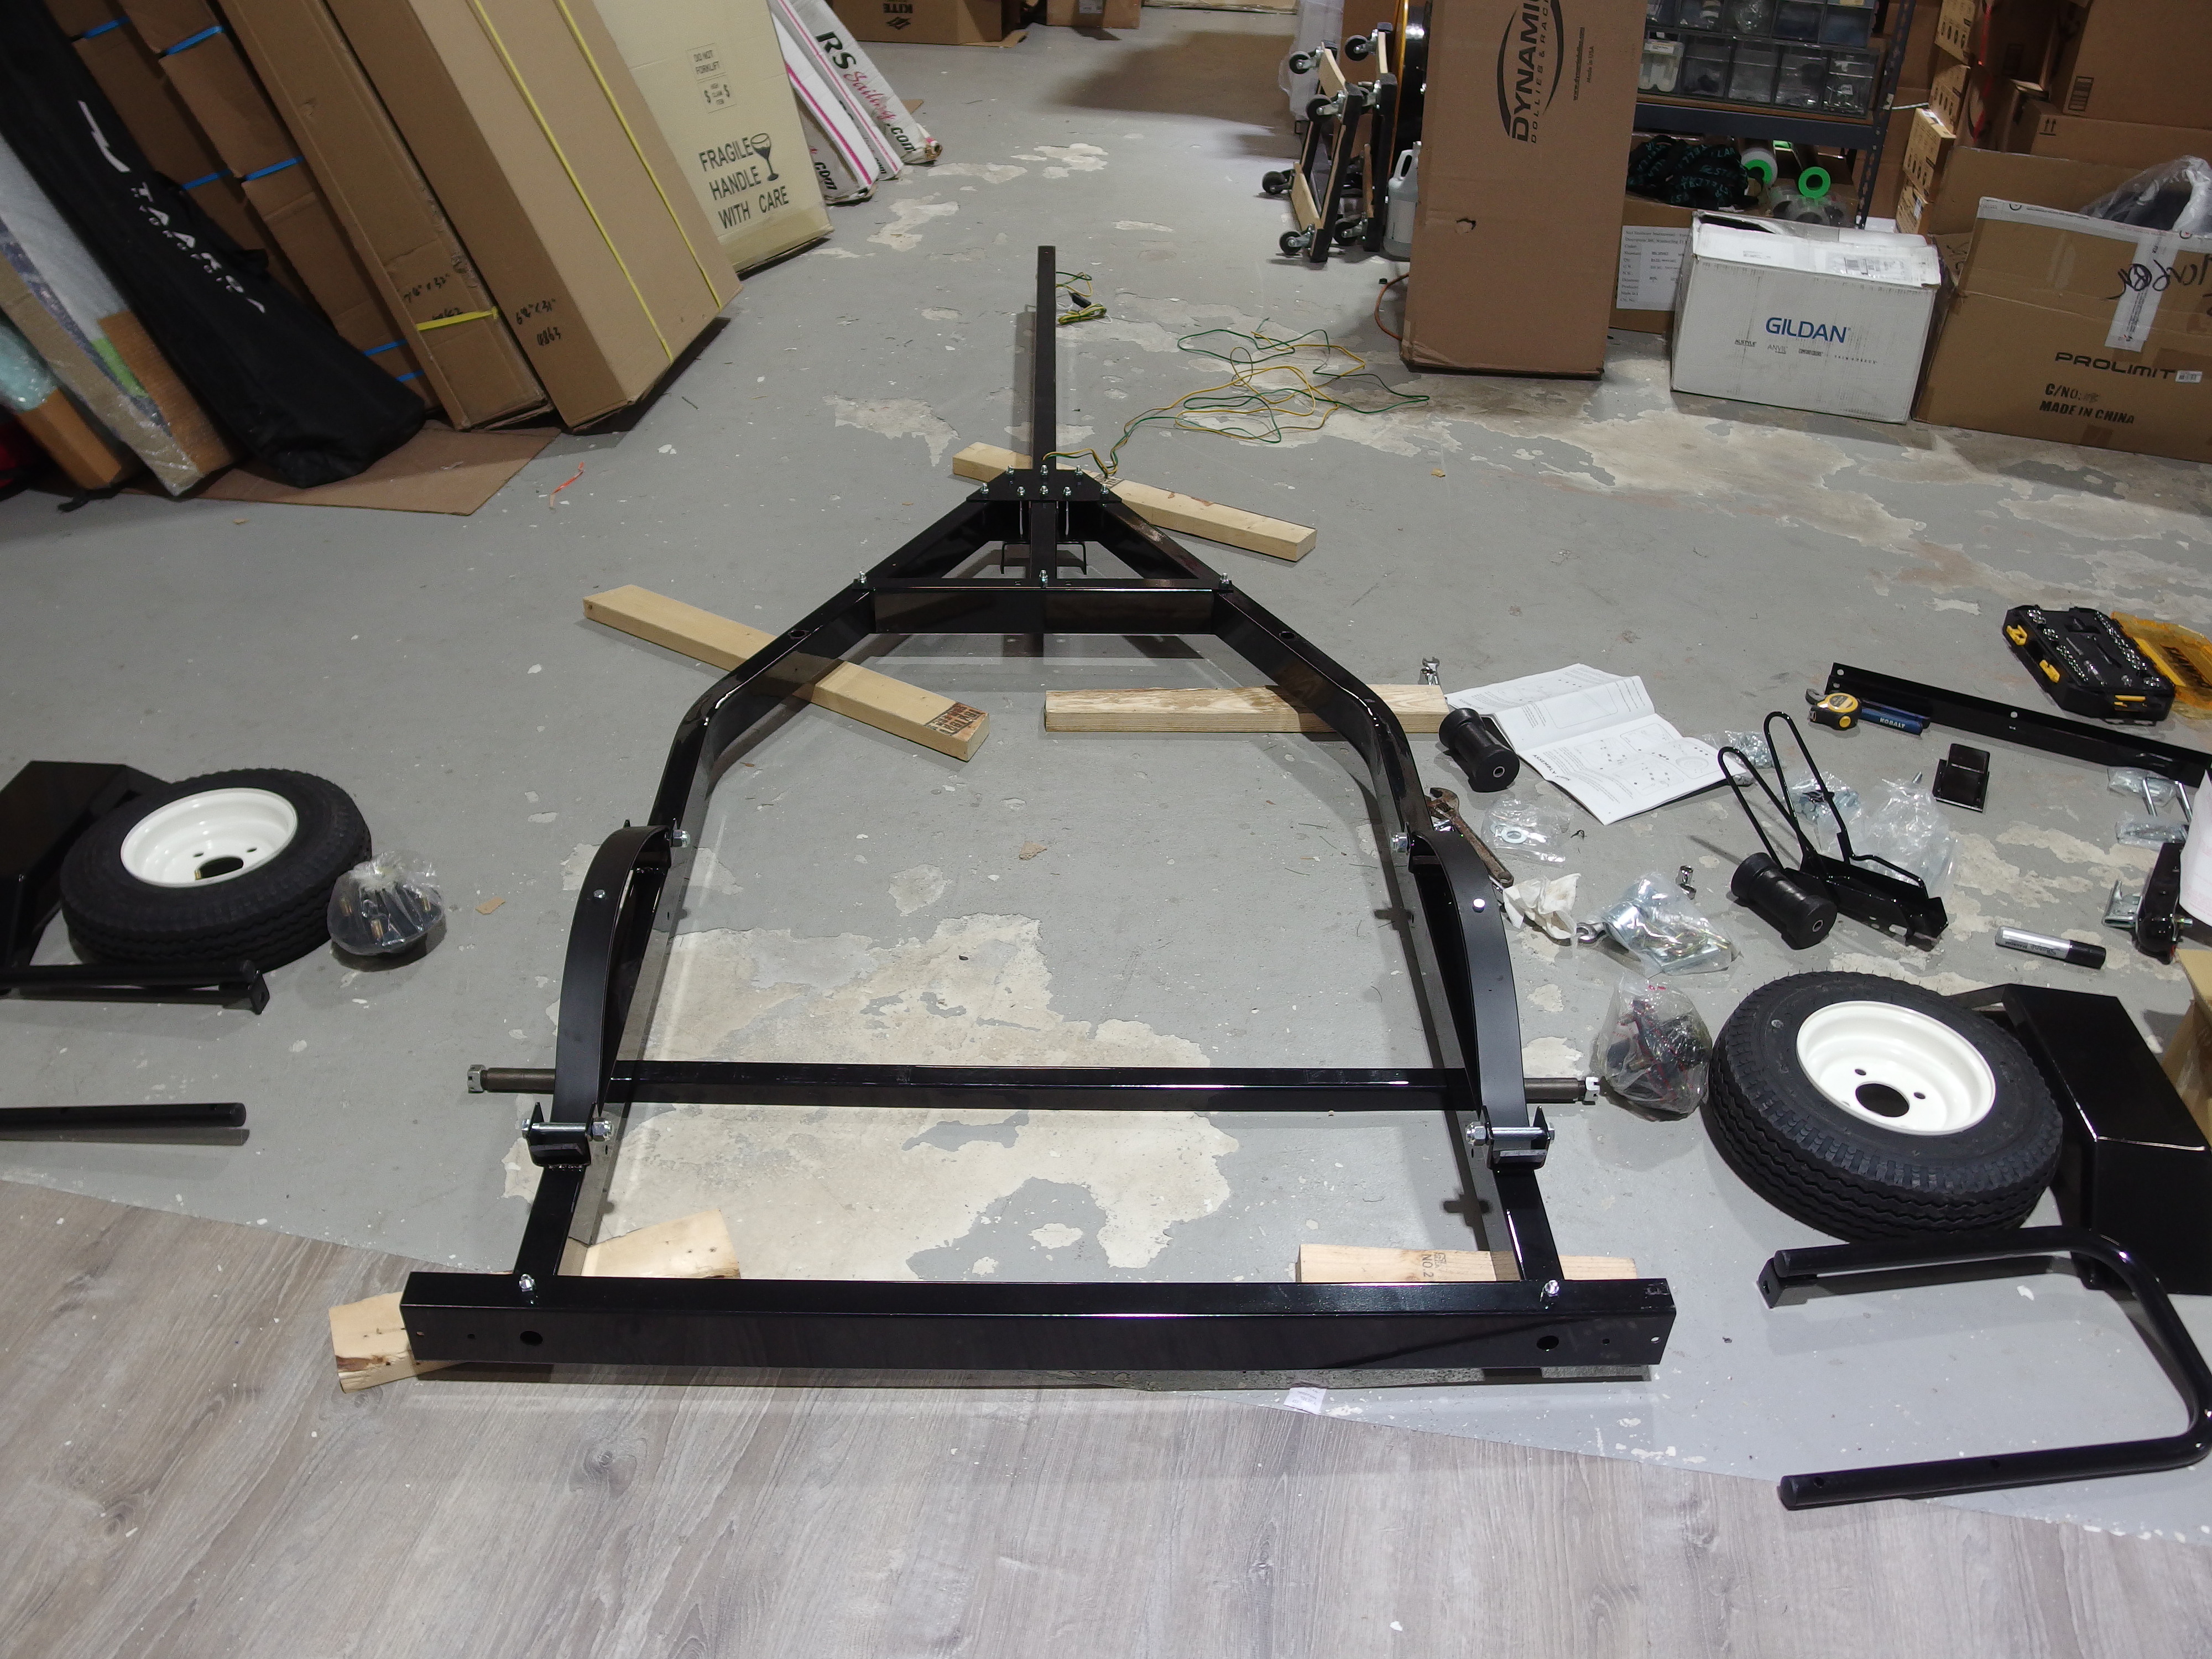
The frame assembly partially assembled.
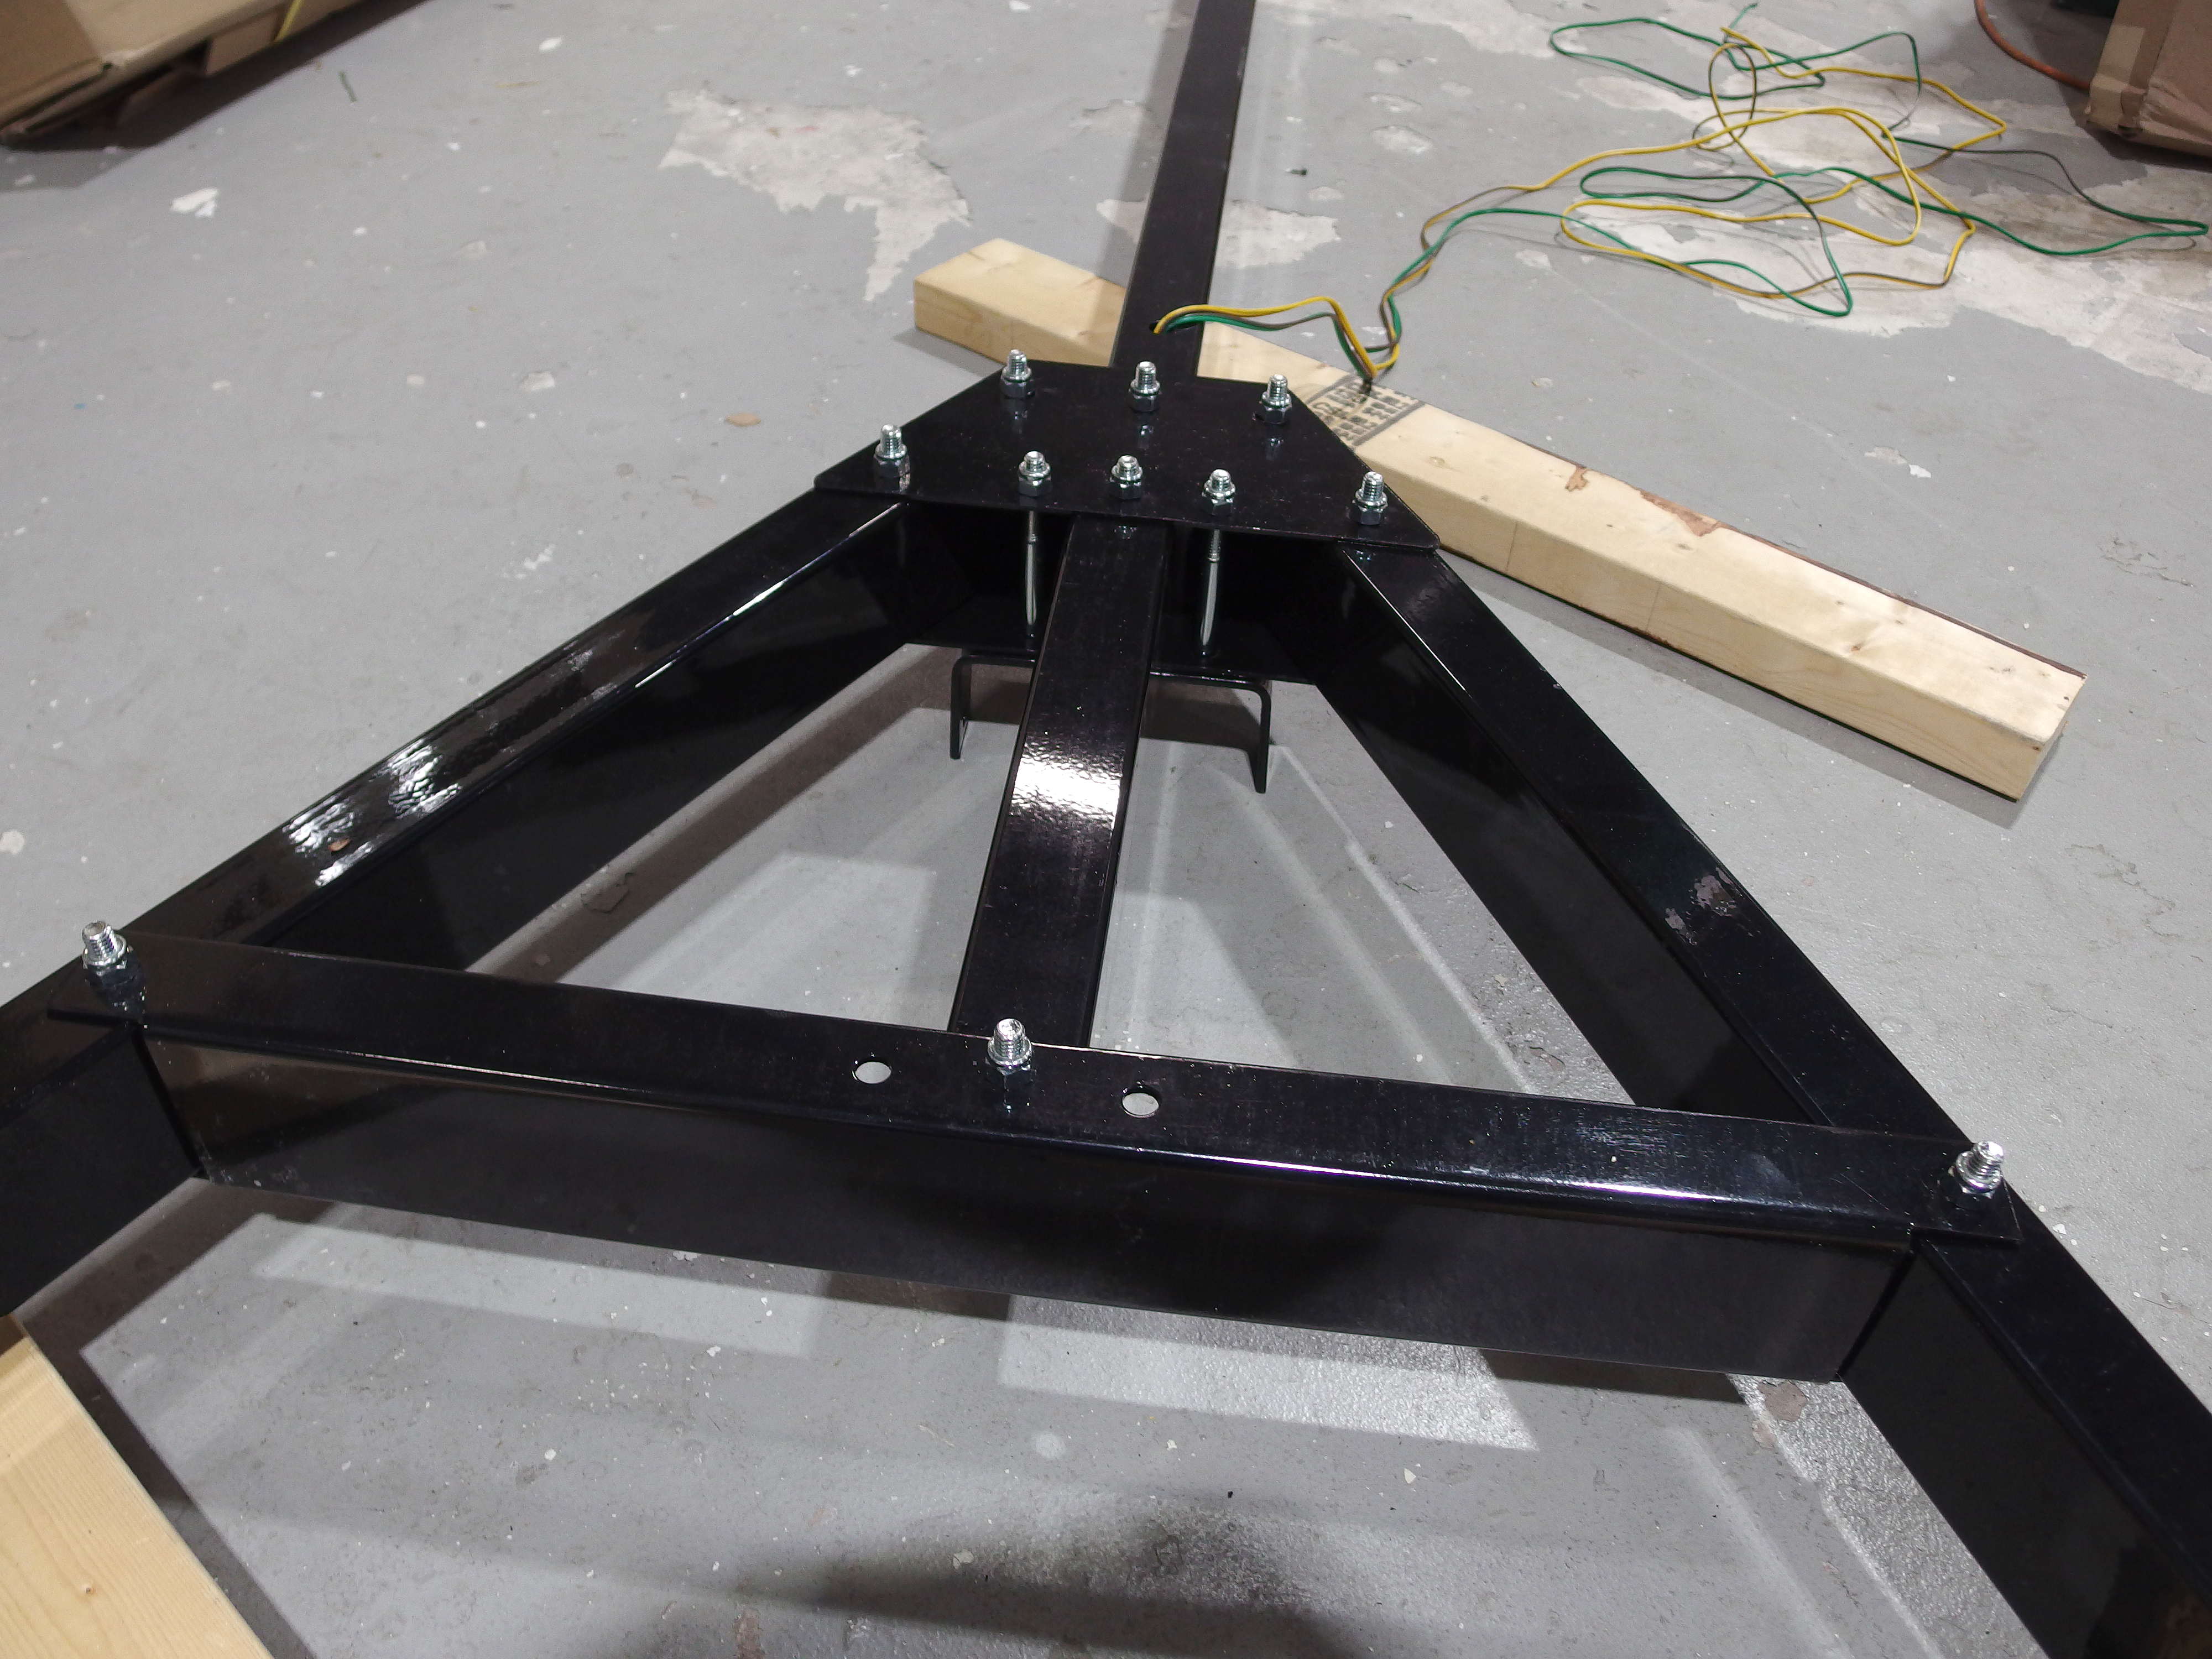
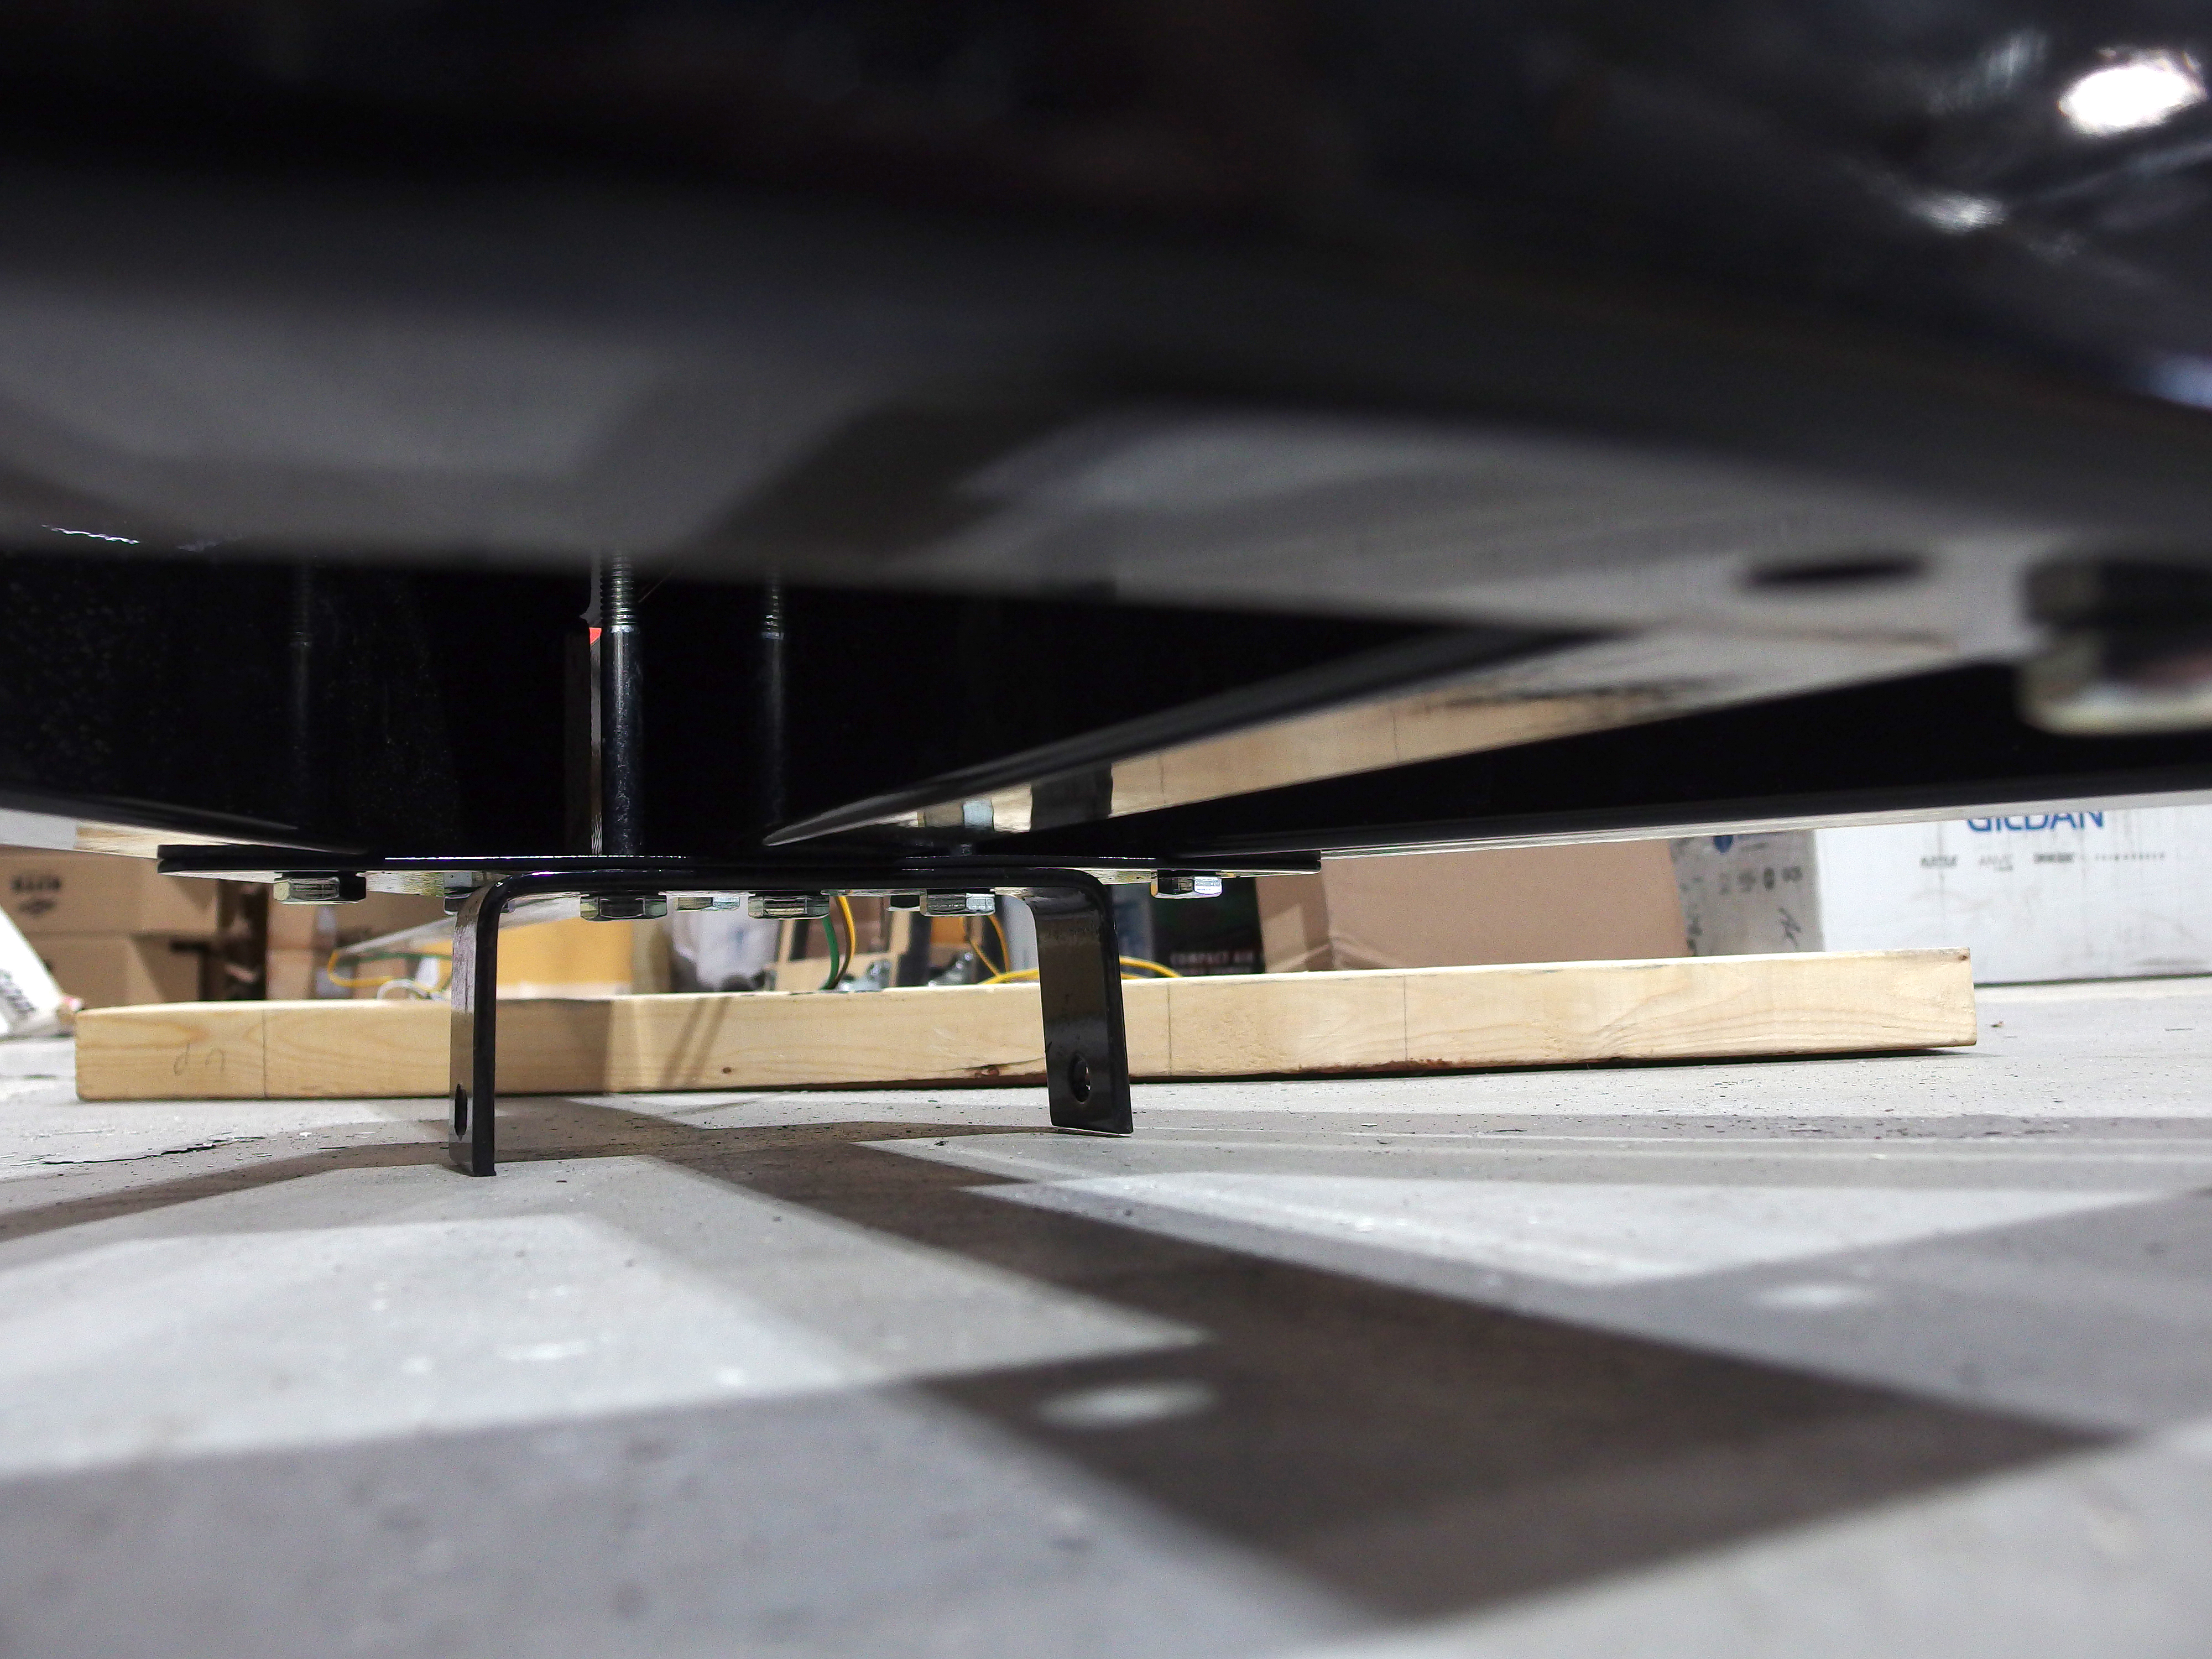
Note that the roller brackets must be installed under the inverted trailer.
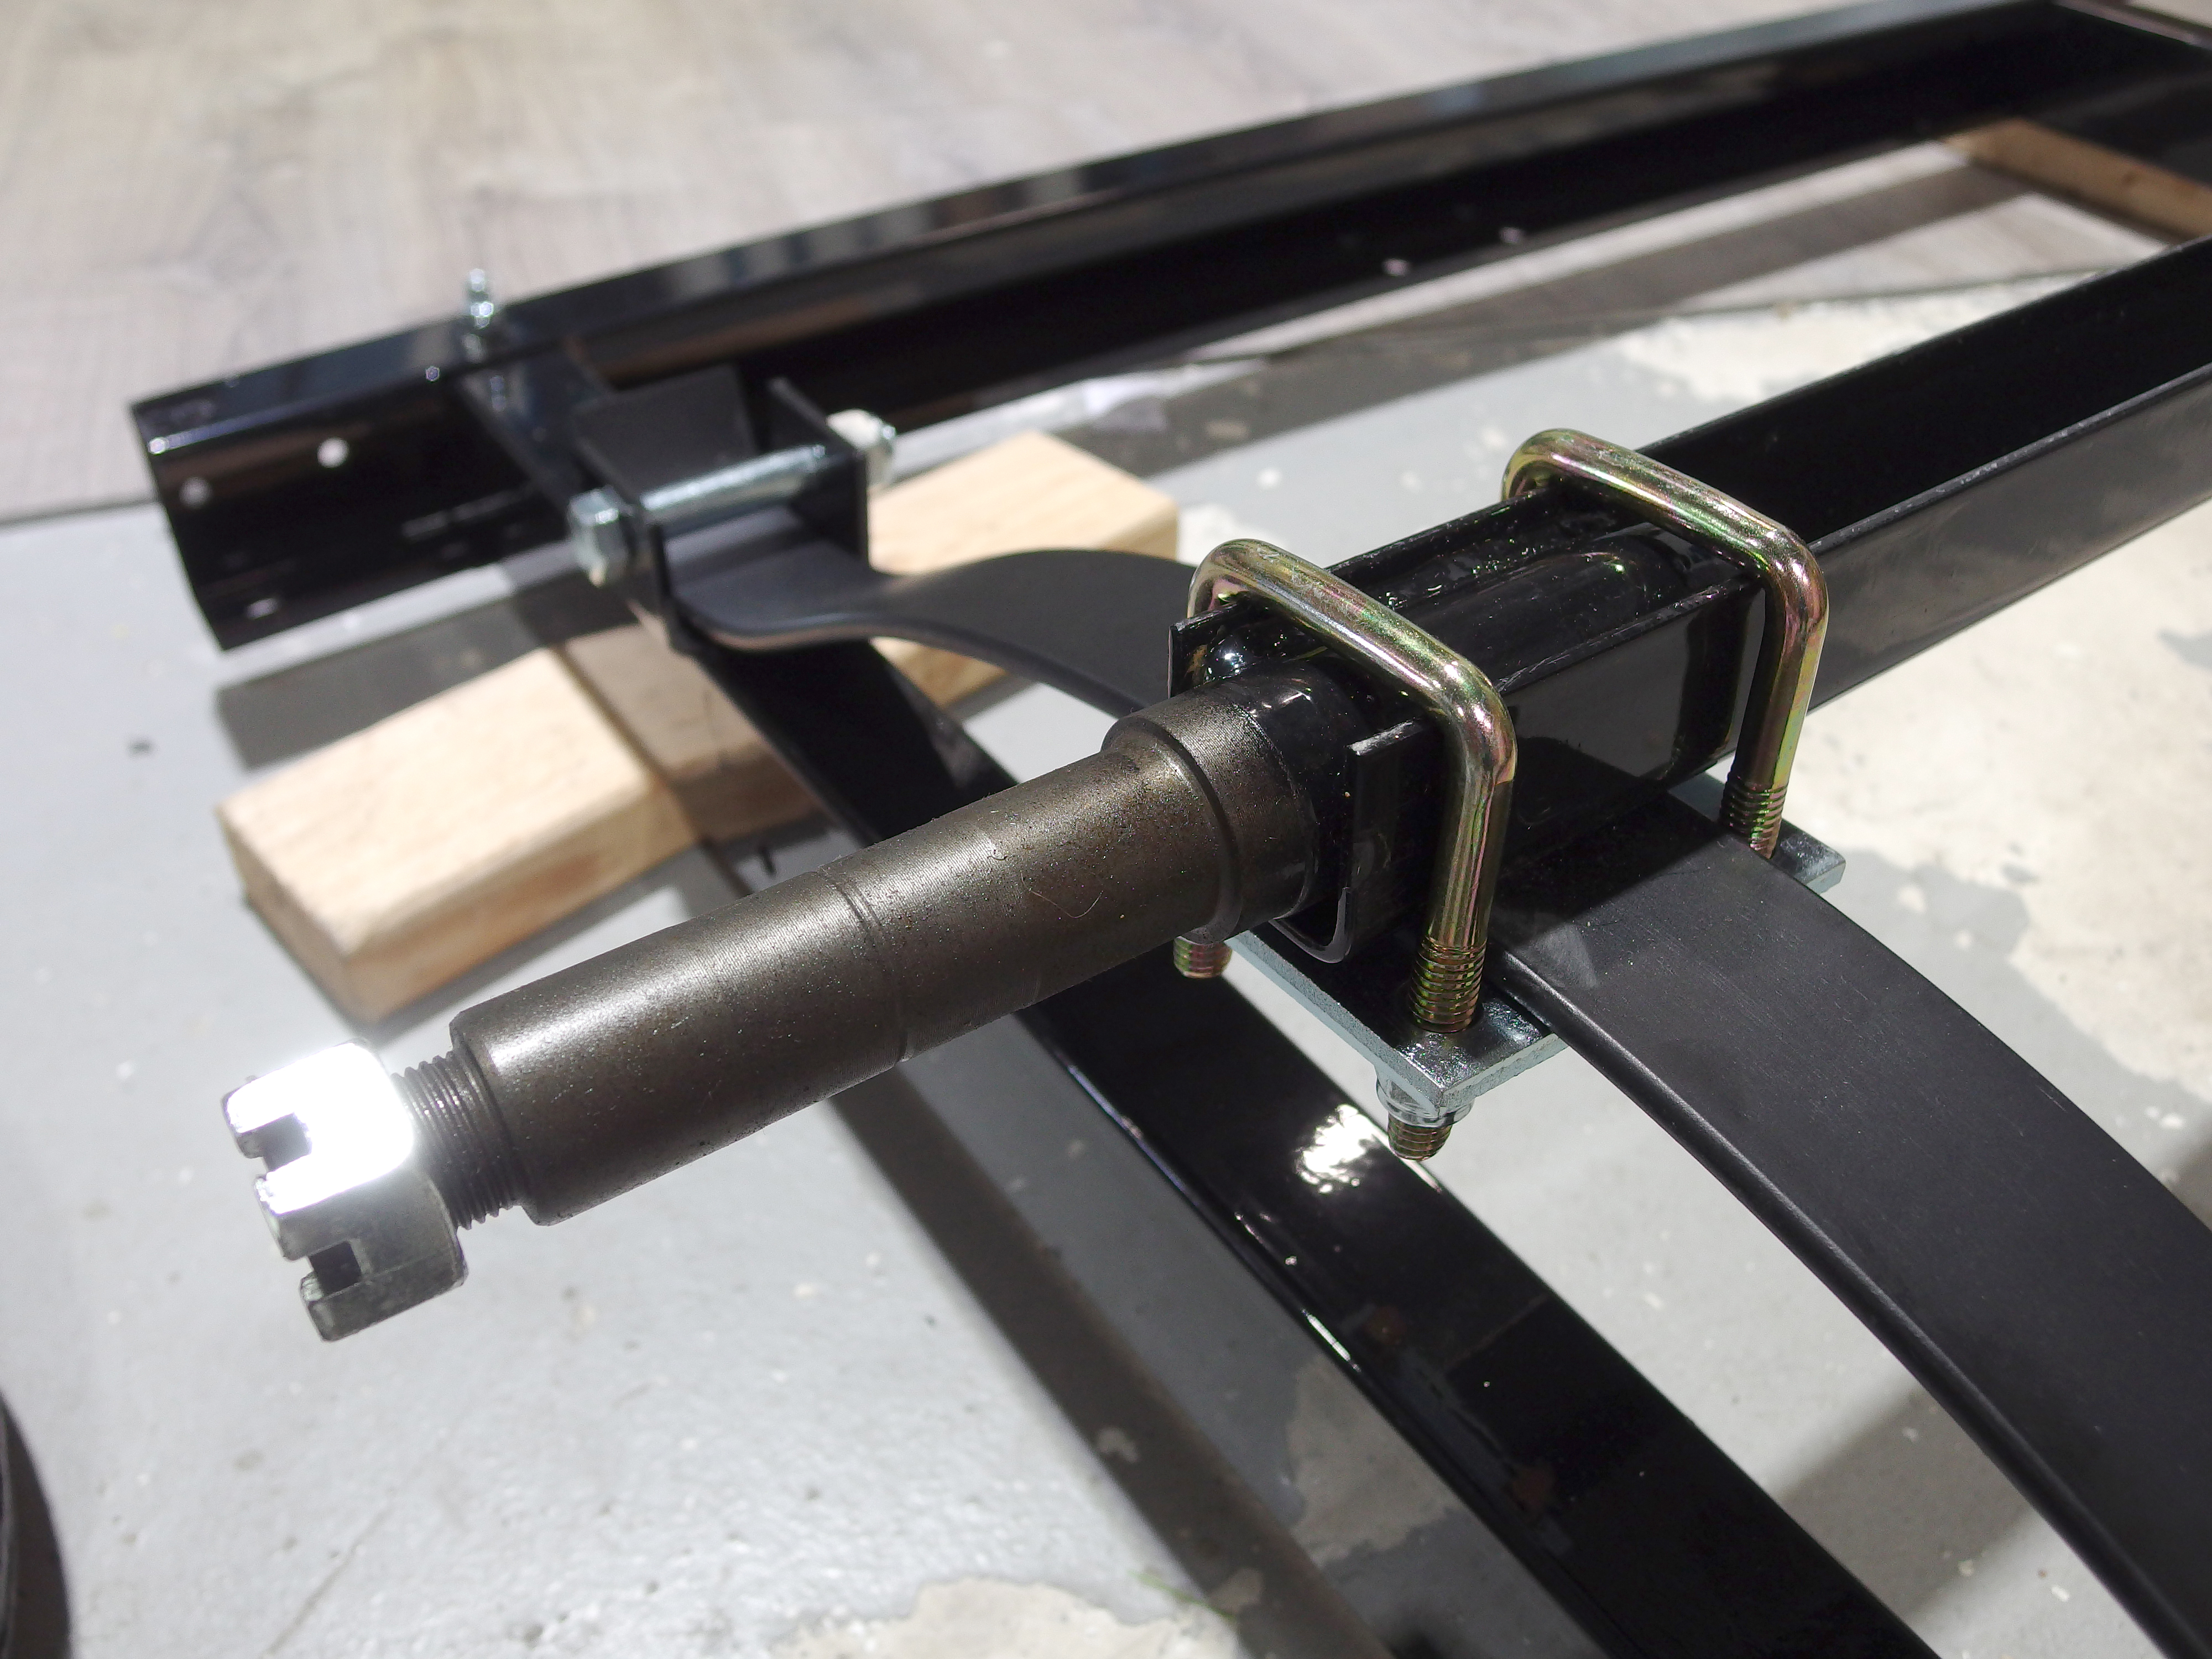
The axle tube is bolted on with the u-bolts.
The wheel hubs come pre-greased and slide over the axle shafts.
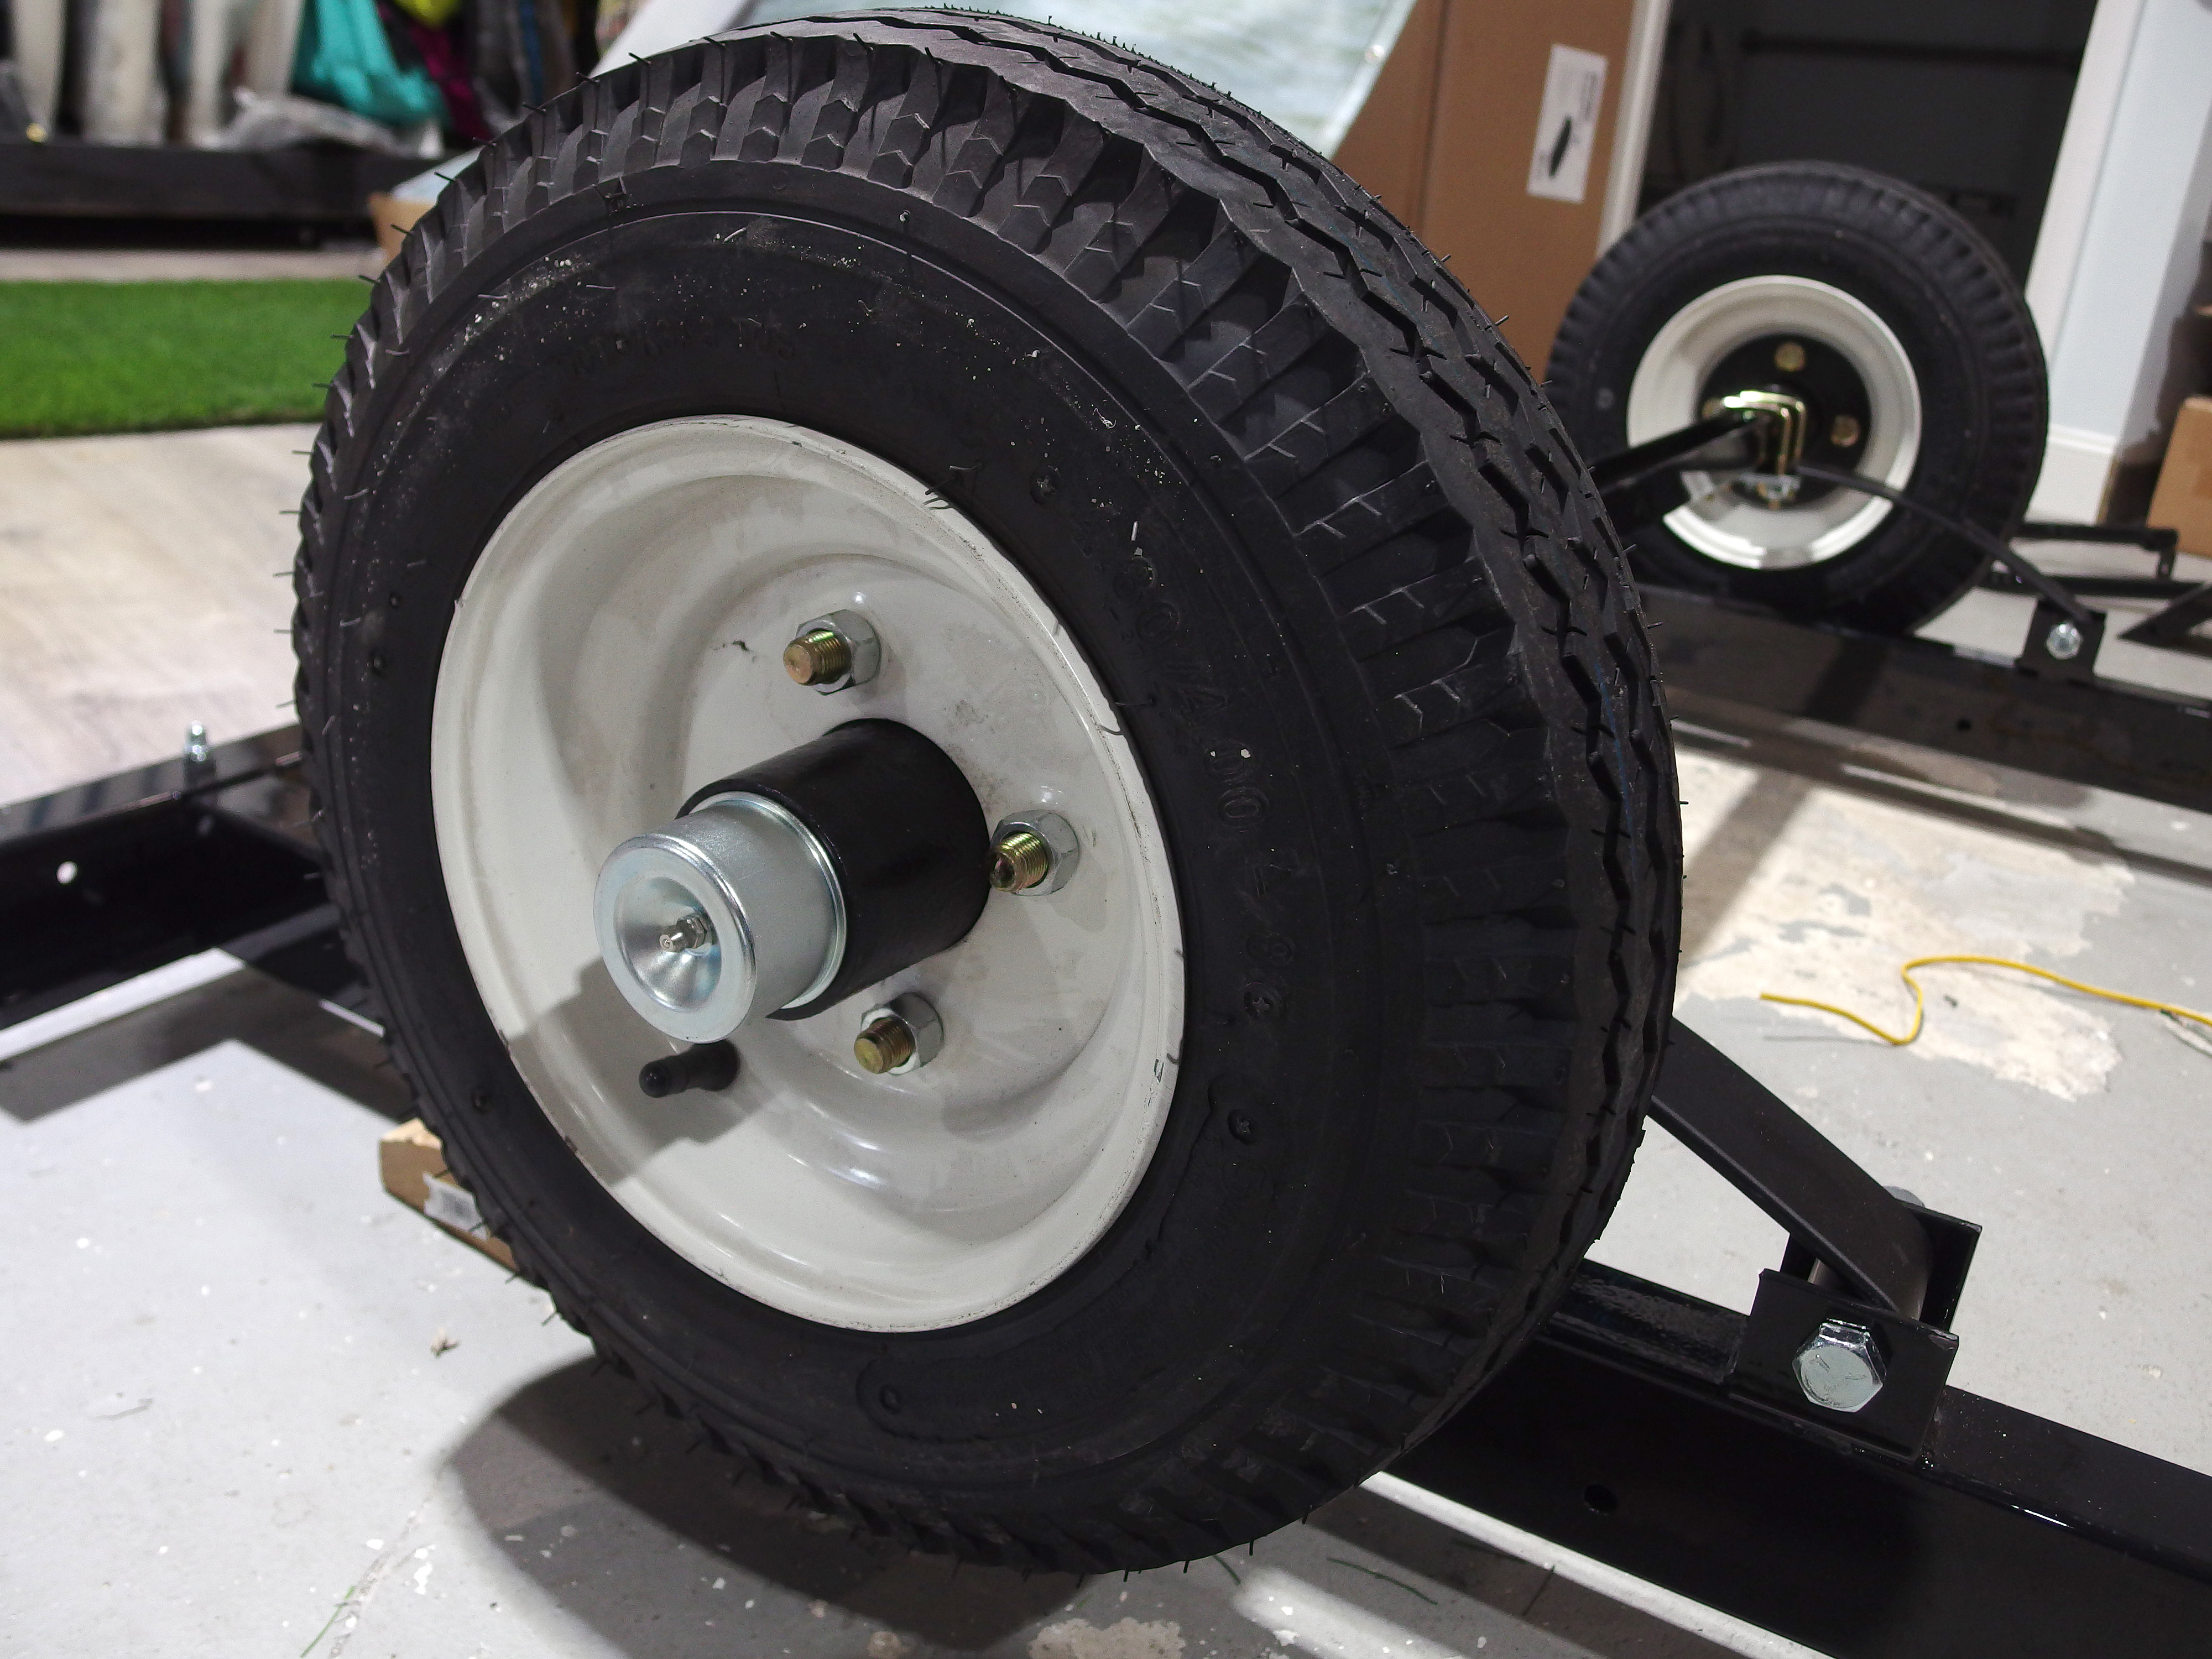
Set the axle hub nut so that the wheel freely rotates but with no play and secured with a cotter pin.
The bearing cap is tapped on with a wood block and the zerk fitting attaches last.
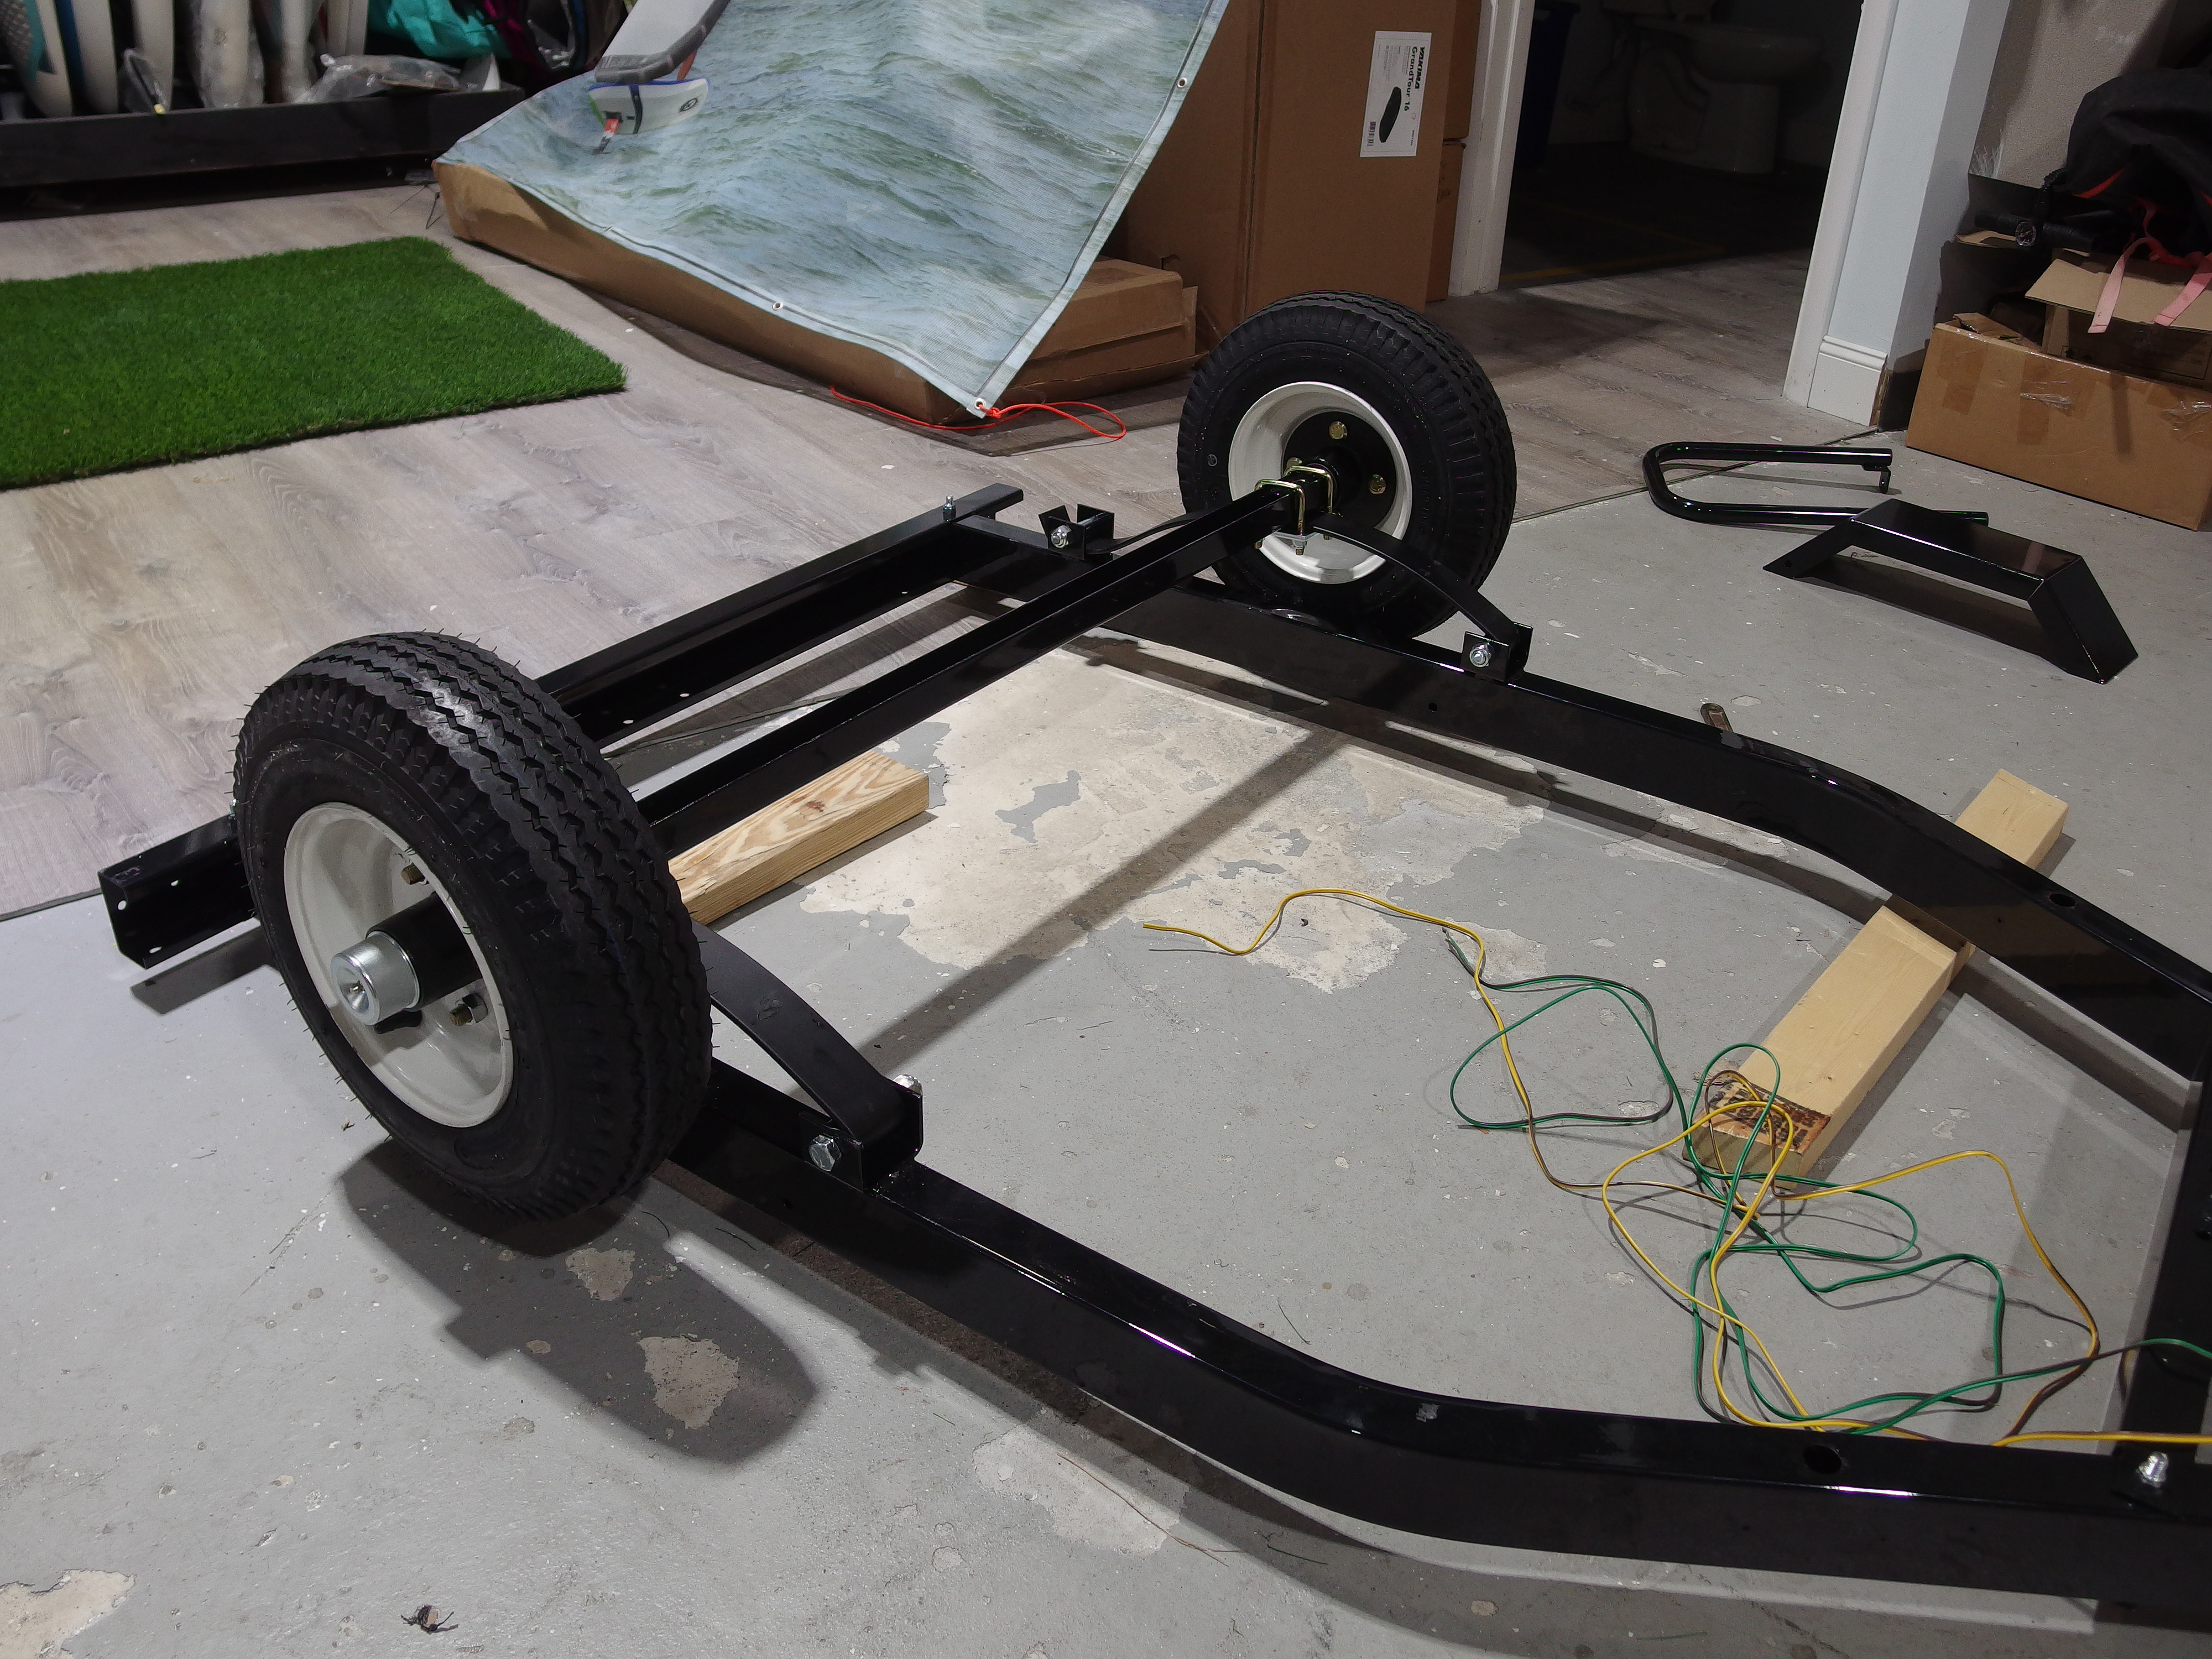
The finished underside of the trailer. It’s time to flip the trailer over and install the rest of it.
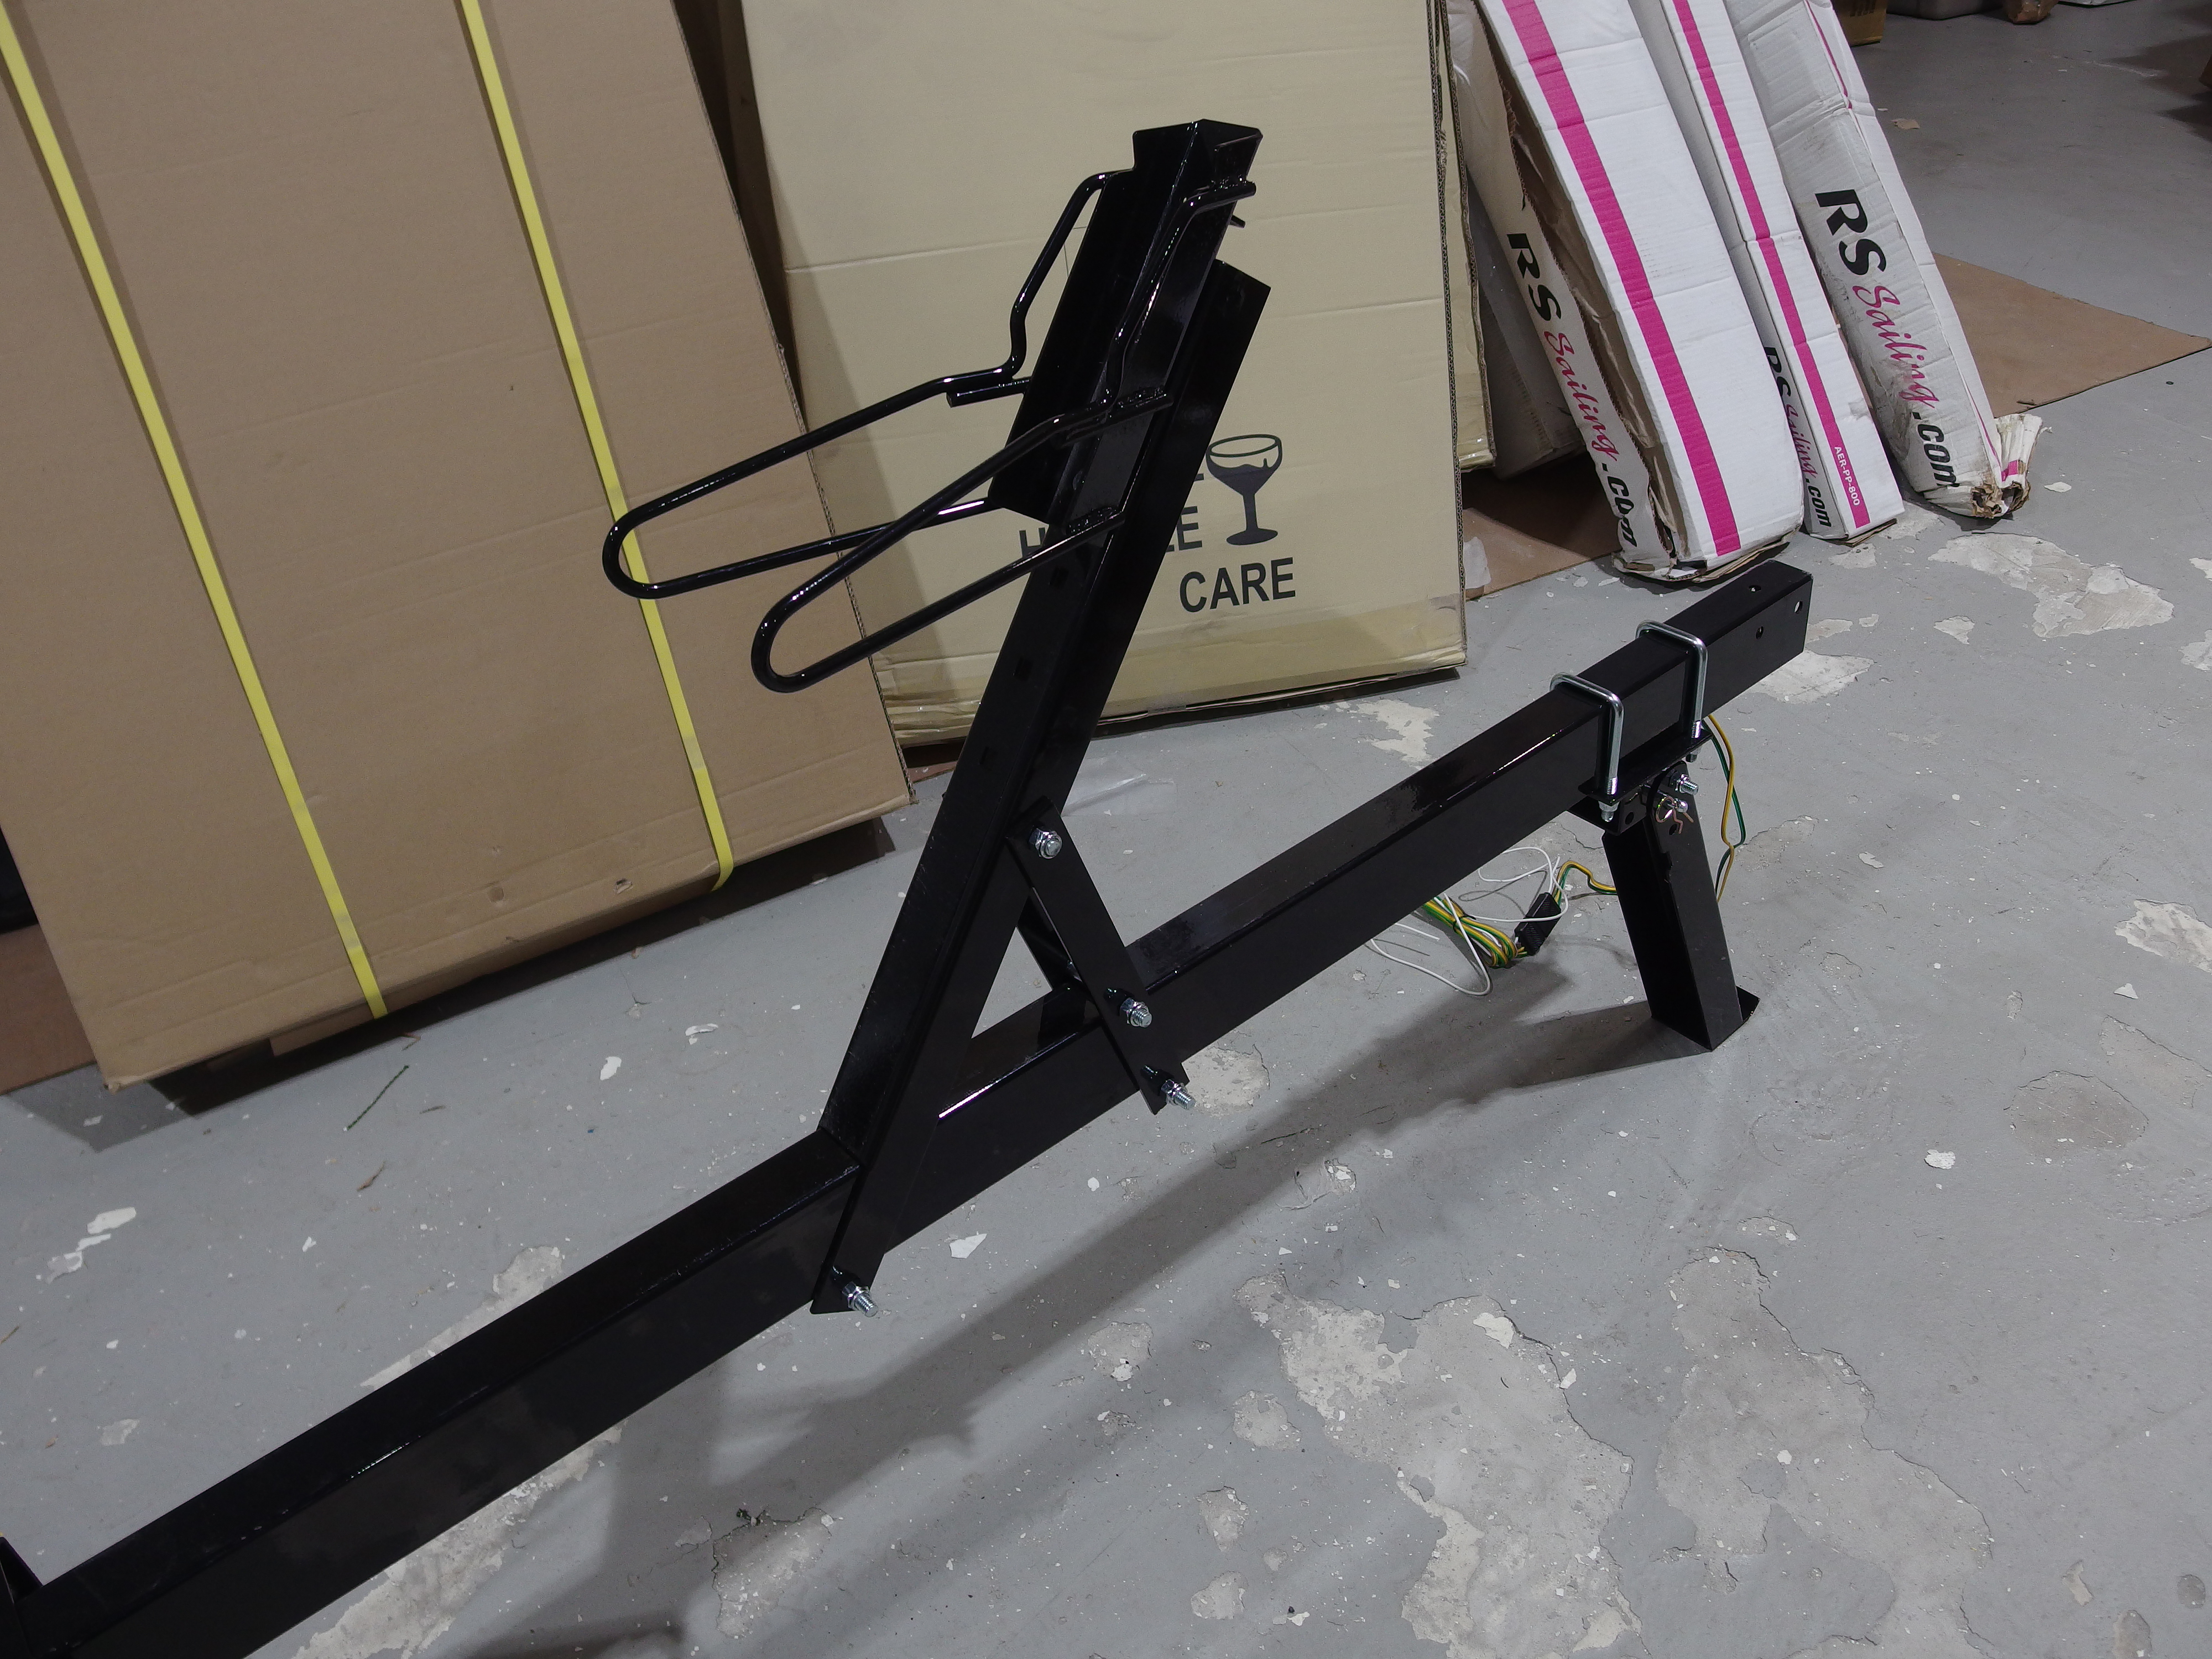
The bow stop for the dolly/sailboat is installed next. Leave these bolts somewhat loose as they will likely need to be re-positioned once the Sailboat Dolly is loaded on top.
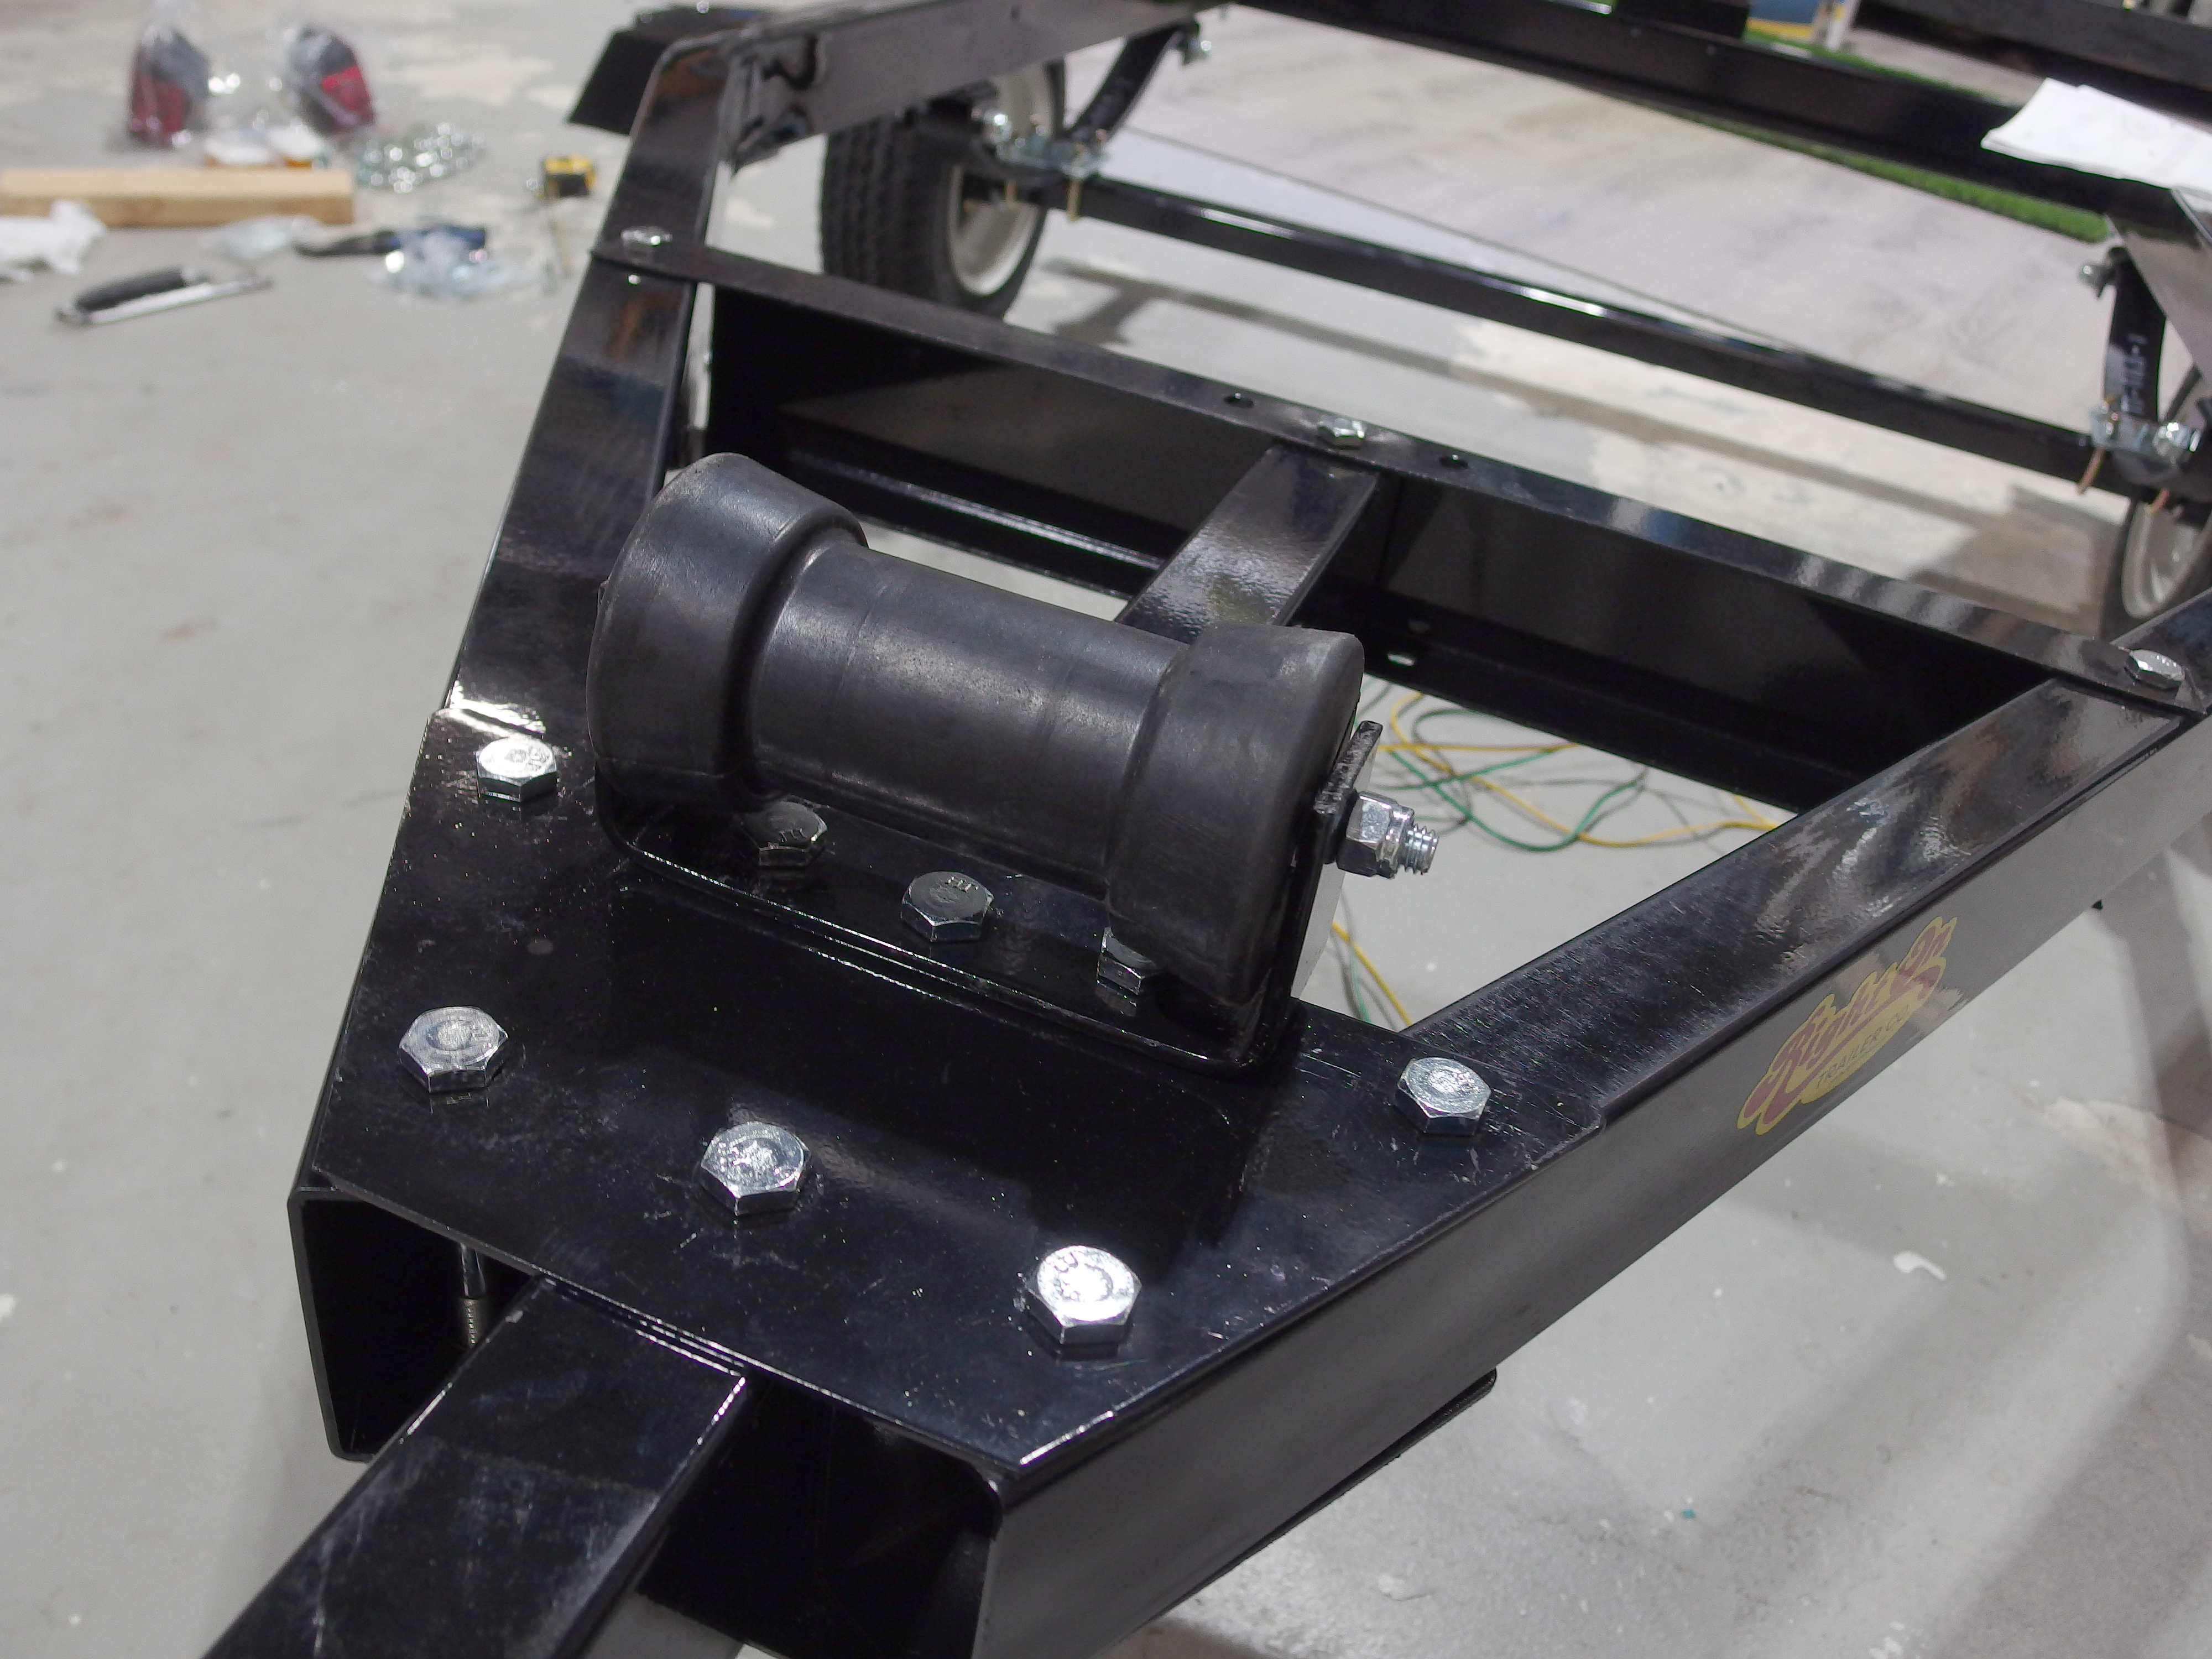
The front dolly roller.
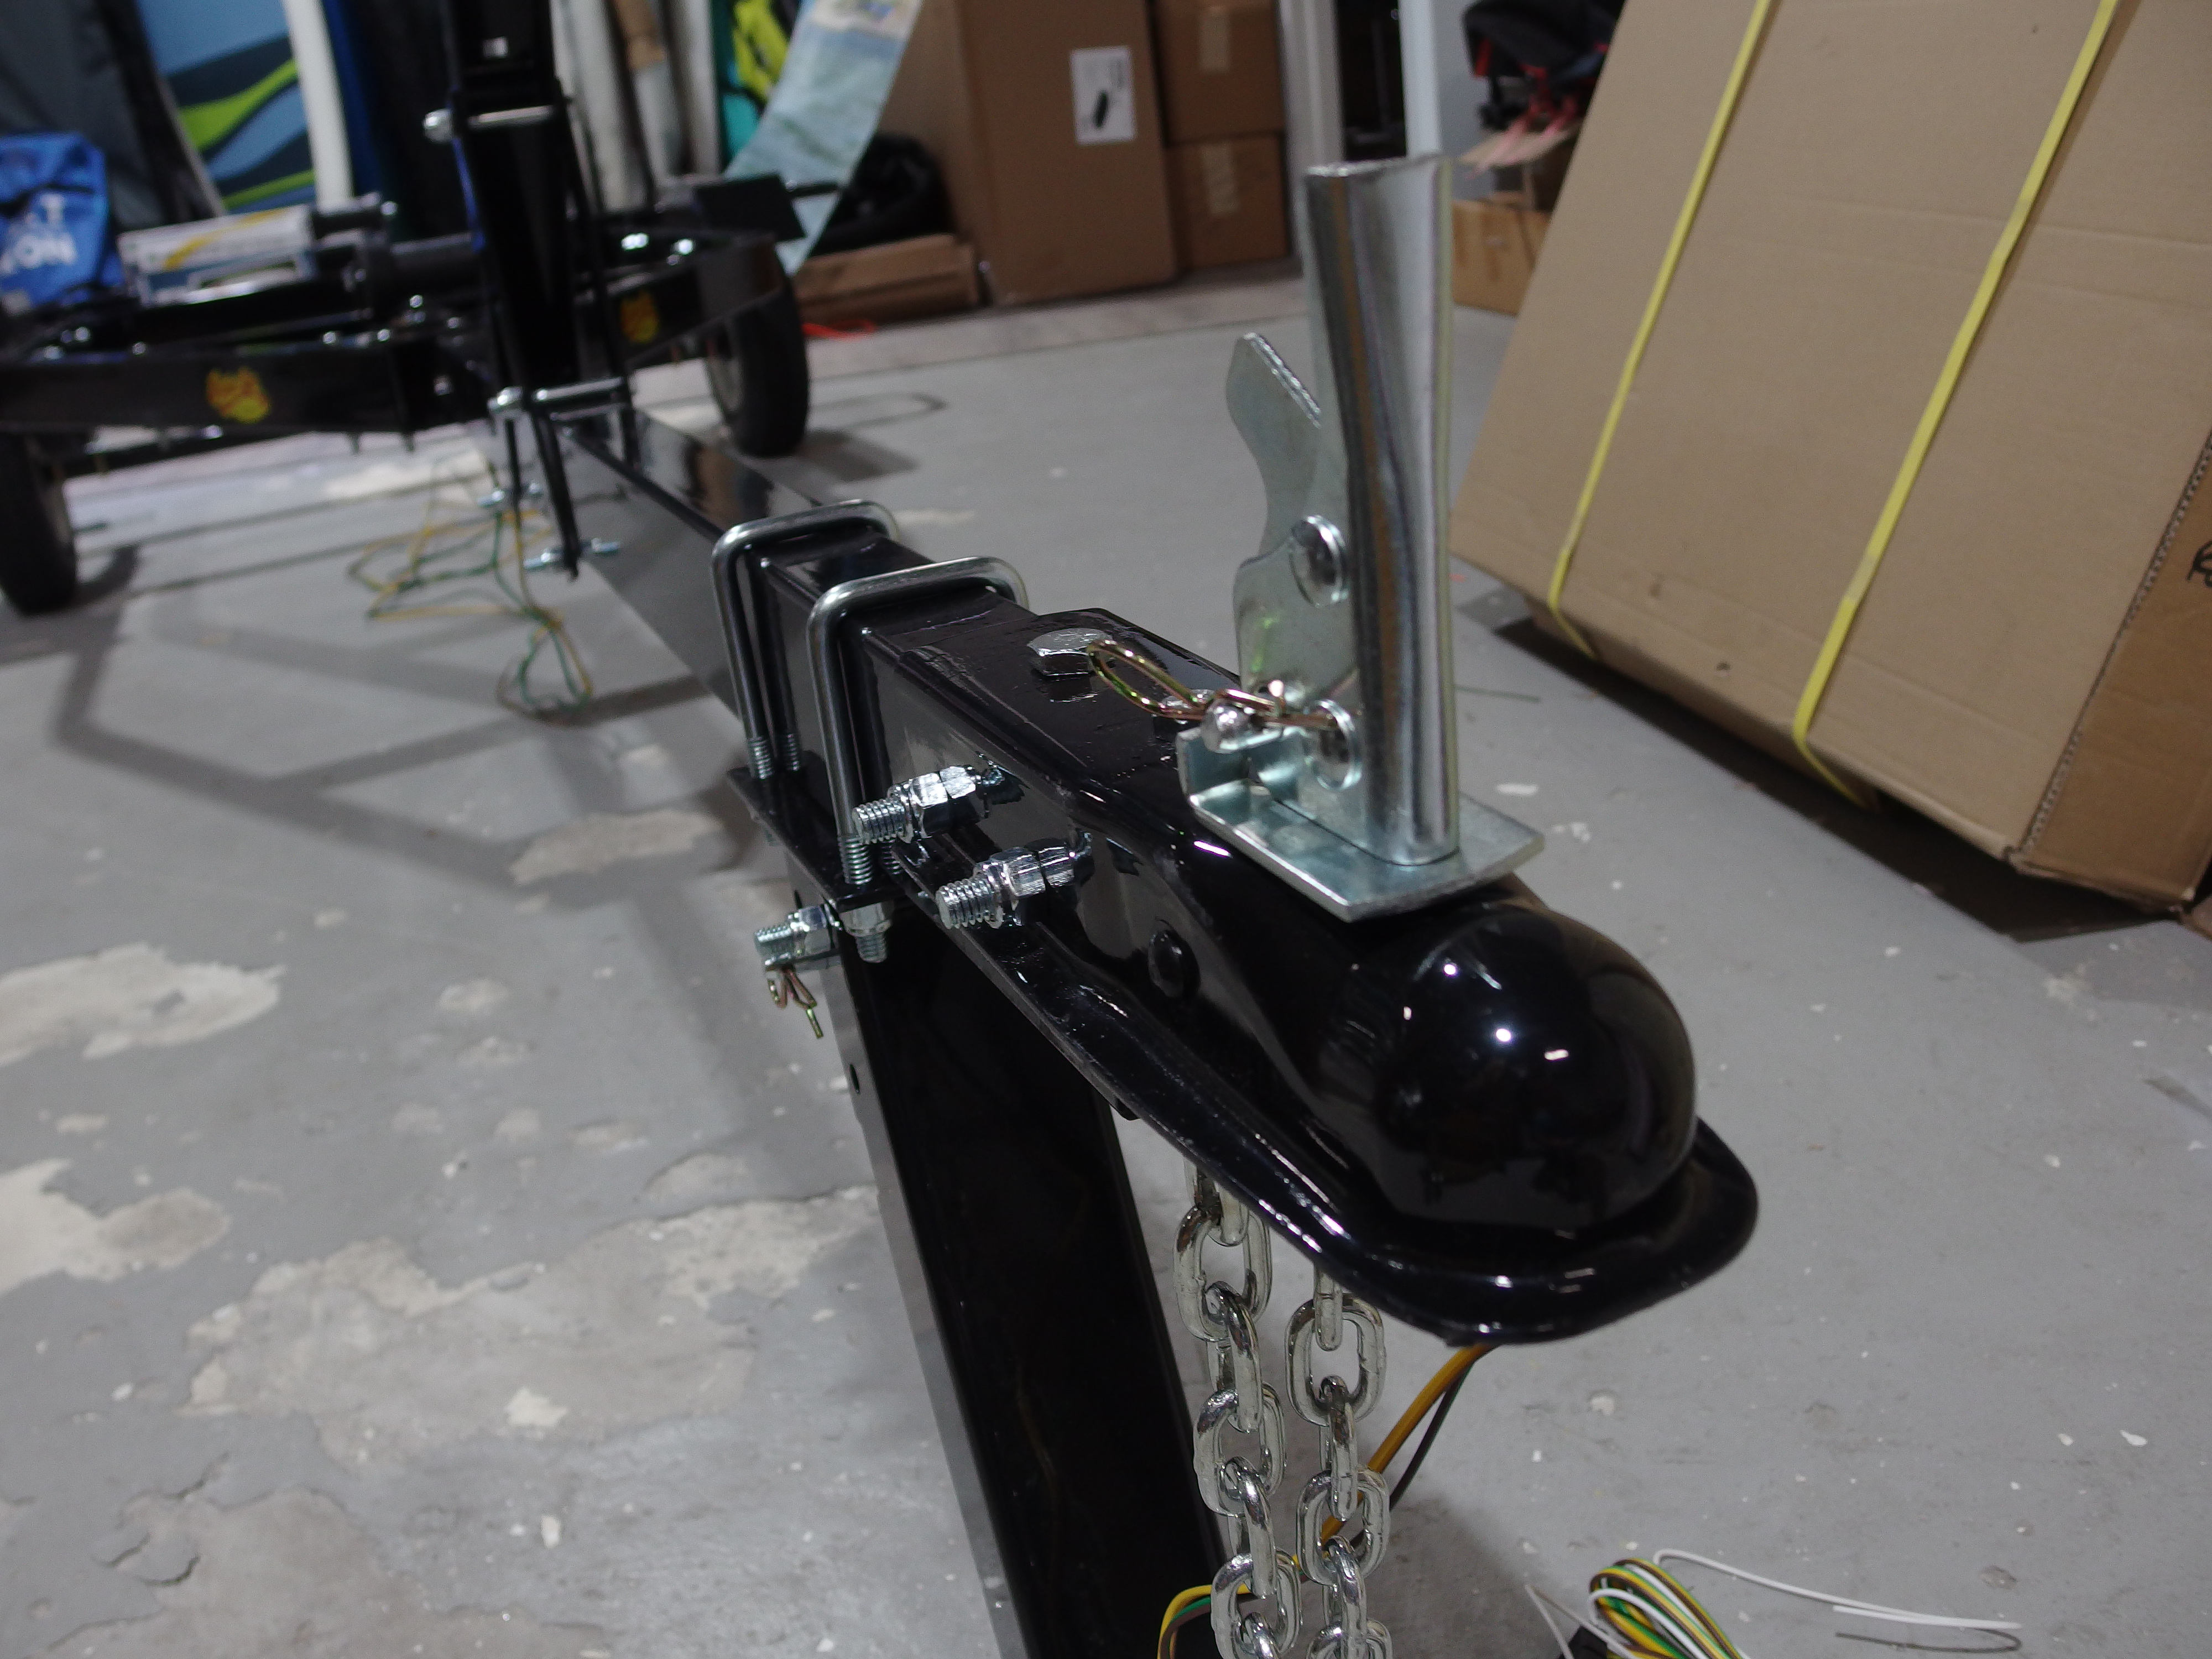
The tongue coupler, safety chains and kick stand are installed next.
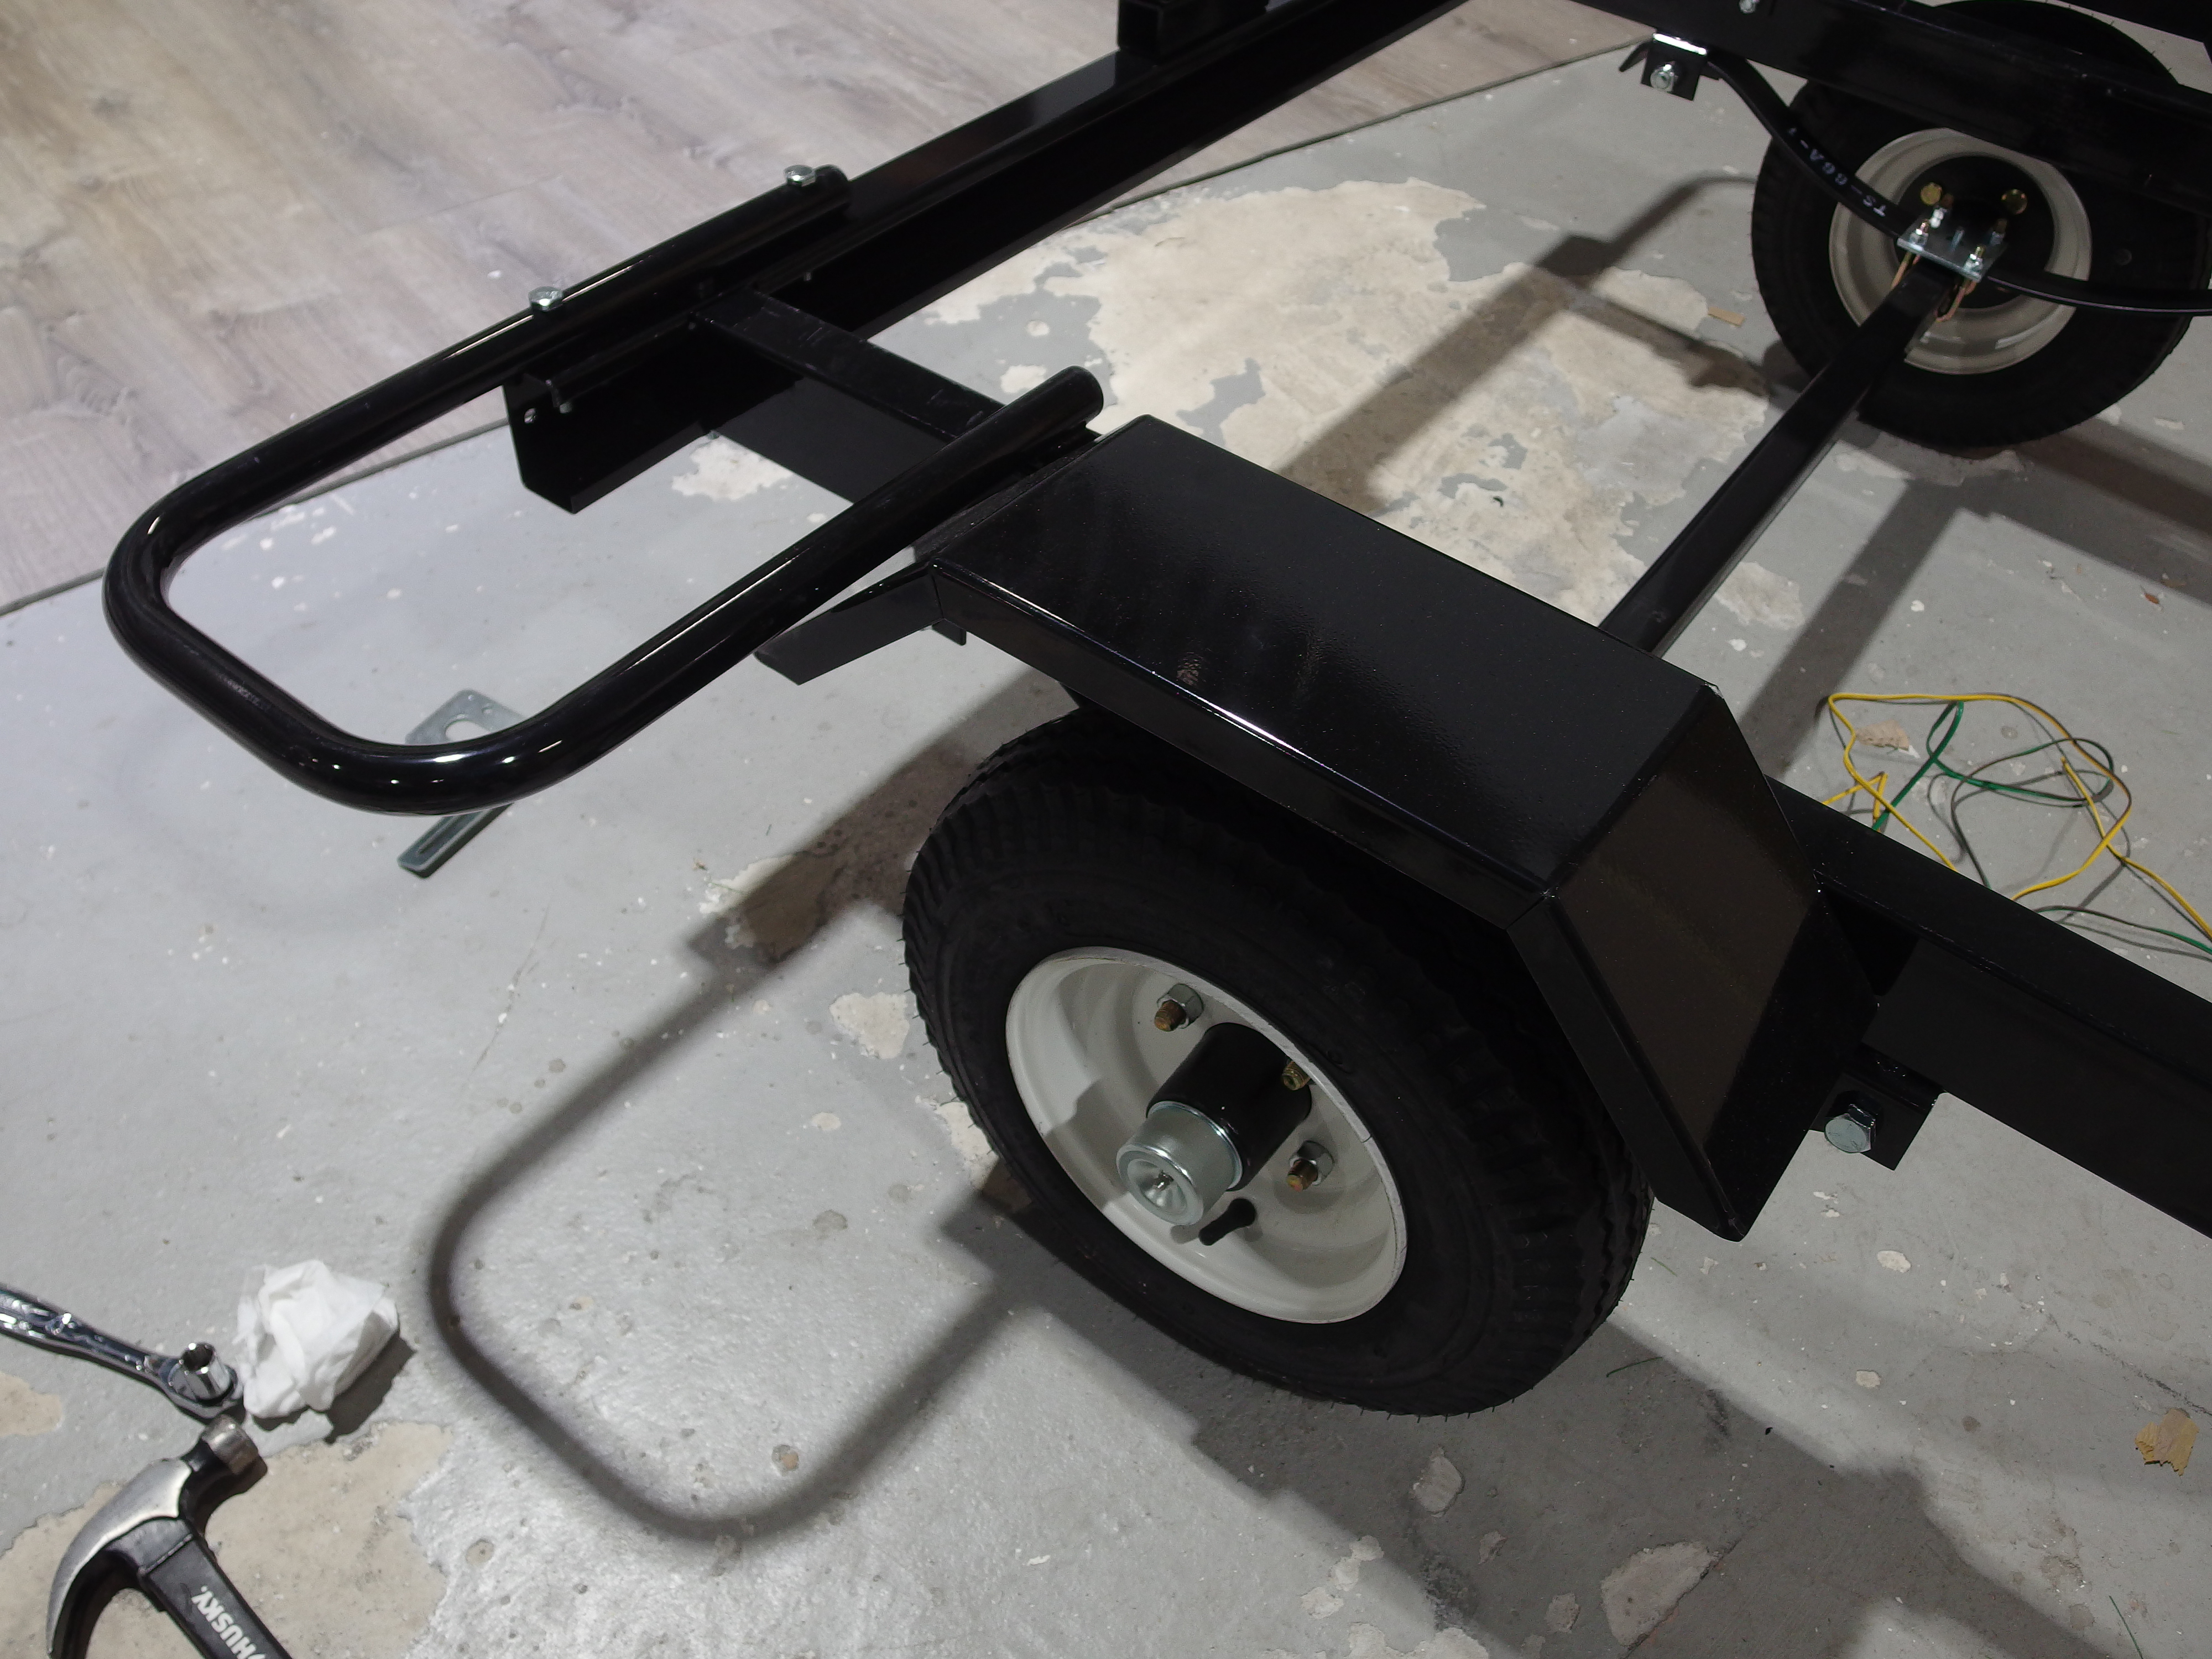
The fenders bolt on over the wheels along with the dolly wheel supports.
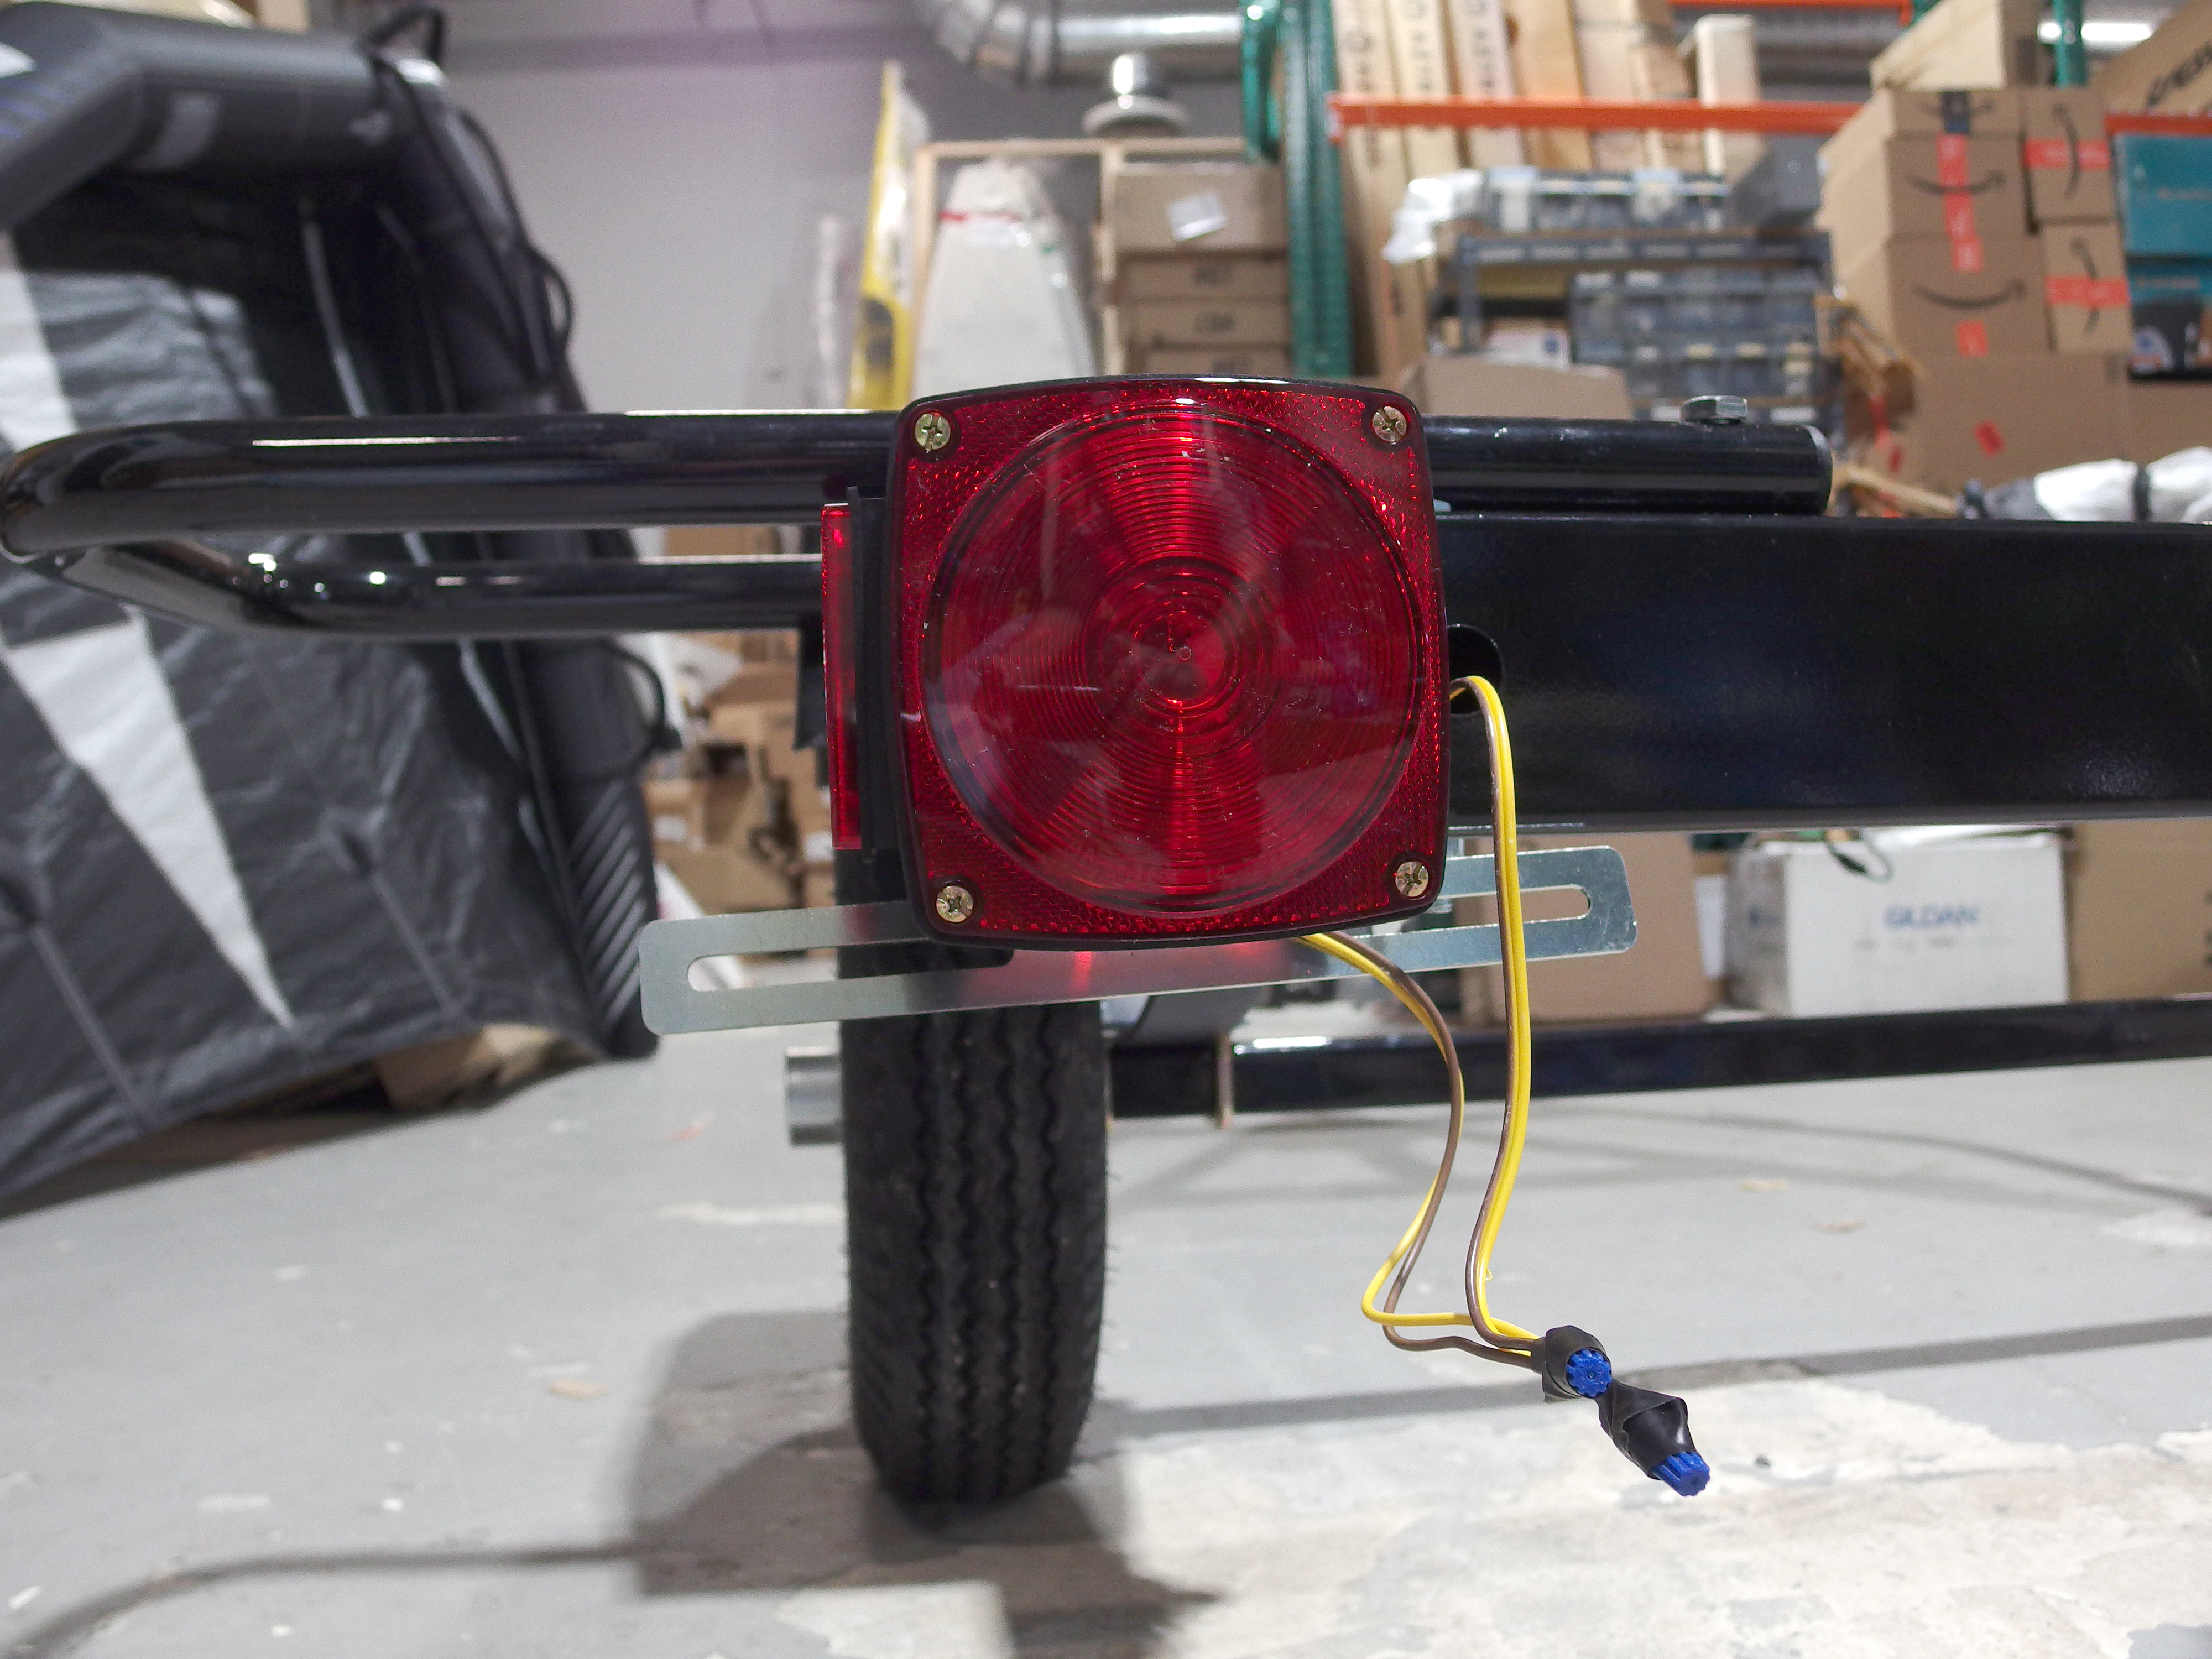
The wiring is run through each frame tube. Again using a stiff wire makes this simpler.
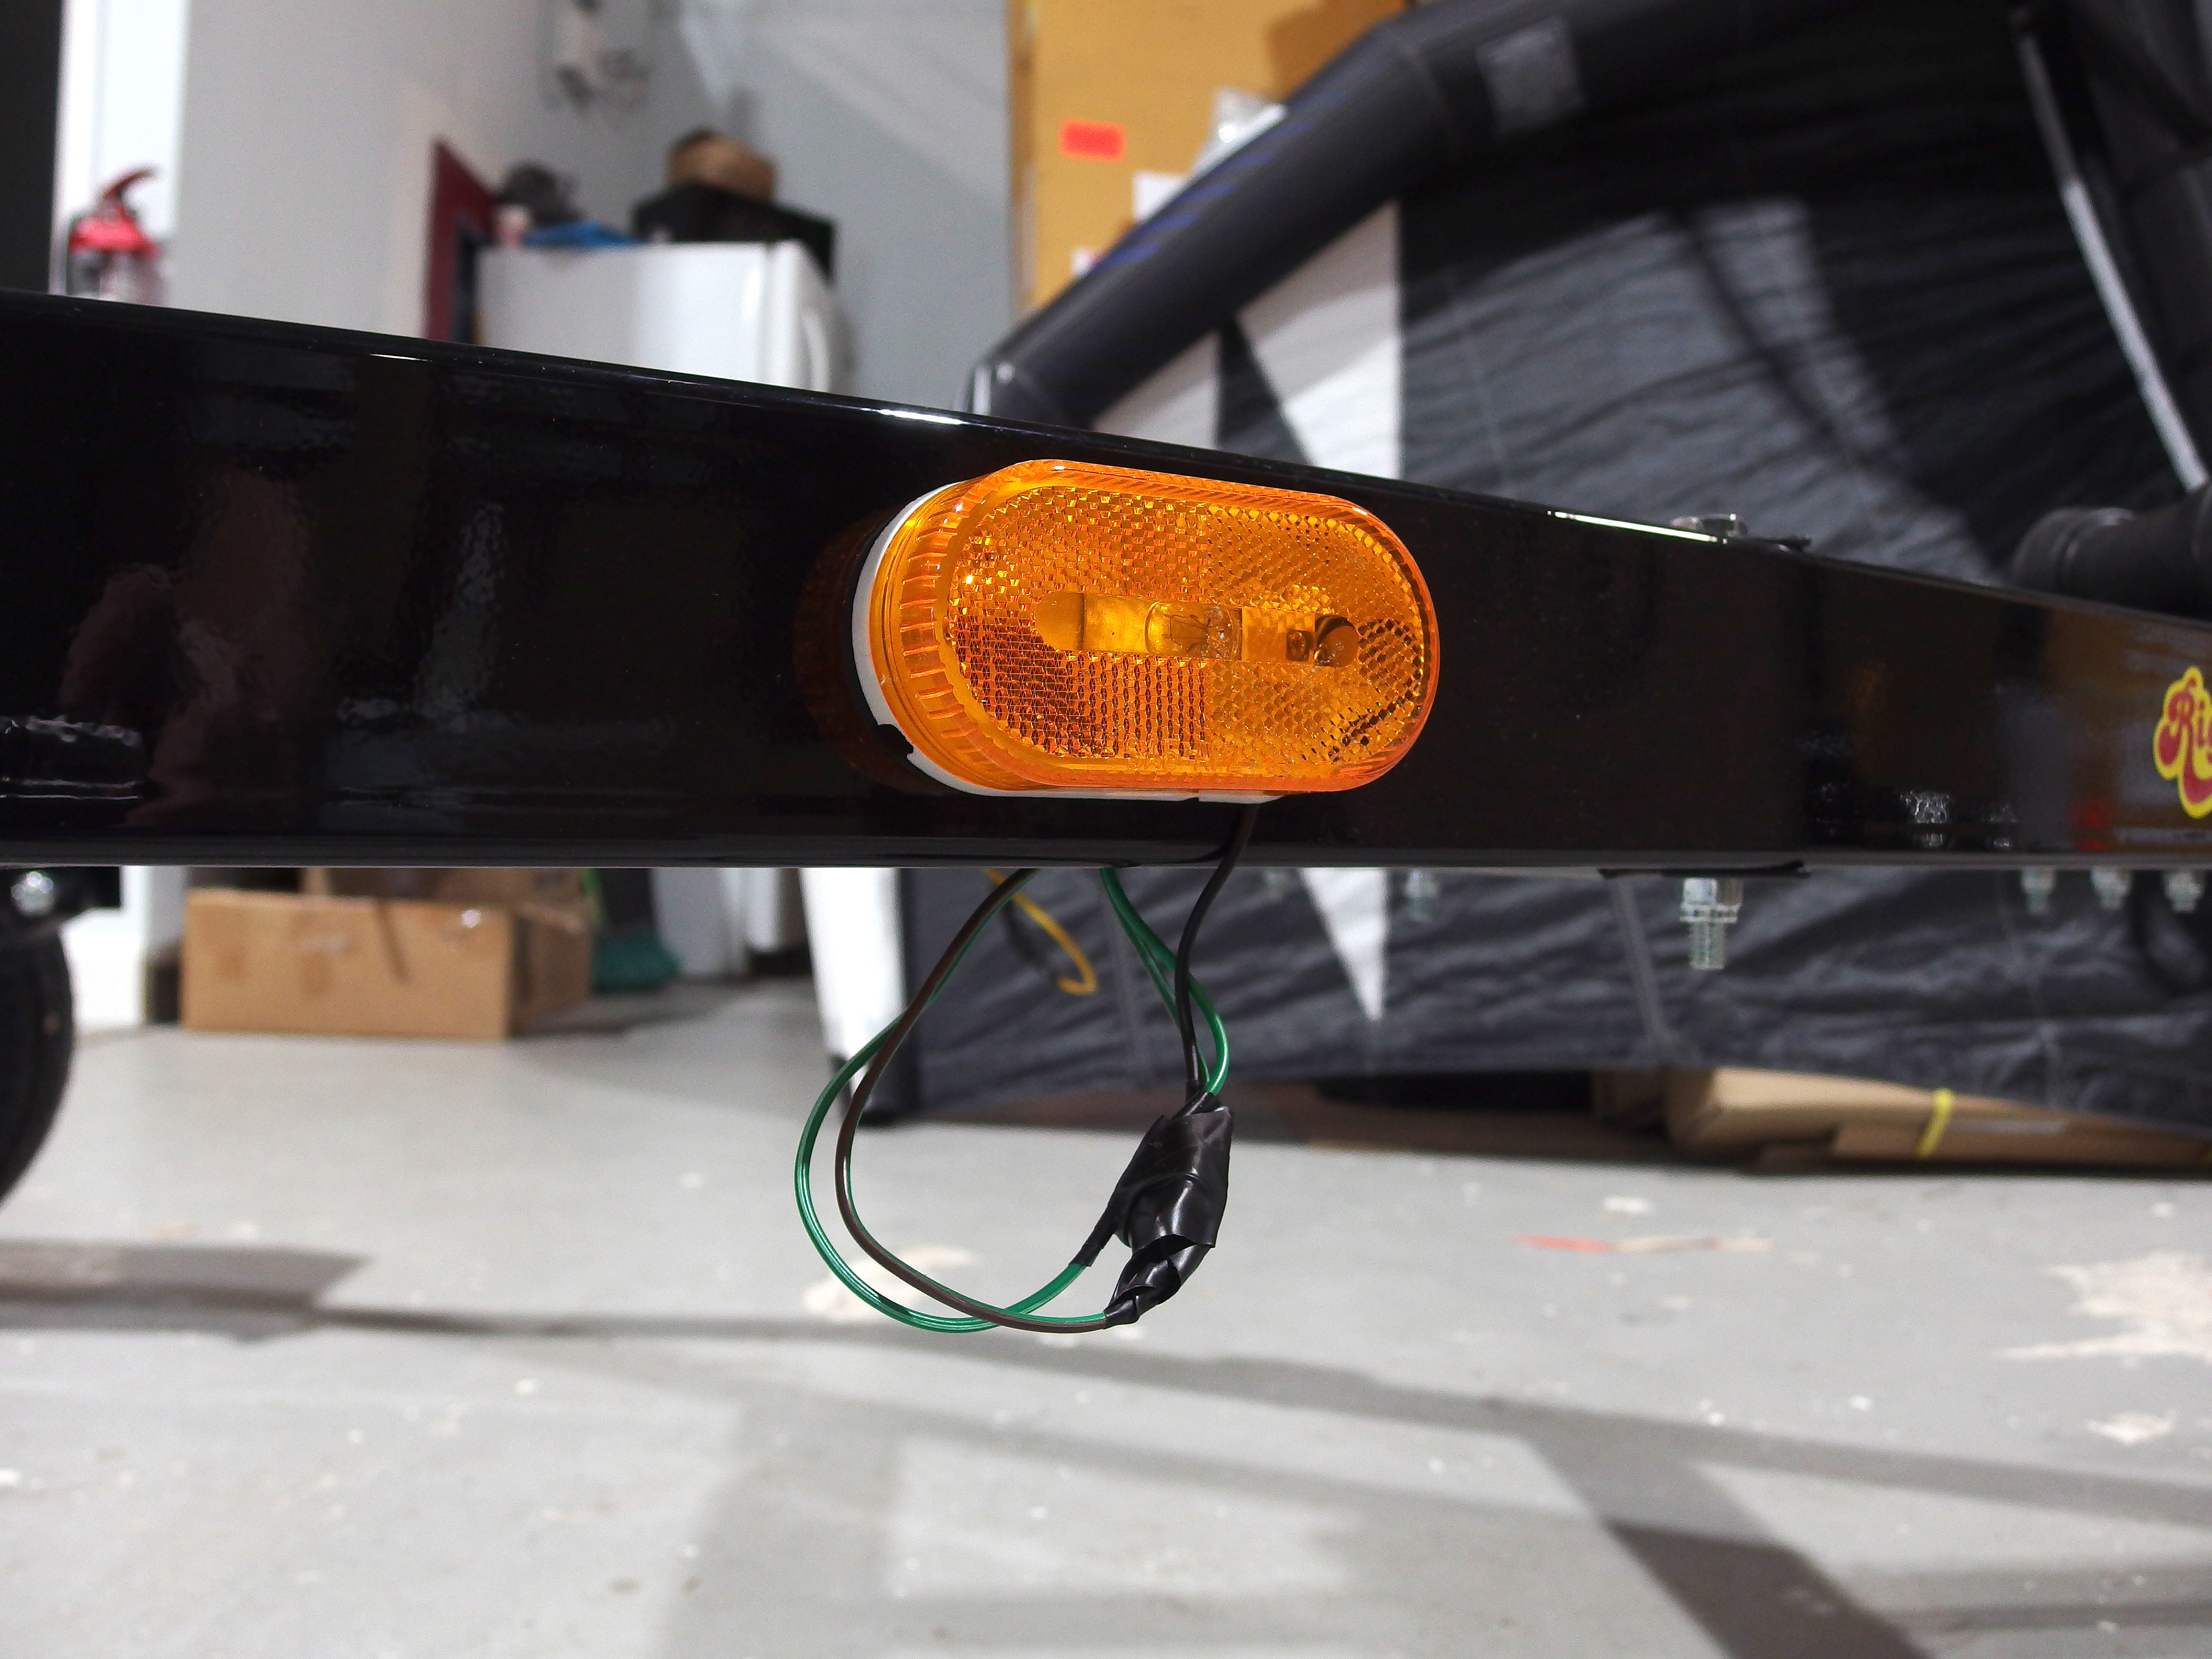
The side running lights install in the marked holes. The wires need to be pulled out through the hole in the frame.
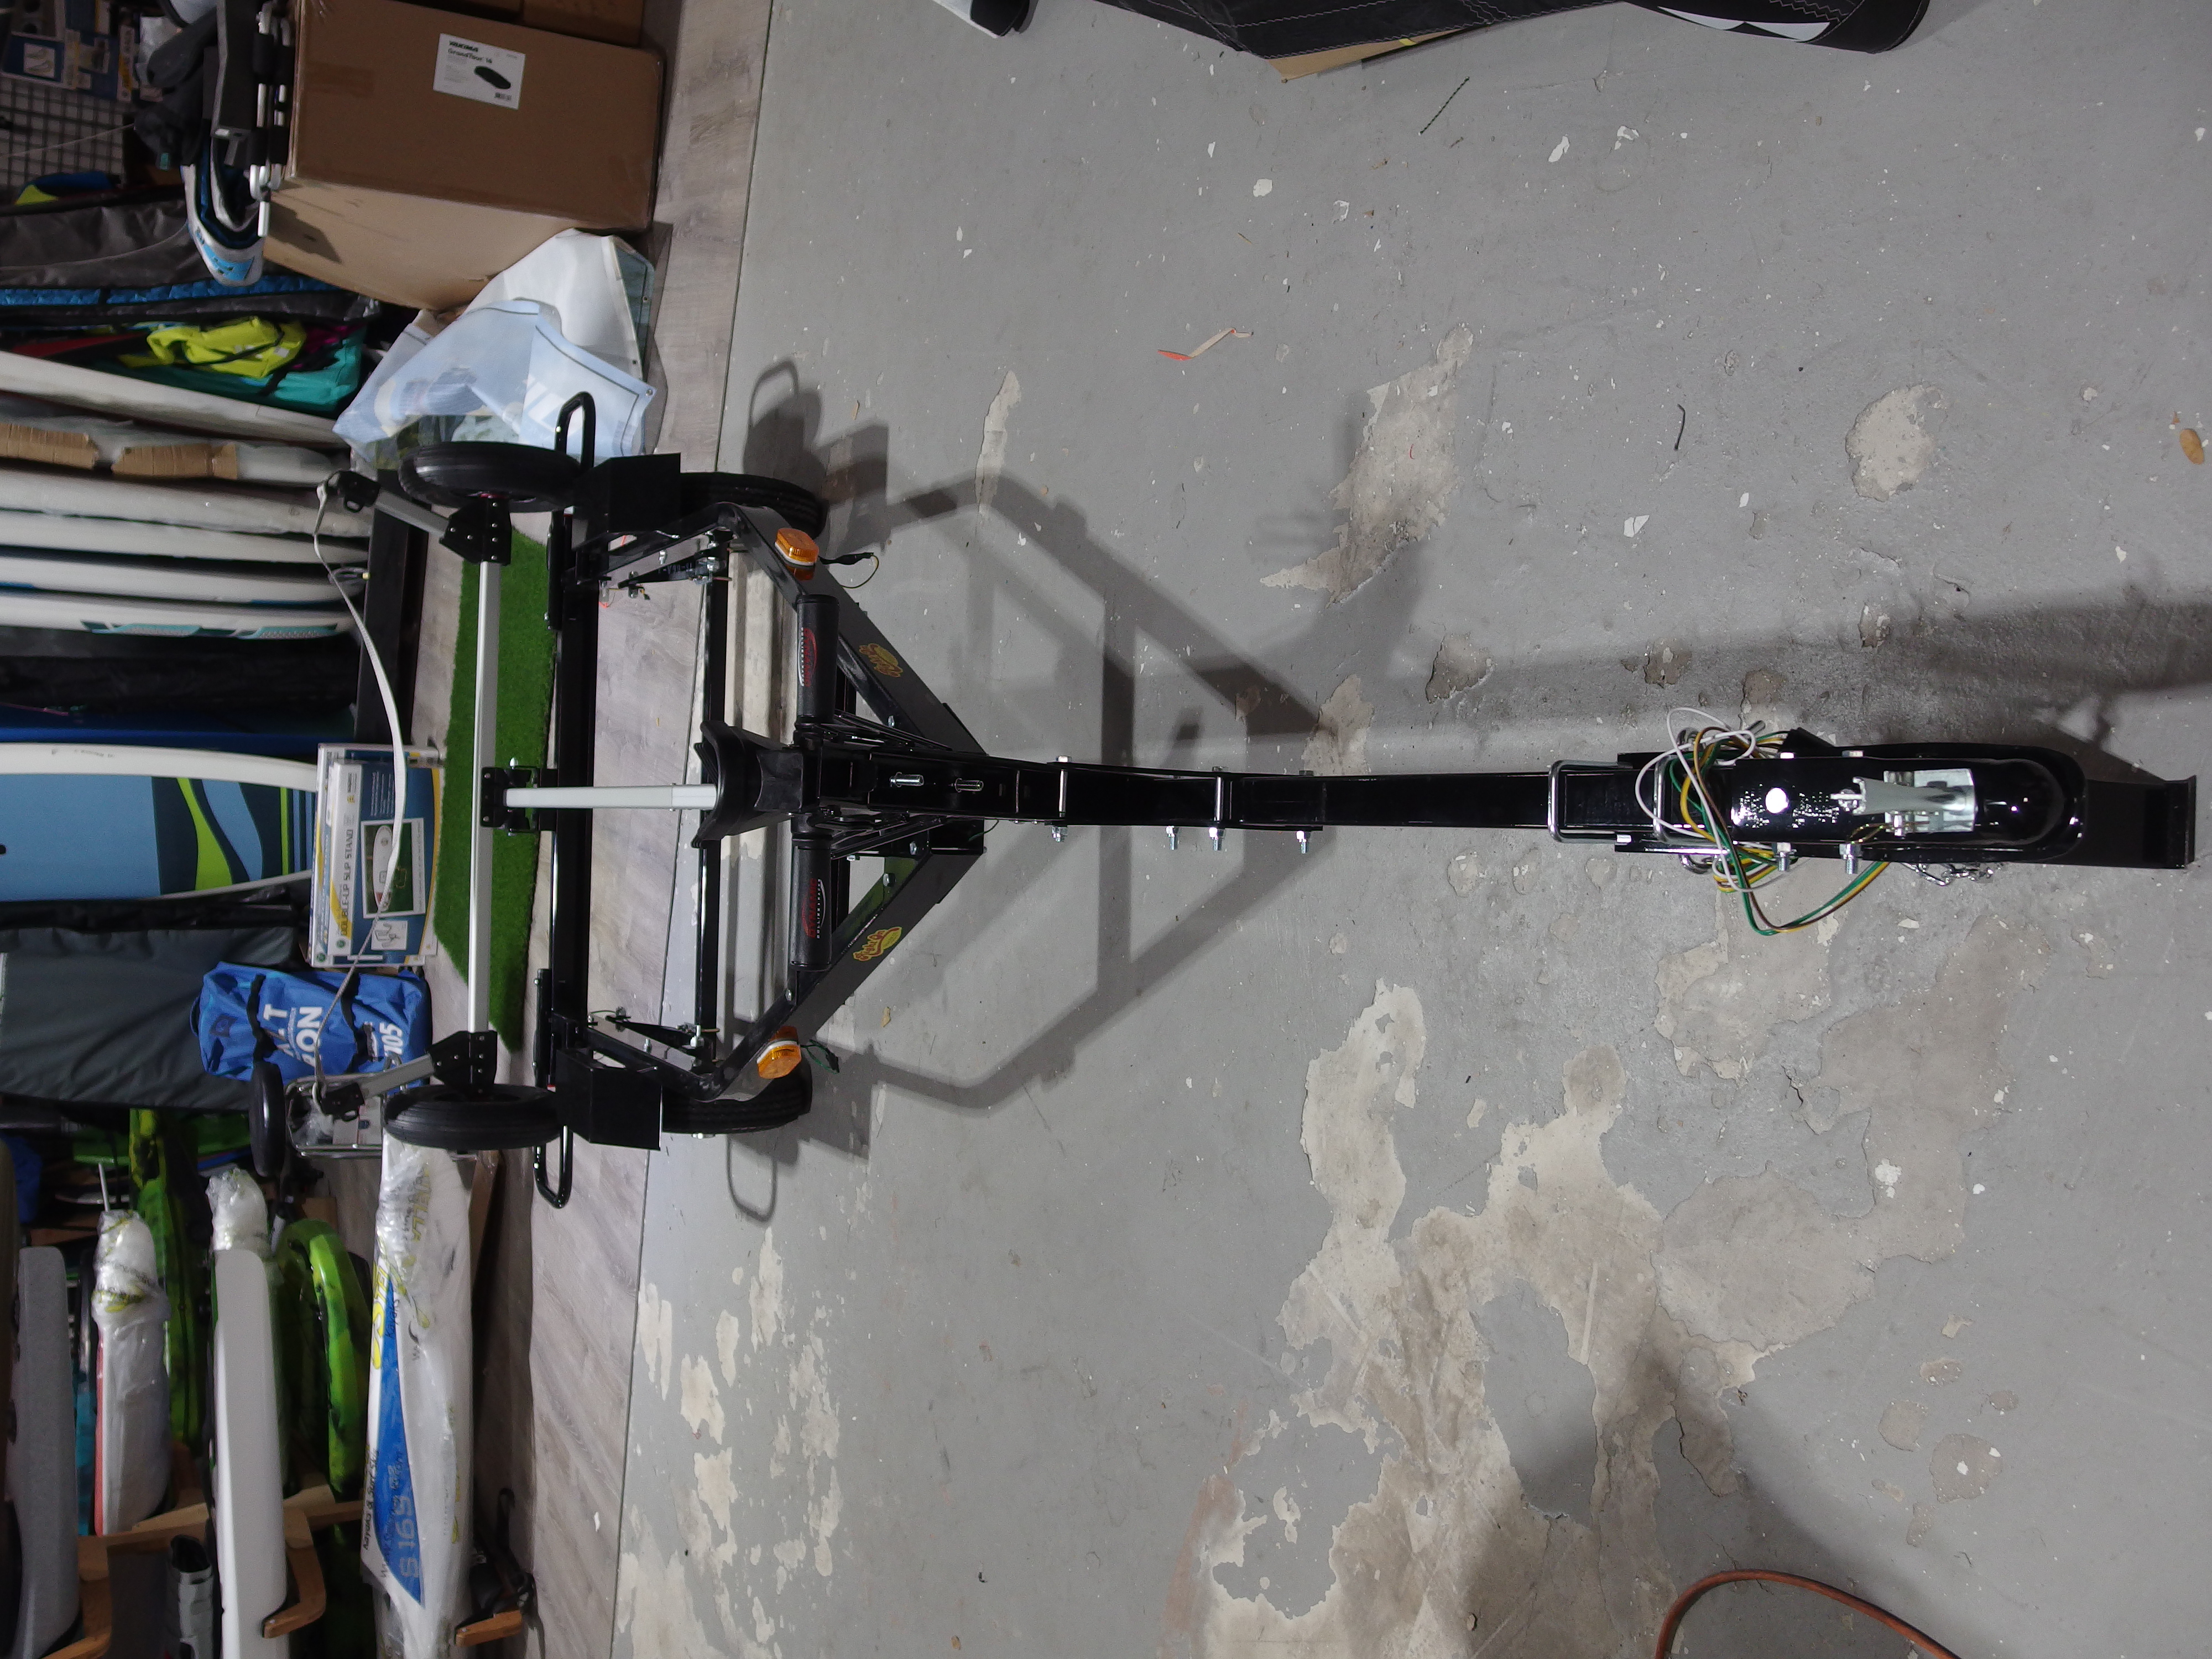
The assembled trailer with the Sailboat Dolly on top.
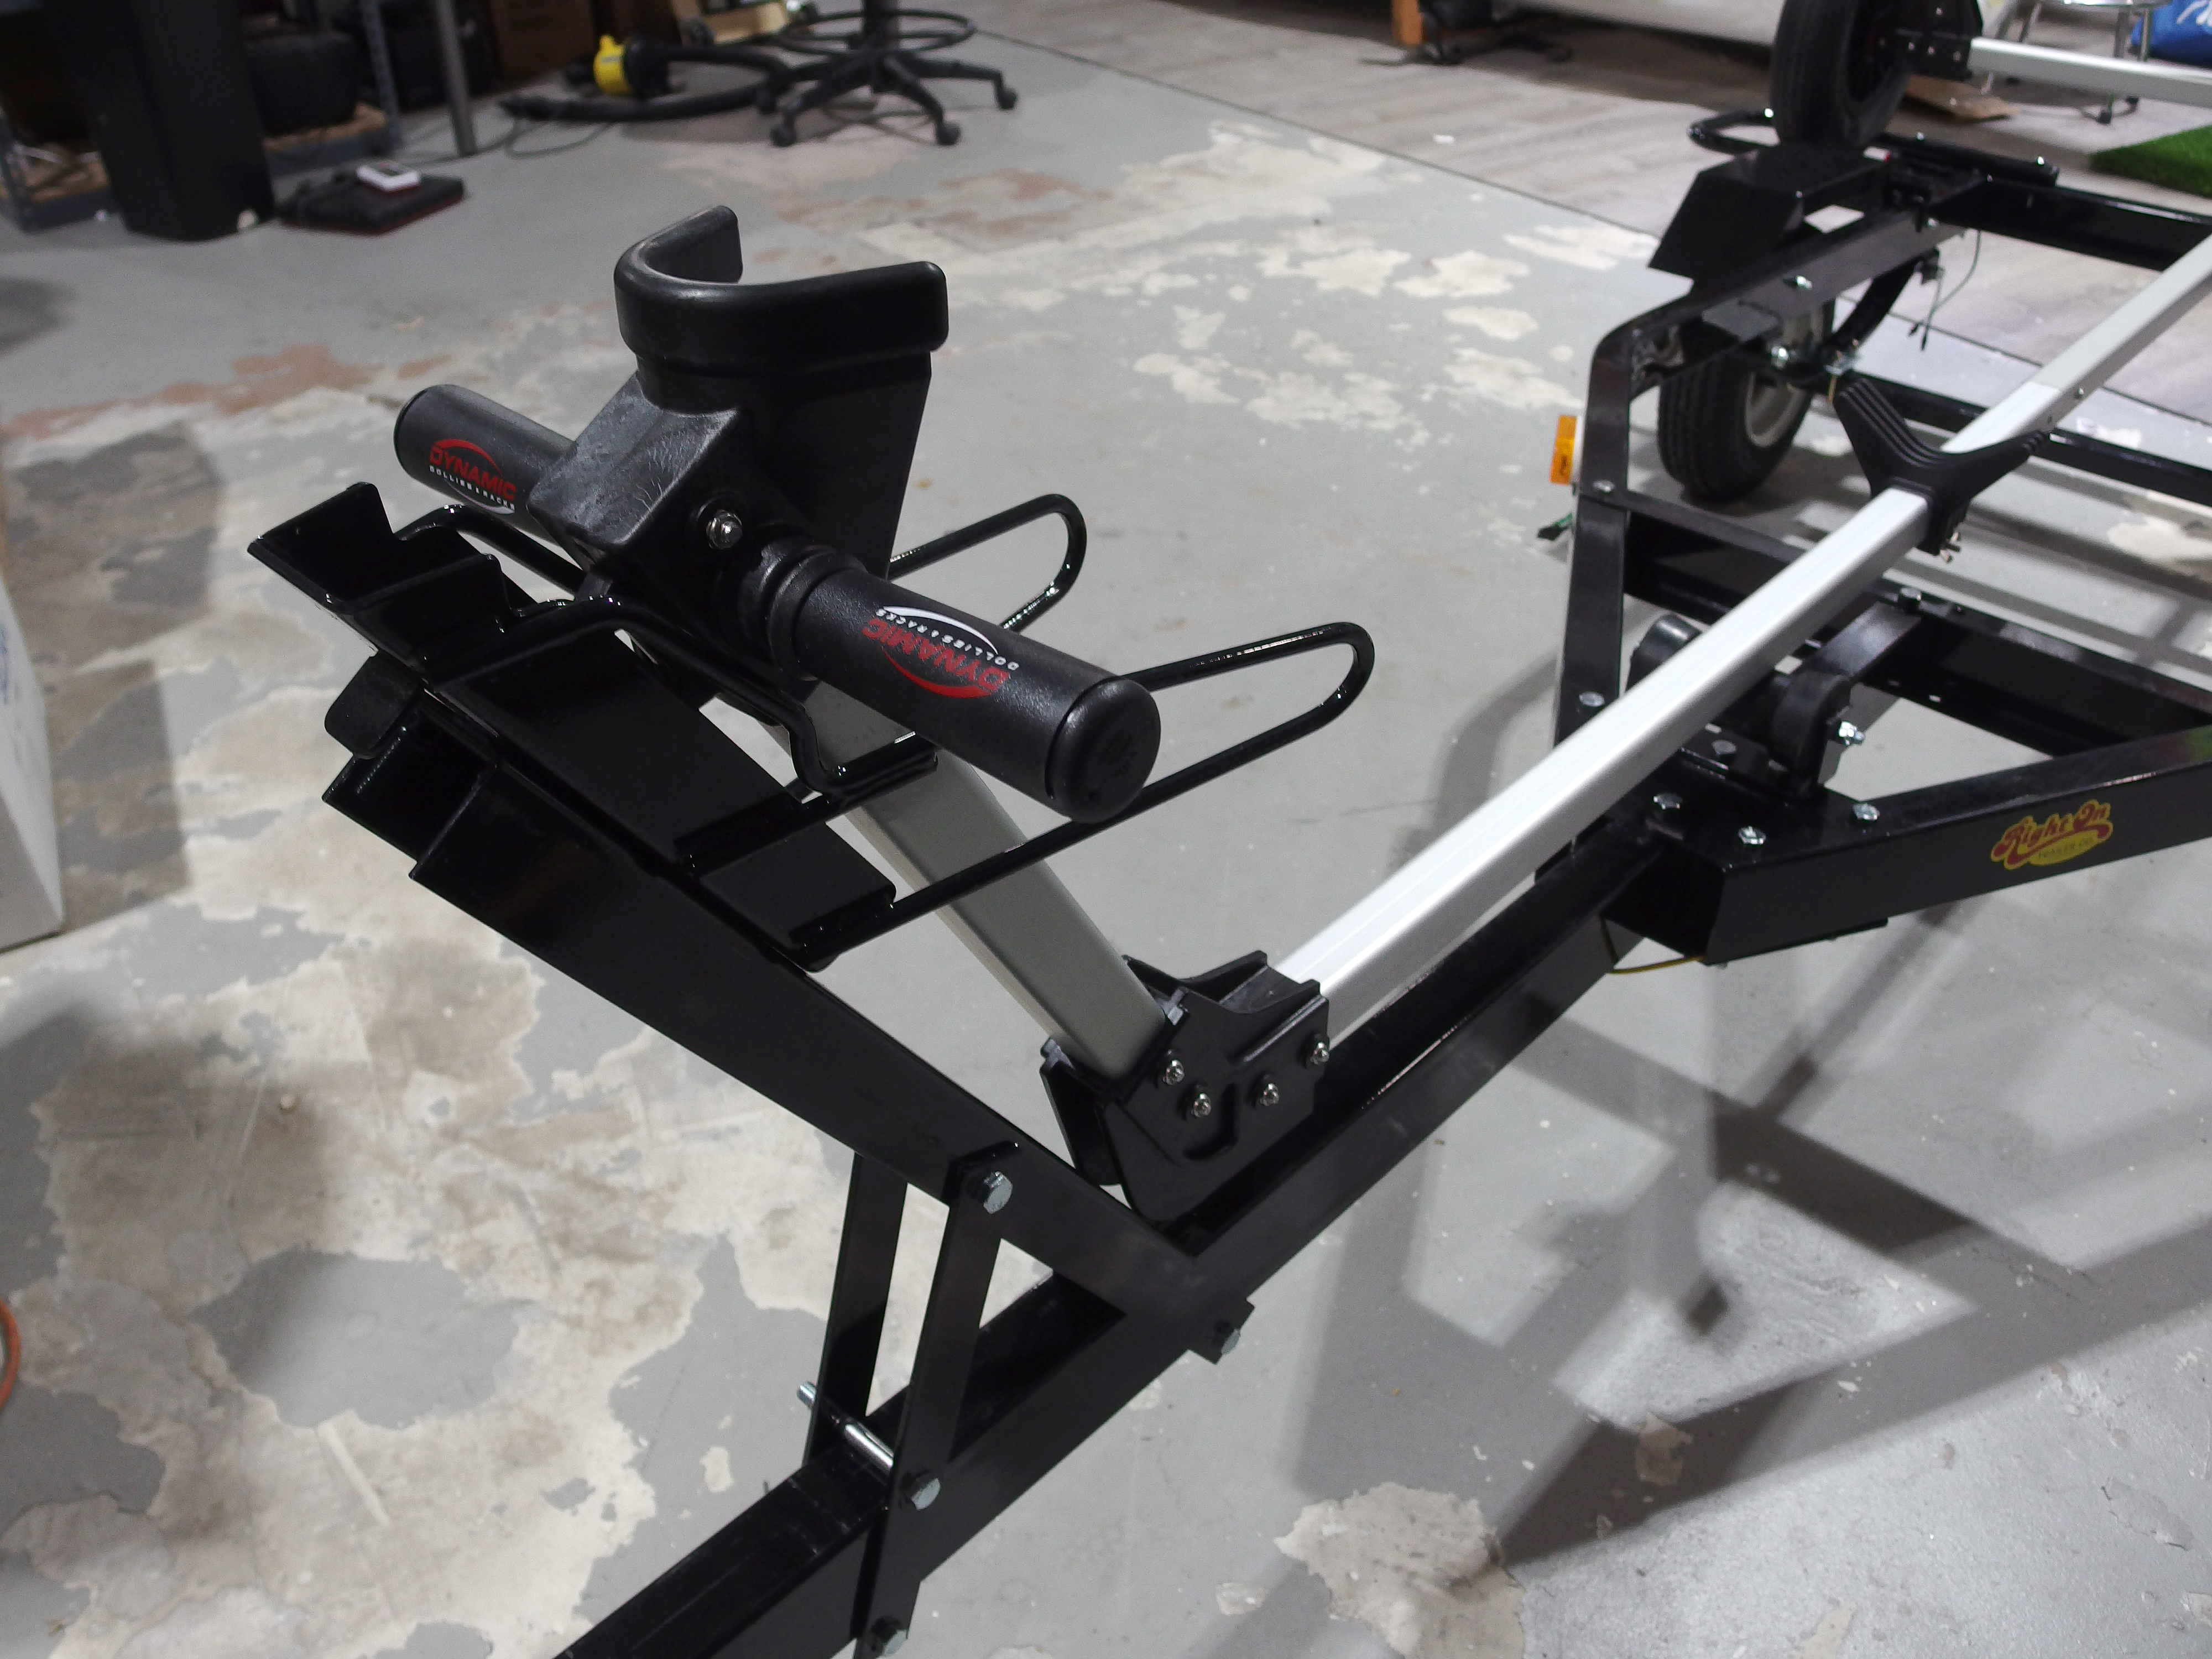
The bow stop may need to be re-positioned so that the dolly seats properly on the rollers and trailer.
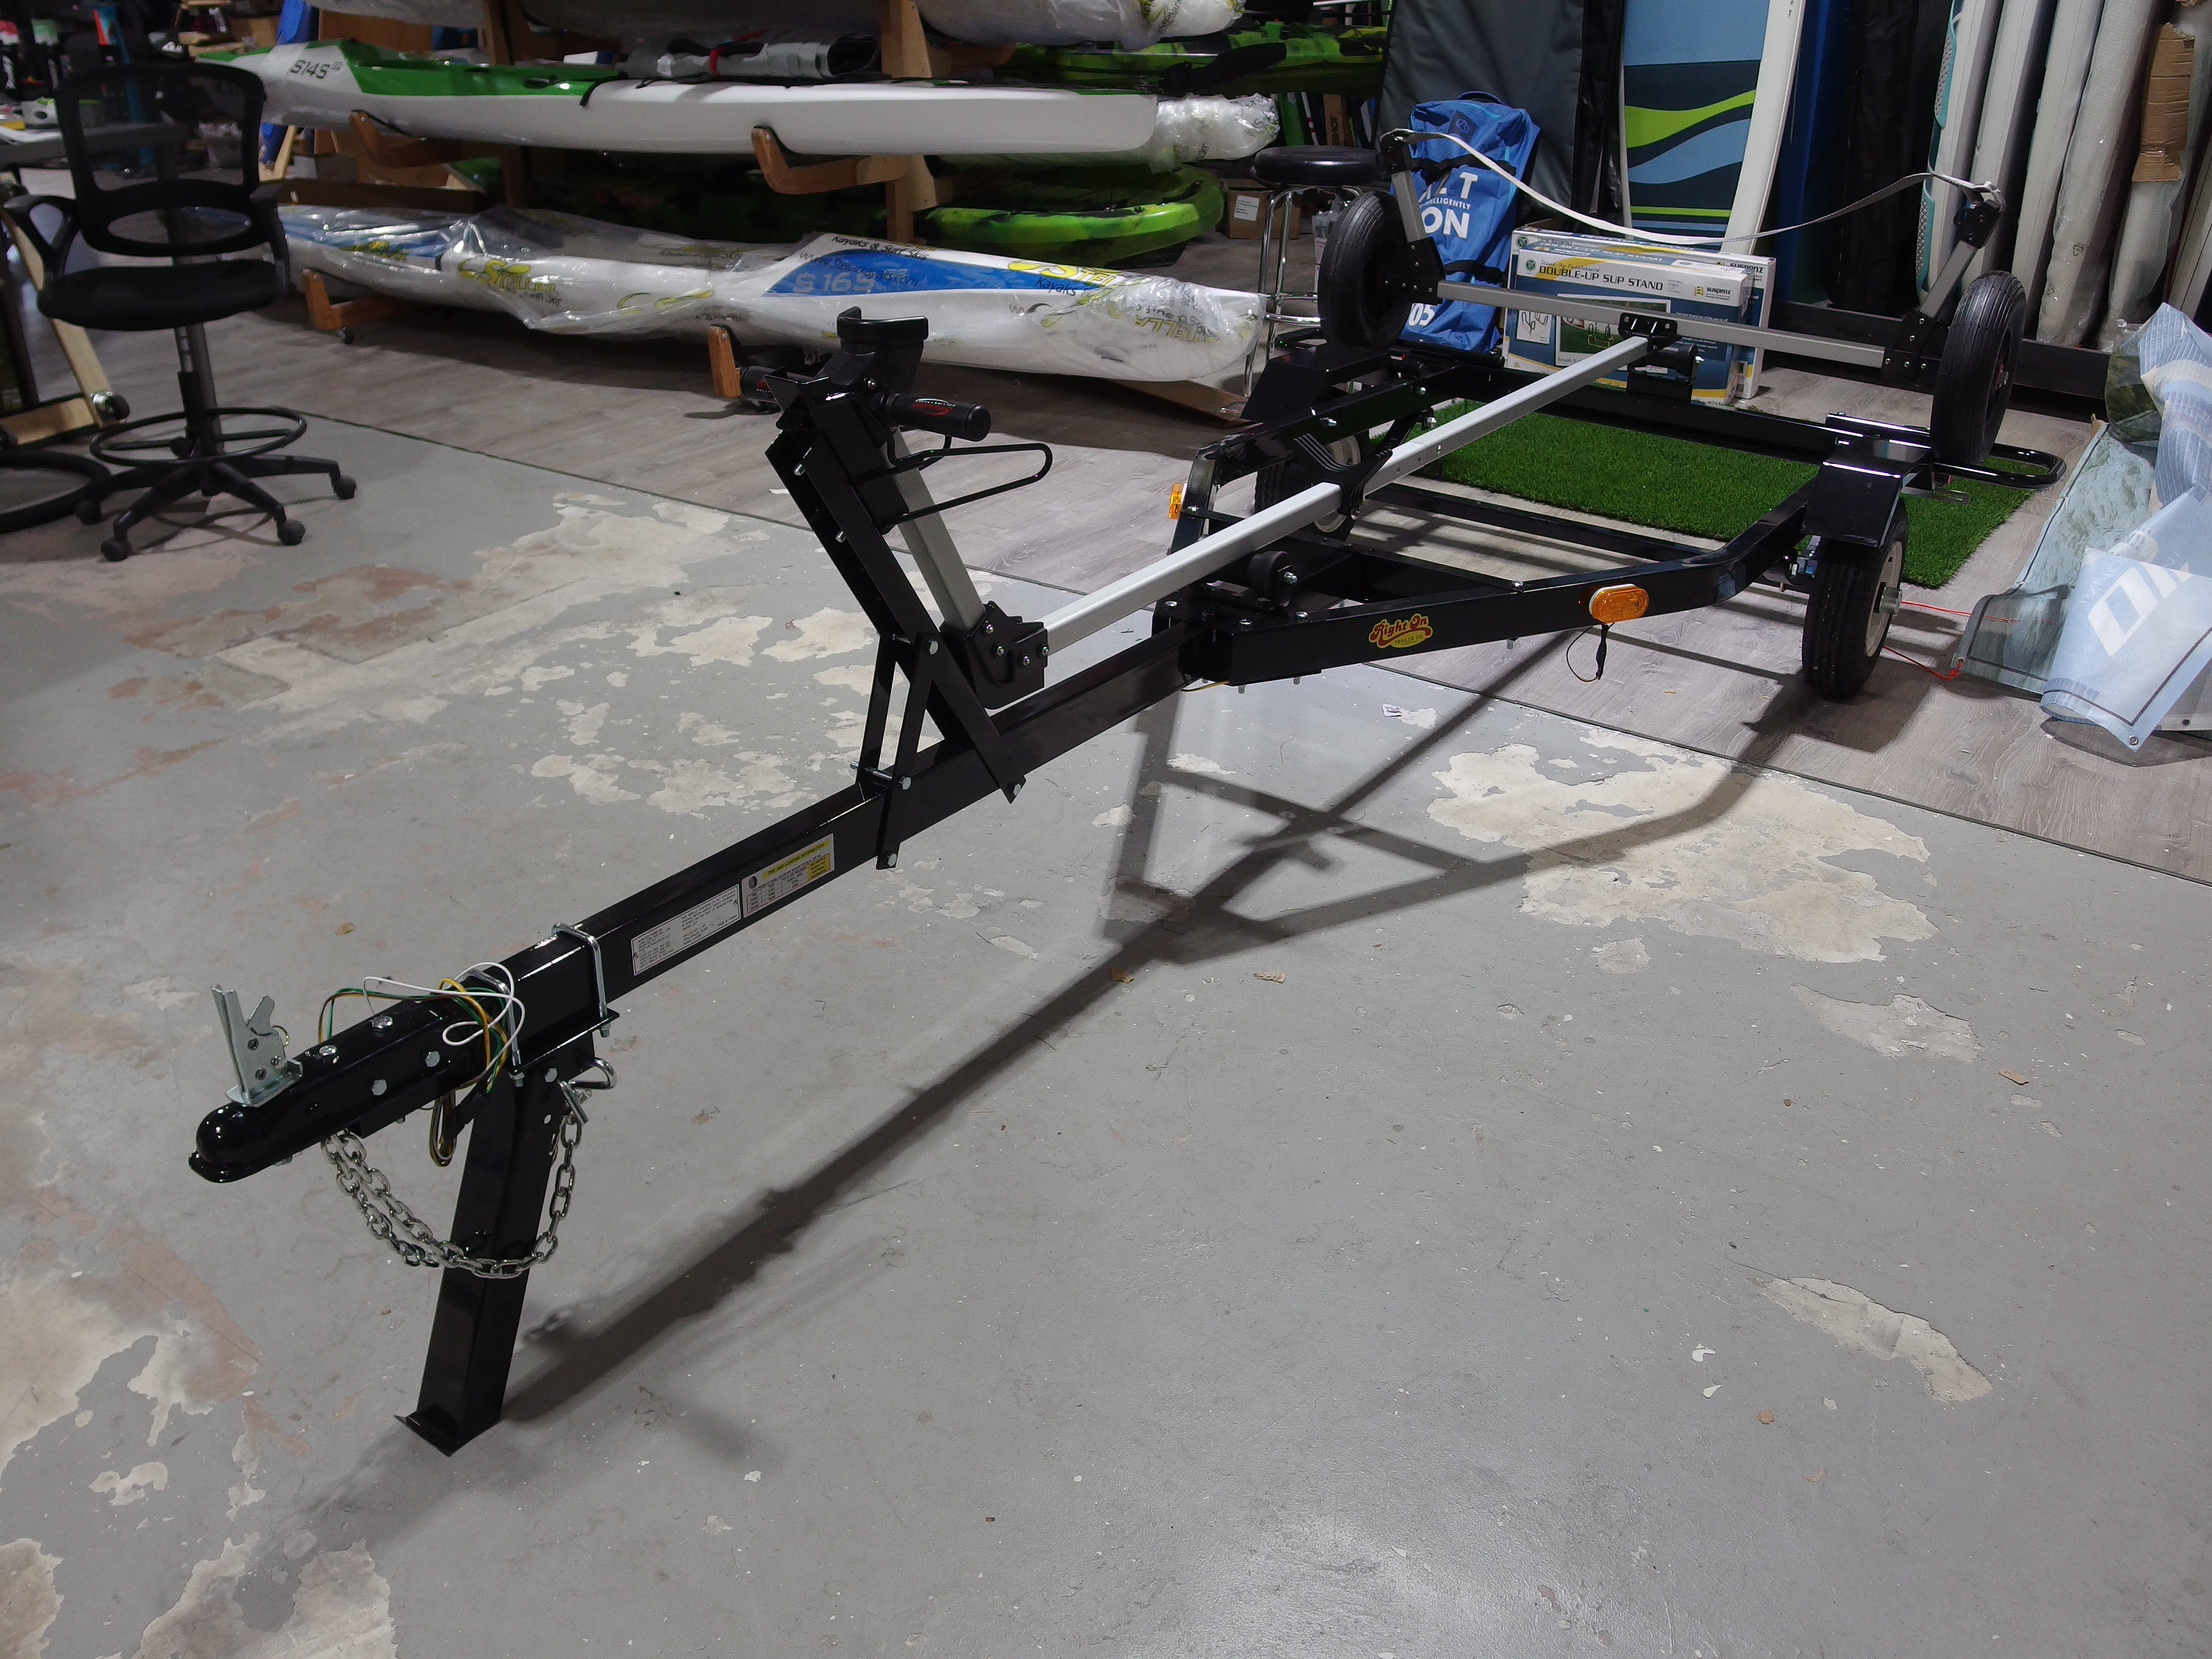
The fished trailer with dolly on top. Test the wiring for the lights for operation before stuffing the wires back inside the frame!
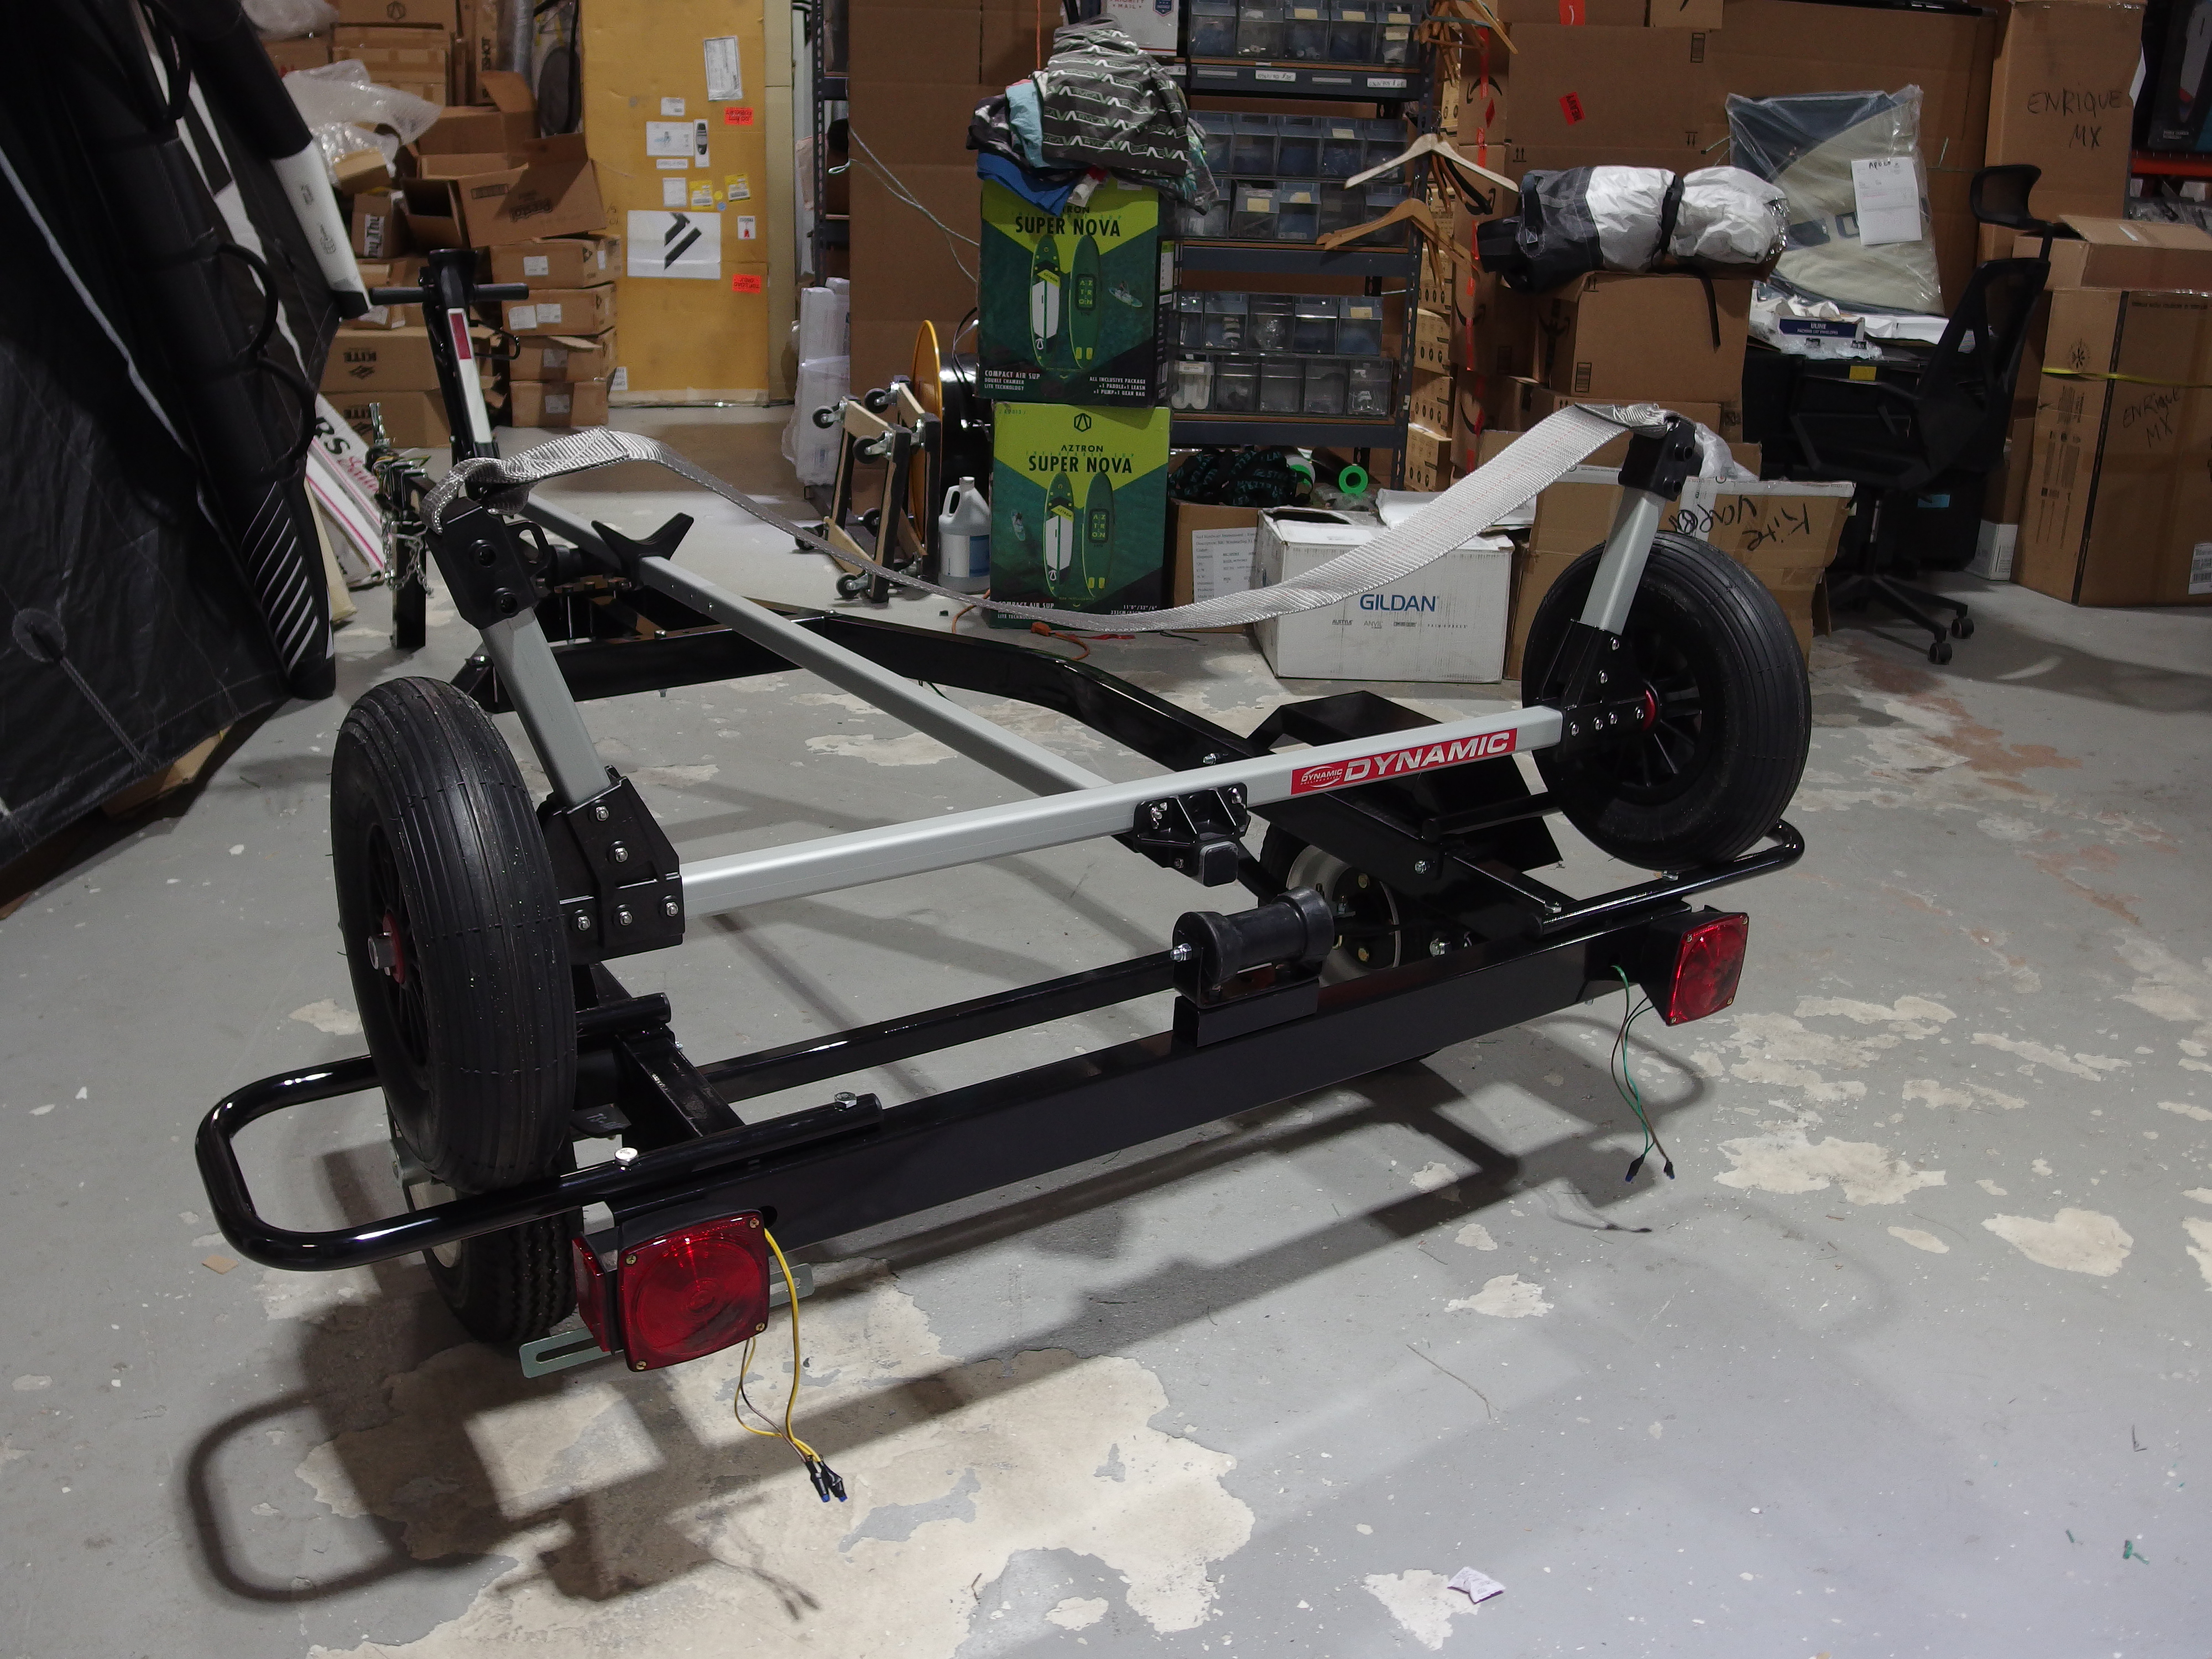
Be sure to go over the entire trailer and check that all the nuts and bolts are properly tightened!
Here’s a video showing how easy and simple it is for one person to load up a small sailer.
Right On makes a variety of trailers for different needs.
They are a great and inexpensive choice for sailboats, kayaks or other small water craft.
However, they are not meant to be submerged in the water – that’s what the aluminum Sailboat Dolly is for!
Information contained on this page is provided by an independent third-party content provider. Frankly and this Site make no warranties or representations in connection therewith. If you are affiliated with this page and would like it removed please contact [email protected]